Key Takeaways
A well-planned camera system can turn a long build into a useful visual record, but the setup needs to fit the project and the site. Decide early how footage will be captured, accessed, shared and retained.
- Set clear goals for progress records, stakeholder updates and project footage.
- Match image quality, capture intervals and storage to the project’s duration and needs.
- Choose a stable, secure camera position that can accommodate site changes.
- Check power, mobile coverage, weather exposure, permissions and safe access.
- Agree on footage access, reporting and handover arrangements before installation.
What a construction time lapse camera can do for your Brisbane project
A construction time lapse camera brisbane project teams can use well is more than a way to make a short video at the end. A planned sequence of images can help show how work has progressed and give stakeholders a shared visual reference. The most useful record starts with a clear purpose, whether that is project communication, reporting or later presentation of the completed work. Consider those goals before choosing a viewpoint or capture schedule.
Create a visual record of progress from site establishment to completion
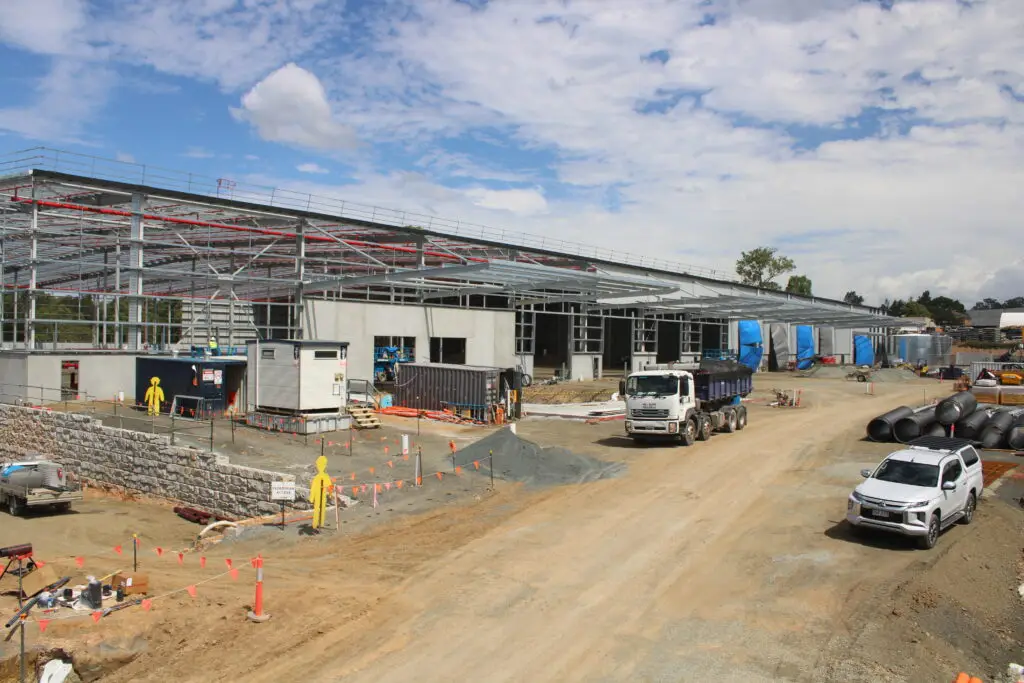
A sequence that begins with site establishment and continues through the build can show how the work changes over time. For commercial, civil and infrastructure projects, that record may help teams explain the stages of delivery to people who are not on site each day. Construction Time Lapse Specialists provides construction time-lapse photography and camera installations, with high-resolution photography among its visual monitoring services. Planning coverage from the outset makes it easier to keep the images relevant through to completion.
Give clients and stakeholders a clear view of key milestones
A consistent view can make project updates easier to understand, particularly when clients or stakeholders cannot regularly visit the site. Share selected images or footage alongside written updates so viewers can see the context behind a reported milestone. Keep the selection purposeful: a visual update should clarify what has changed, rather than present a stream of images without explanation. This can be useful when communicating progress across projects such as Queensland housing plans, where development and infrastructure context may matter to stakeholders.
Support project reviews with a consistent image history
Images captured from a stable position create a visual history that teams can review over the course of a project. They provide another reference point for discussions about progress and reporting, alongside the project’s usual records. Construction Time Lapse Specialists describes its visual site records as supporting communication, compliance and progress reporting throughout a project lifecycle. A consistent image history is most useful when the view and capture approach remain steady enough for changes to be compared.
Share selected footage for marketing and project updates
Edited footage can condense a long project into a short sequence for a project update or marketing use. Choose material that reflects the intended audience and check that it is suitable to share before publishing. The same principle applies to other project-led content, including tree-service social posts: real project imagery works best when it has a clear purpose and an appropriate call to action. Keep the original image record separate from any edited version so the project team retains a useful source archive.
How to choose a camera system for your site
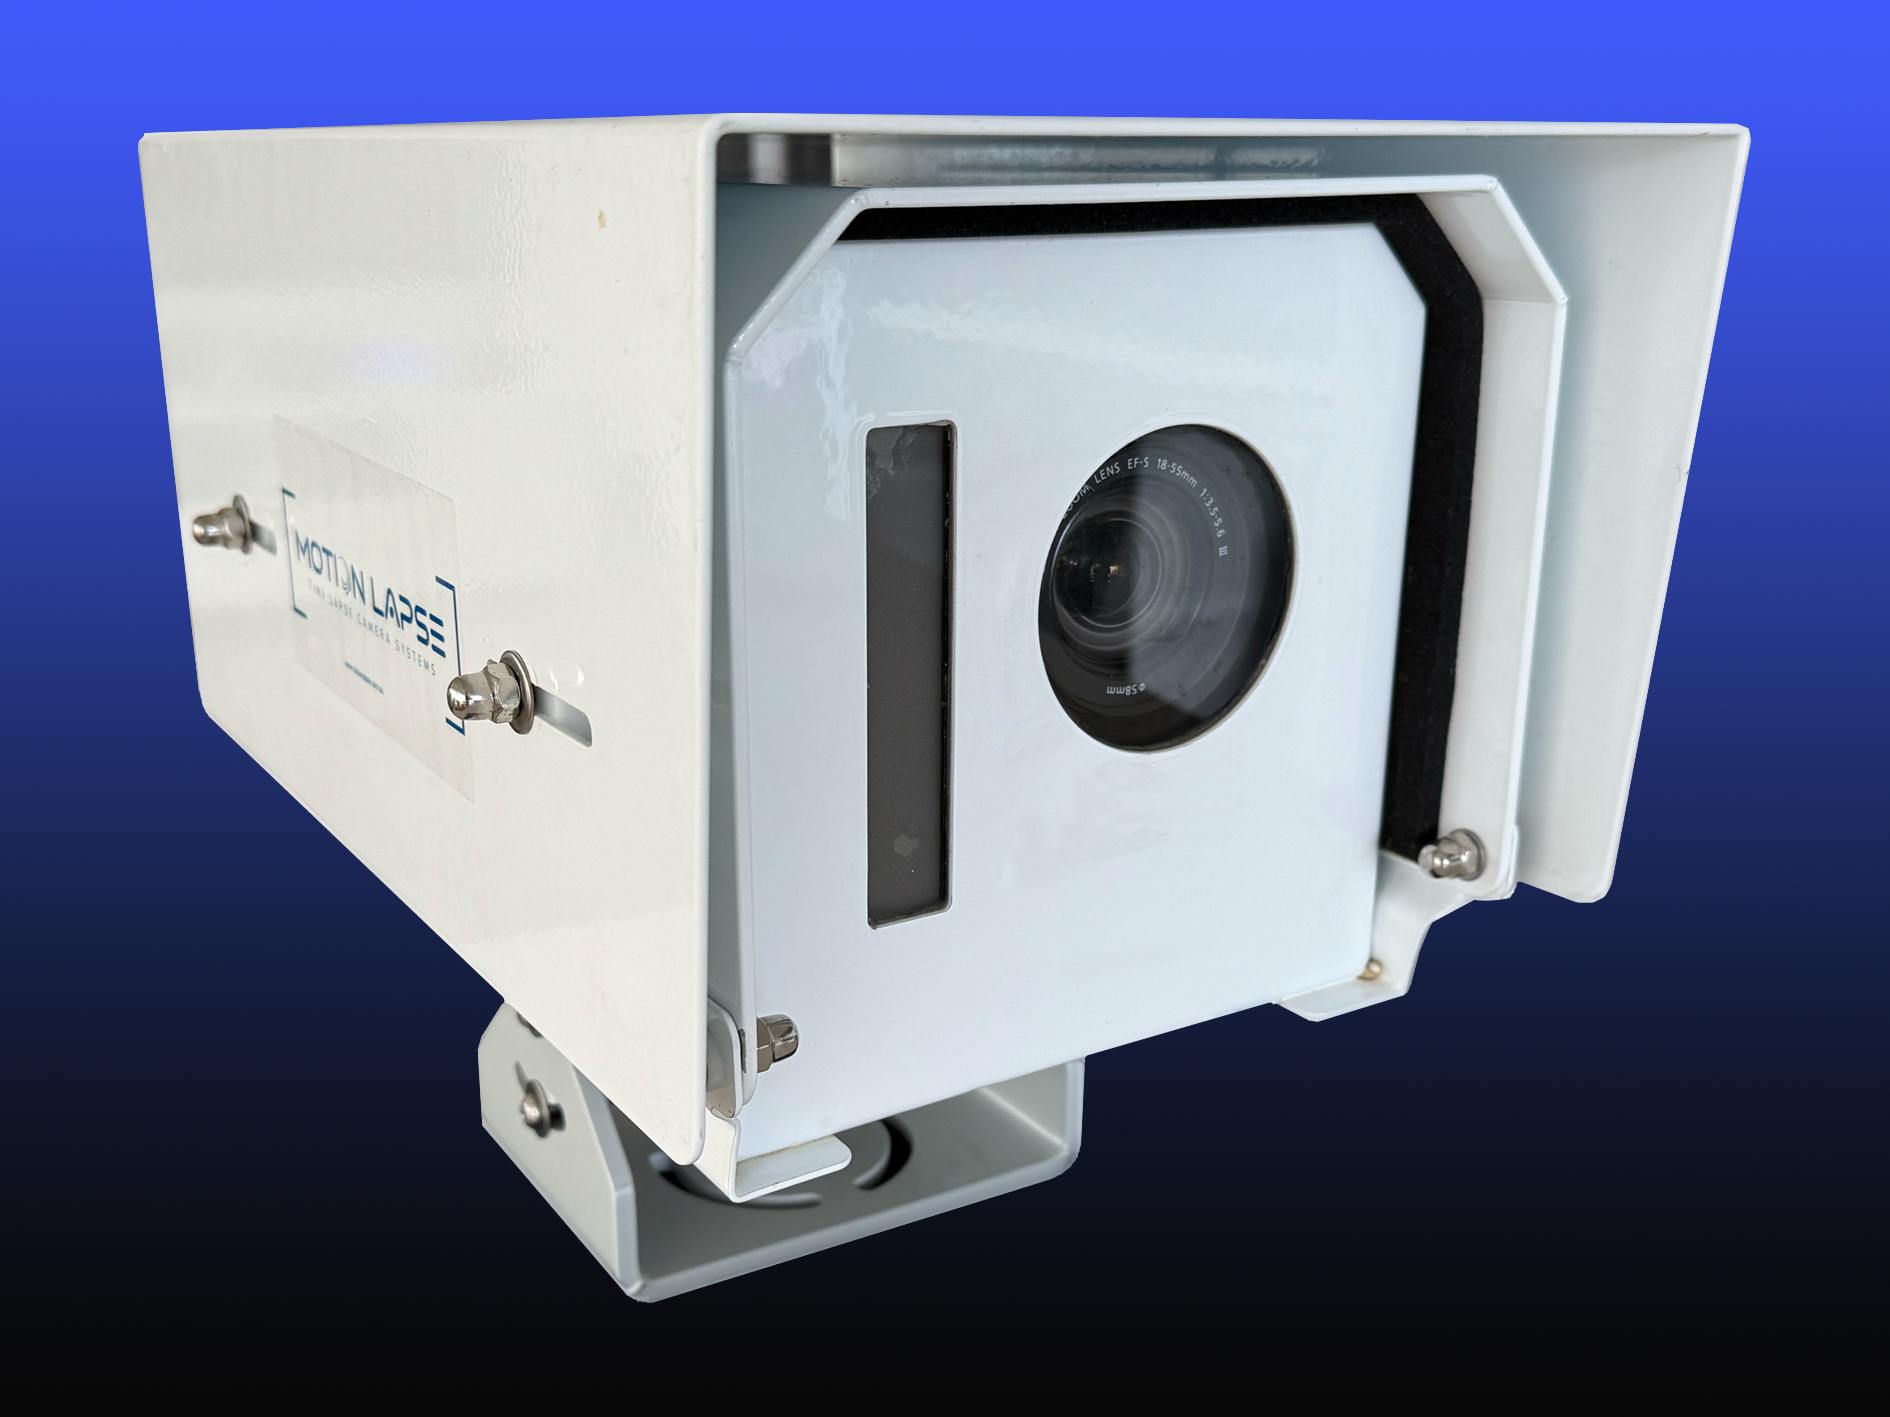
Choosing a system starts with the work it needs to support, not just a camera specification. Consider project duration, image quality, access needs and how the footage will be used once captured. Construction Time Lapse Specialists provides construction time-lapse cameras, including 4K cameras, and secure remote portal access for viewing site progress. For a more detailed planning overview, see this camera planning guide.
Compare image quality, interval settings and recording duration
Image quality affects how clearly a scene can be viewed, while the capture interval determines how much activity is represented in the finished sequence. Recording duration should cover the phases that matter, from early site works through the intended handover point. Compare these considerations together rather than treating a high-resolution image as the only measure of suitability. A capture plan should reflect the pace and scale of the project.
A simple comparison can help frame a discussion with a provider before you settle on equipment and settings:
| Consideration | What to clarify | Why it matters |
|---|---|---|
| Image quality | What level of detail is appropriate? | Helps images remain useful for review and presentation. |
| Capture interval | How often should images be recorded? | Aligns the sequence with the pace of visible work. |
| Recording duration | Which project stages need coverage? | Helps avoid gaps in the intended visual record. |
| Footage access | Who needs to view or receive the images? | Informs access and delivery arrangements. |
The answers will vary by project. Agree on the intended use first, then check that the proposed camera and schedule can serve it.
Decide whether live viewing or remote access is important
Remote access can be useful when project stakeholders need to view progress without being physically present. Establish who needs access, what they need to see and how often they are likely to use it. Construction Time Lapse Specialists describes secure remote portal access for viewing site progress and project highlights; confirm the access arrangements that apply to your project before installation. If remote viewing is not a priority, you may be able to focus more on the image record and planned delivery schedule.
Check storage, backup and footage delivery options
Before installation, ask how images will be stored, how they can be retrieved and what happens at the end of the project. Clarify whether you need regular access to individual images, periodic updates or a final sequence, and how files will be delivered. Keep the team’s responsibilities clear, including who can request footage and who will maintain the project archive. These arrangements are easier to resolve before capture begins than at handover.
Match the system to the site’s size, duration and access needs
A camera setup should suit the physical site and the people who will interact with it. A compact site with straightforward access may have different placement and maintenance needs from a large or long-running project. Discuss the site layout, expected duration, mounting options and access constraints together. Planning resources on 4K camera solutions may help frame questions about image quality and remote access, but the final selection should reflect the actual project requirements.
Where to install the camera and how to plan the view
Placement determines what the camera can show and how useful the resulting images will be. A viewpoint needs to capture meaningful work, remain stable over time and avoid interfering with site activity. Consider how the site will change as structures rise, equipment moves and access routes shift. Walk the proposed location with the people responsible for the build before committing to an installation.
Select a position with a clear, stable view of the work
Look for a position that gives a clear view of the areas that matter without relying on a temporary feature that will soon disappear. Stability is important: a camera that shifts between captures can make comparisons harder. Consider the angle, distance and likely visibility of major work areas from the proposed mount. A short site review can reveal obstructions that are not obvious on a plan.
Consider changing building heights and future obstructions
A view that works during early works may be partly blocked once the building rises or site equipment changes position. Consider the construction sequence and whether the camera will need to be repositioned as the site develops. Nearby cranes, hoardings and temporary structures may also affect the view. A provider discussion about planning camera placement can help you identify these changing conditions before the recording schedule is set.
Plan camera access without disrupting site operations
Installation and later checks should fit around the project’s work patterns. Coordinate visits with the site team, confirm any required inductions and identify when access is practical. It can help to record the agreed access plan in the same project notes used for other specialist equipment. That way, camera maintenance is less likely to become an unplanned interruption.
Check sightlines, mounting options and equipment security
Review the sightline from the camera position and consider how the equipment will be mounted and protected. The mount should support a steady view, while the location should make unauthorised interference less likely. Before installation, work through a short site checklist:
- Confirm the view includes the project areas that matter.
- Check for likely obstructions as the build progresses.
- Agree on a suitable mount and safe access method.
- Identify who can inspect the equipment and when.
Use the checklist to confirm responsibilities with the site team, not as a substitute for their safety procedures. A placement decision that accounts for both the view and equipment access is more likely to remain practical over time.
Power, connectivity and Brisbane site conditions
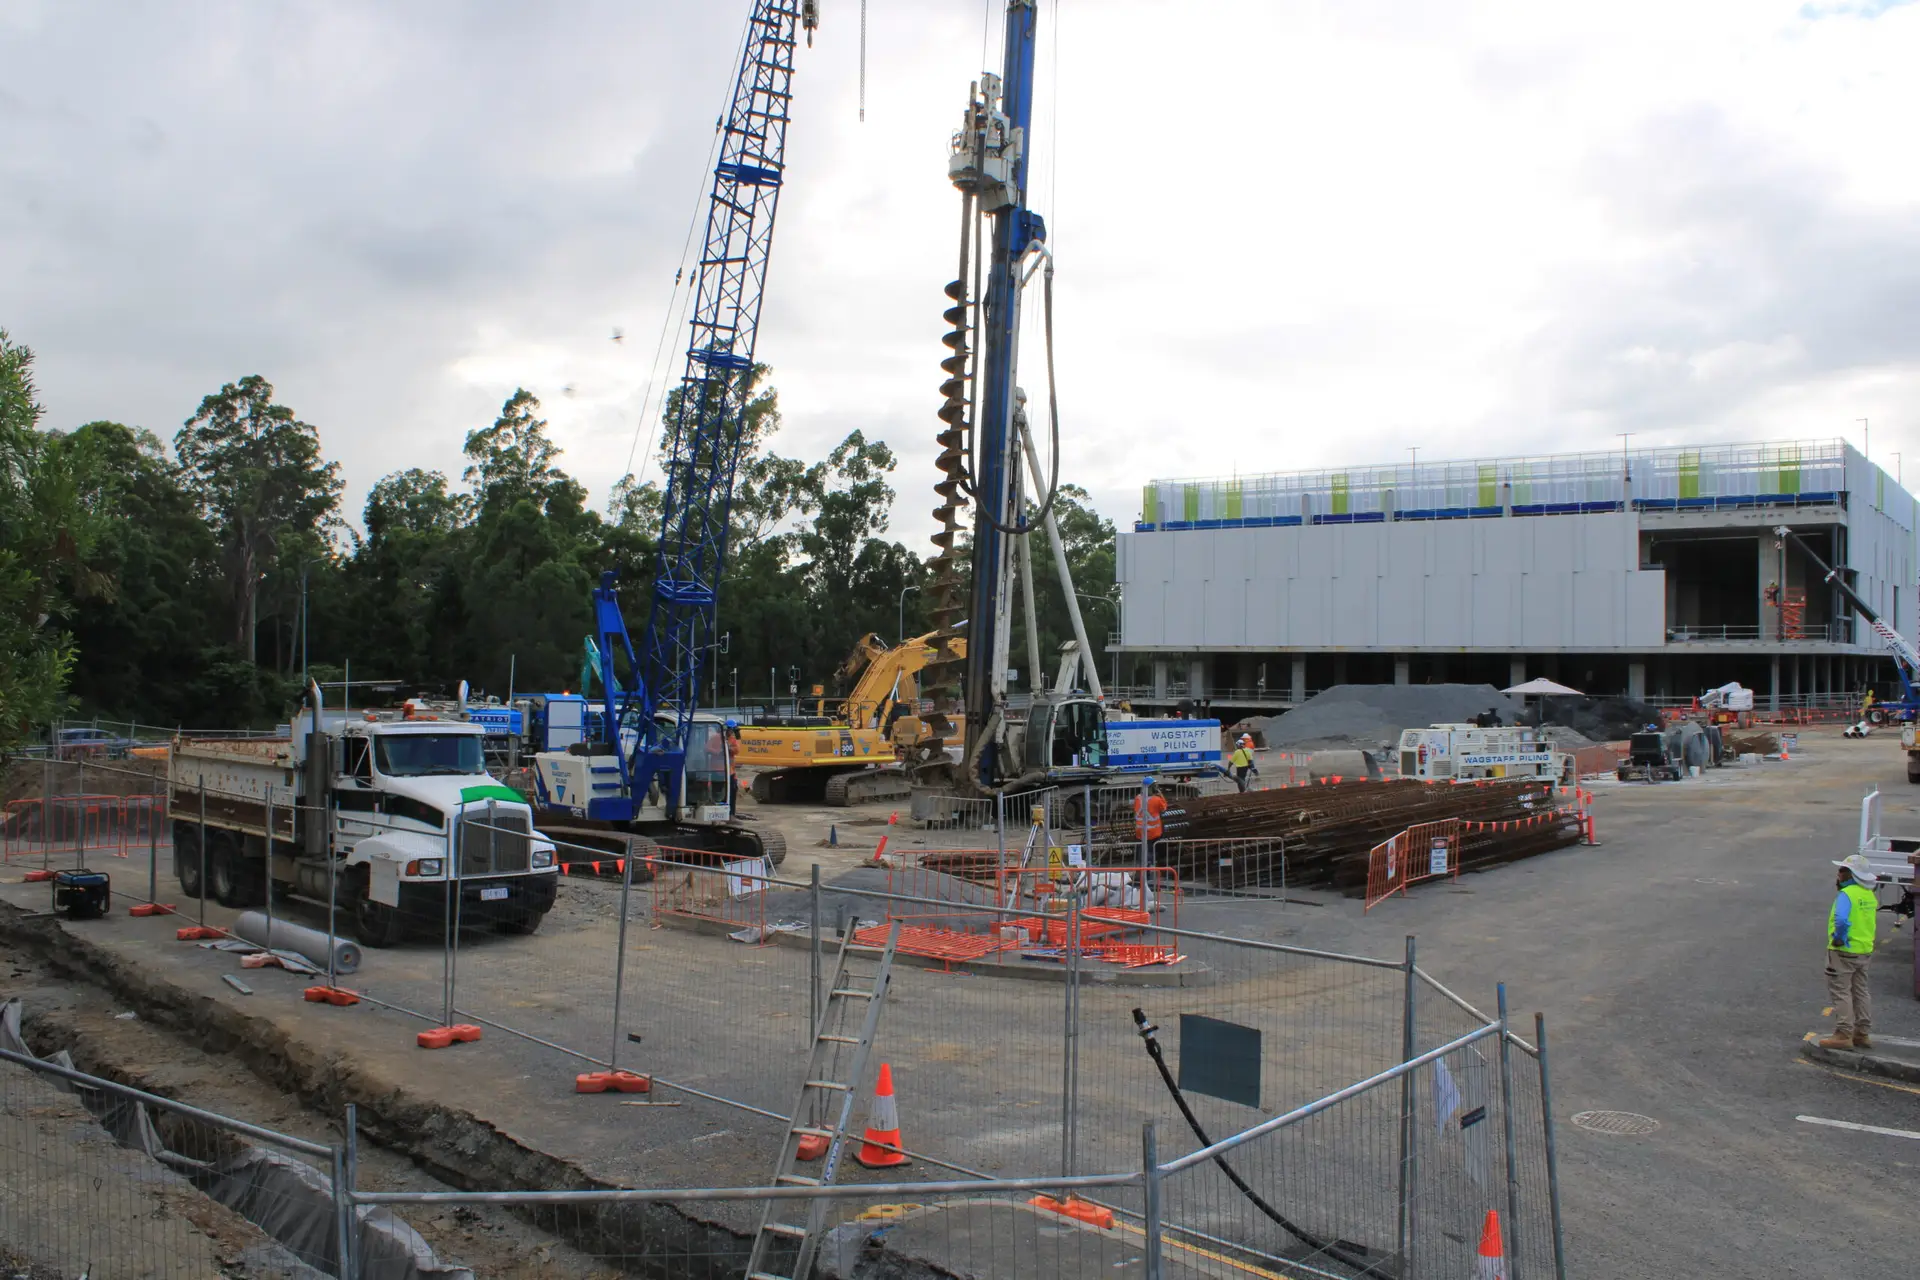
Power and connectivity can shape where a camera can be installed and which features are practical. Assess these conditions at the proposed location rather than assuming that the wider site will have the same coverage everywhere. Brisbane projects also need to account for heat, humidity and periods of severe weather when planning outdoor equipment. Build routine checks into the project plan so the visual record is not left unattended.
Choose a suitable power source for the project location
Identify what power is available near the proposed camera position and whether it is likely to remain available throughout the project. Consider how construction phases may affect access to that supply. If the location is remote from a suitable source, discuss alternatives with a provider before fixing the viewpoint. Power planning should be considered alongside mounting, maintenance access and the expected recording period.
Assess mobile coverage before relying on remote access
Remote access depends on connectivity at the camera location, so check the signal where the equipment is likely to be installed. A general impression of coverage across the site may not tell you whether the chosen position will support reliable access. If remote viewing is important, confirm the connection approach and any limitations before installation. A project guide to site power and connectivity offers useful planning context for that conversation.
Prepare for heat, humidity and severe weather
Outdoor equipment needs to suit the conditions it will encounter throughout the project. Consider direct sun, moisture and exposure to severe weather when reviewing the mount and location. Confirm what weather protection is included in the proposed setup rather than assuming all equipment is designed for the same conditions. Leave room in the plan for checks after significant weather events if site procedures permit.
Plan checks and maintenance around construction activity
The equipment still needs to be checked while the build is underway. Agree who will monitor its condition, how concerns will be raised and how a maintenance visit can be arranged without disrupting work. Construction Time Lapse Specialists describes its camera systems as durable, but project teams should still clarify the care and support arrangements for their particular installation. A clear maintenance plan helps protect continuity in the image record.
Privacy, permissions and site safety
A camera installation should be agreed with the people who control the site and the areas within its view. Define access to the images as carefully as access to the equipment itself. A considered setup can limit unnecessary capture while preserving the project view that the team needs. These decisions belong in the installation plan, alongside site safety and operational requirements.
Confirm who can approve camera placement and access
Confirm who has authority to approve the camera location, mounting method and access arrangements. The project team may also need to identify who can view footage and who can authorise sharing beyond the team. Put those decisions in writing so permissions do not depend on assumptions or informal handovers. If responsibilities change, update the agreed access list.
Avoid capturing neighbouring properties or sensitive areas
Review what appears at the edges of the proposed frame, including neighbouring properties and areas that are not relevant to project monitoring. Adjust the position or framing where practical to keep the visual record focused on the site. Before capture begins, discuss any sensitive areas with the appropriate site contact. A narrower, purposeful view can often serve project needs without recording unnecessary surroundings.
Set clear rules for viewing and sharing footage
Decide how project images may be accessed and shared, and who can approve external use. This matters whether footage is being prepared for a client update, internal review or marketing. For teams exploring secure remote monitoring, clarify who will receive access and what the agreed process is for sharing selected material. Keep the rules simple enough that everyone involved can follow them.
Include installation and maintenance in site safety planning
Installation, inspections and maintenance visits should follow the site’s safety requirements. Confirm access routes, induction needs and any controls that apply to working at height or near active operations. Include these visits in the site’s coordination process rather than treating camera work as separate from construction activity. The same principle of clear responsibility supports shared decision systems, where teams need agreed roles and dependable access to information.
Footage, reporting and project handover
A useful visual record depends on a clear plan for capture and delivery, not simply on having images available. Decide how the sequence will support project reviews, updates or final presentation, then align the schedule and framing to that purpose. The project team should also agree who can access the footage and how long it will be retained. These details make handover more straightforward and reduce uncertainty later.
Set capture intervals around the pace of construction
The interval should reflect how quickly meaningful changes occur and how the footage will be used. If images are captured too far apart, some visible stages may be difficult to follow; very frequent capture may create more material than the team needs. Talk through the work programme and key milestones when setting the schedule. Revisit it if the pace of construction changes significantly.
Use consistent framing to make progress easier to compare
Keeping the camera in a stable position and maintaining a consistent view makes it easier to compare images from different dates. Where repositioning is necessary, record when and why it happened so later viewers understand the change in perspective. This context is particularly helpful in project reviews, where an image is most useful when its date and viewpoint are clear. Keep accompanying notes concise and factual.
Choose how often to create edited updates or milestone videos
Not every project needs an edited update at the same frequency. Decide whether stakeholders need occasional milestone material, regular updates or a final edited sequence, and identify who will select the images. Keep the intended audience in mind; the right level of detail for a project review may differ from what belongs in a public update. A considered edit can make a long build easier to follow without replacing the underlying record.
Agree on file formats, access and retention before installation
Agree on delivery formats, access permissions and retention arrangements before the camera is installed. Confirm how footage will be handed to the project team, who will retain the files and what happens when the project closes. Teams considering different approaches to decision-making, including Stoic Futurism, may find a useful reminder in its focus on judgement amid change; for the project record, the practical step is to document ownership and responsibilities clearly. If you are ready to discuss an installation, request a project discussion and outline the site, duration and intended use of the footage.
Conclusion
A construction time lapse system is most useful when its purpose, viewpoint, capture schedule and access arrangements are considered together. For Brisbane projects, planning around changing site conditions, weather, power and stakeholder needs can help create a consistent visual record from early works through handover. Settle the practical details with the project team before installation, then keep the footage plan aligned with the work as it progresses.