Key Takeaways
A well-planned construction time lapse Brisbane project gives you more than a final video: it creates a useful visual record throughout the build.
- Define who needs the footage and what decisions it should support.
- Choose stable viewpoints that remain useful as the site changes.
- Plan for Brisbane weather, power, connectivity, access and equipment security.
- Match capture intervals and final formats to the construction program.
- Confirm installation, maintenance, storage, access and deliverables before appointing a provider.
Define your construction time lapse goals
Before you select a camera or discuss installation, decide what the footage needs to achieve. You may want a clear record for clients, material for a development campaign, or visual evidence for internal reporting. Those purposes overlap, but they do not always require the same viewpoints, capture frequency or final edit.
A useful starting point is the time lapse planning guide, which encourages you to clarify the story, audience and intended outcome before filming begins. Once those decisions are made, the technical setup becomes easier to assess and explain to stakeholders.
Documenting progress for clients and stakeholders
Time lapse footage can give people who are not on site a consistent view of progress. A fixed camera position makes changes easier to compare over weeks or months, while selected milestone clips can make a long construction program easier to understand during meetings and updates.
Agree early on what stakeholders should see. Excavation, structural work, façade installation, landscaping and practical completion may all matter, but the most useful viewpoint for one phase can become less useful later. Your provider should document those changes without losing the continuity of the record.
Creating marketing and development content
A construction sequence can turn a lengthy build into a concise story for a website, presentation, tender document or social channel. Marketing footage should be planned alongside the project record, rather than treated as an afterthought, so that important changes are captured with enough clarity and context.
Think about the audience and the final viewing environment. A short, well-paced edit may suit a public campaign, while a longer version can help prospective clients understand the scale, craftsmanship and progression of the development.
Supporting project management and site reporting
Visual records can complement written reports by showing how the site has changed between inspections. They may help you review milestones, communicate with remote stakeholders and maintain a chronological reference when the project team needs to revisit a decision or event.
Use footage as supporting evidence, not as a replacement for formal project records, safety processes or site inspections. Clear naming, dates, access permissions and dependable storage will make the archive more useful than a collection of unlabelled clips.
Choosing the right footage length and final format
The final format should follow the way you intend to use the material. A project overview may be brief, while a stakeholder presentation or internal review may need more time to show distinct phases. Discuss aspect ratios, resolution, music, captions and delivery files before capture starts.
A practical brief usually covers the project duration, important milestones, preferred edit length, intended platforms and whether you need still images as well as video. A clear delivery brief prevents avoidable re-editing when the build is already complete.
Plan the camera setup for Brisbane conditions
Brisbane sites can change quickly as work progresses, and the camera must remain useful through shifting light, weather and site access arrangements. Your setup should be planned around the whole construction period, not simply the view available on installation day. Consider the finished structure, temporary works, cranes, hoardings, neighbouring properties and safe access routes.
For a broader planning reference, see this Brisbane project guide when considering remote visibility and communication. You should still confirm the details of your own site with the project team, principal contractor and appointed provider.

Selecting camera positions and viewing angles
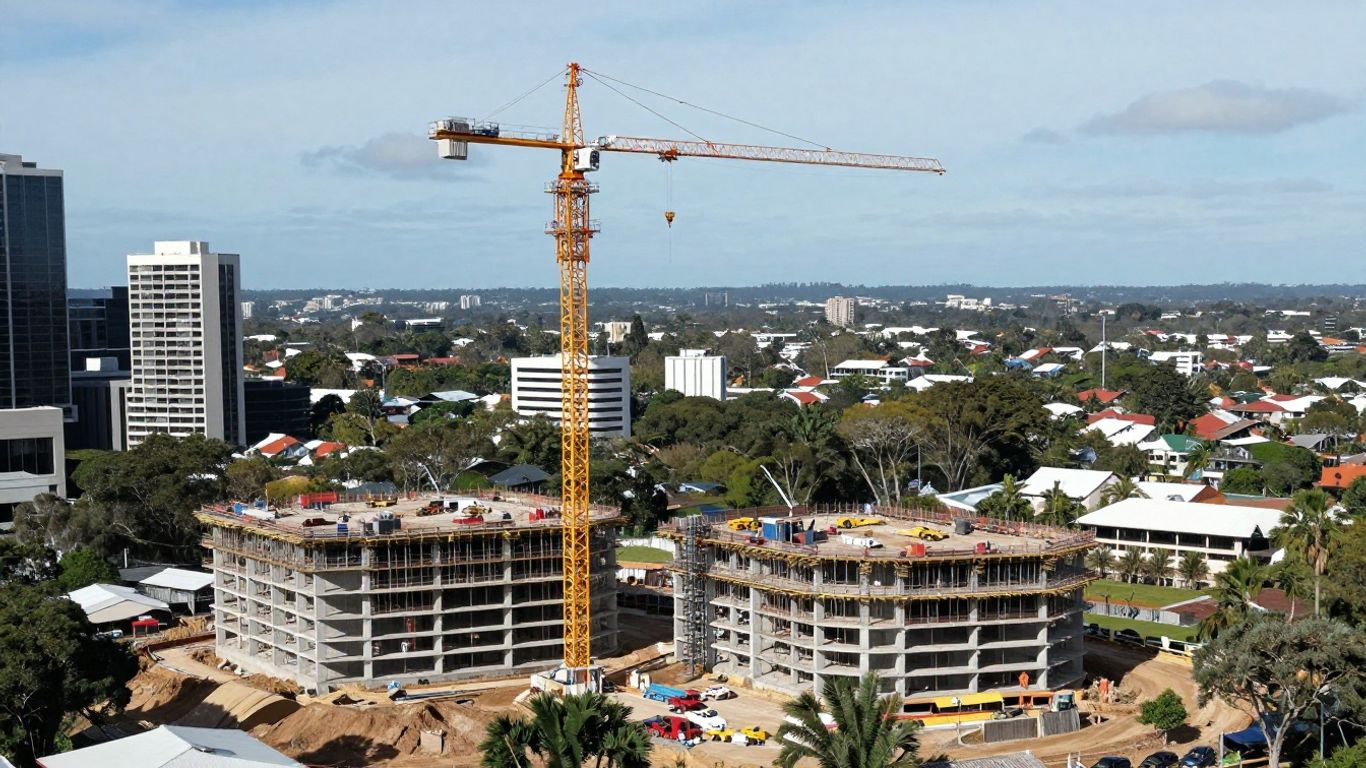
Choose a position that shows meaningful progress without relying on a temporary object that may soon disappear. Height can provide context across a large site, while a closer view may reveal façade, structural or fit-out changes more clearly. In some projects, two viewpoints are more useful than forcing every phase into one frame.
Check the proposed angle against future obstructions. Cranes, scaffolding, new buildings and vegetation can gradually block the subject, so a site survey should consider the construction sequence as well as the current layout.
Accounting for weather, sunlight, and seasonal changes
Sun position, cloud cover and rain will affect the appearance of the sequence. A camera facing directly into low sun may produce difficult exposure changes, while a poorly chosen angle can make the site look flat or obscure important work at particular times of day.
Review the view at different times before committing to the mount. Weather planning also means allowing for periods when work pauses, surfaces become reflective or access is restricted. Consistency matters, but useful visibility matters more than preserving a theoretically perfect frame.
Protecting equipment from dust, rain, and site activity
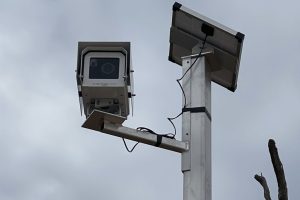
Construction equipment needs protection from dust, moisture, impact and interference. The mounting point should be stable, out of the way of moving plant and compatible with site safety requirements. Housing, fasteners and cable routes should be checked as part of the installation rather than improvised after problems appear.
Include privacy and access considerations in the risk review. Avoid unnecessary views into neighbouring properties, keep equipment away from unsafe work areas and make sure the camera does not obstruct workers, vehicles or emergency routes.
Managing power, connectivity, and on-site access
Long projects need a realistic power and data plan. Confirm whether mains power is available, where equipment can be inspected and how images will be transmitted or retrieved if connectivity is interrupted. You should also identify who can approve access when the site layout or work hours change.
Ask for a written approach to outages, maintenance visits and stored images. A reliable system is not only a camera; it is the combination of mounting, power, connectivity, monitoring and site support.
Choose the right construction time lapse equipment
Equipment selection should follow the project brief, location and required deliverables. A small temporary setup may suit a short, simple sequence, while a multi-month commercial or infrastructure project can require weather protection, remote access and dependable storage. Resolution is only one part of the decision.
You should also consider how much involvement your team wants. Hiring equipment alone may leave you responsible for framing, maintenance and data handling, whereas a managed arrangement can include planning and ongoing support.
Comparing professional cameras with temporary setups
A professional construction system is generally assessed for stability, durability, long-term operation and consistent image capture. A temporary setup may be appropriate when the filming period is brief or the subject is straightforward, but it still needs a secure mount and a clear plan for checking the footage.
Compare the practical workload, not just the camera body. Installation, weather protection, power, connectivity, storage and troubleshooting can determine whether a lower-cost option remains suitable once the project is under way.
Understanding image resolution and 4K delivery
Resolution affects how much detail remains available when you crop, reframe or display footage on a large screen. If you expect to use the sequence in presentations, marketing edits and project records, ask whether the source images and final video will meet those uses.
Construction Time Lapse Specialists provides 4K cameras, drone imaging and high-resolution photography as part of its visual monitoring services. Confirm which of those options applies to your project, what is included in the final delivery and whether still images are supplied separately from the edited sequence.
Using remote monitoring and cloud-based access
Remote access can reduce the need for unnecessary site visits and make progress easier to share with people working elsewhere. Ask how frequently images are available, who can log in, how access is revoked and whether the system provides a usable record when connectivity is disrupted.
A private online portal can also make the footage easier to organise for reporting. The useful measure is not simply whether remote viewing exists, but whether the people who need the information can access the right material securely and consistently.
Deciding between camera hire and managed services
Camera hire can suit a team that already has technical resources and wants direct control. Managed services may be more suitable when you need help with the site survey, installation, monitoring, maintenance, editing or final delivery. Neither approach is automatically better; the right choice depends on your internal capacity and project risk.
Ask for a line-by-line description of responsibilities. That should include who checks framing, responds to outages, manages data, visits the site and produces the final video.
Build a reliable filming schedule
A filming schedule should reflect the pace and character of the construction program. The same interval may not be ideal for excavation, structural work, fit-out and landscaping, especially when activity becomes intermittent. Your schedule should also allow for public holidays, weather delays, shutdowns and changes to the expected completion date.
Use the project program as the starting point, then identify which moments need dependable visual coverage. A schedule that is technically active but poorly aligned with milestones can produce a lot of images without telling a useful story.
Setting capture intervals for different project phases
Capture intervals determine how smoothly movement appears and how much storage the project will use. Frequent activity may benefit from more regular images, while slower phases can often be represented with a wider interval. The decision should account for working hours, daylight and the expected length of the final edit.
Before approving the interval, test a short sequence if possible. You want enough frames to show meaningful change without creating unnecessary data or a final video that feels rushed.
Coordinating filming with the construction program
Map the schedule against milestones such as groundworks, slab pours, structural completion, enclosure, services, fit-out and handover. This helps you identify when a camera should be installed, whether a second viewpoint is needed and when the final edit should be prepared.
Include the filming plan in project communications so that relevant teams know what is being captured. Coordination is particularly useful when temporary structures, cranes or access restrictions may affect the view.
Handling pauses, delays, and changes to the site
Construction rarely follows the first program exactly. A delay does not necessarily mean the camera should stop, because the quiet period can be part of the project record. However, you may need to adjust the schedule, reposition equipment or extend the service period if the planned milestone moves.
Build a change process into the agreement. Decide who can approve an extension, what happens if the camera must be moved and how additional capture or editing costs will be handled.
Maintaining consistent framing throughout the project
A consistent frame is one of the main reasons time lapse is useful. Mark the mount position, record the camera settings and document any maintenance or relocation. If the view must change, retain the original material and explain the transition in the project archive.
A simple framing review can catch problems before they affect months of footage. Check horizon, exposure, obstructions, focus, weather protection and the visibility of the main work area after installation and following major site changes.

Use time lapse footage across the project lifecycle
Footage becomes more valuable when you plan its uses before the final edit. The same source material can support a milestone update, a project review, a public-facing development story and a long-term archive, provided it is organised and delivered in suitable formats.
Construction Time Lapse Specialists creates visual site records for communication, compliance and progress reporting throughout a project’s lifecycle. That makes it useful to agree on file naming, access and delivery dates while the camera is still operating, rather than trying to reconstruct the record later.
Tracking milestones and communicating progress
Use selected frames or short clips to explain what has changed since the previous report. A consistent camera angle helps your audience understand sequence and scale, while additional close or aerial material can provide context when a single fixed view is not enough.
Keep the update focused. Show the milestone, give its date or project context, and explain what the viewer should take from it. This is more effective than sending a long sequence without interpretation.
Creating investor, client, and stakeholder updates
Different audiences need different levels of detail. Investors may want a concise view of progress against the program, clients may want reassurance that visible milestones are being reached, and delivery teams may need a more detailed record for review meetings.
Plan a small set of recurring outputs so communication remains consistent. A monthly overview, milestone clip or private portal update can be easier to use than a large download that arrives without a clear purpose.
Producing promotional videos for completed developments
A completed-development video can bring together the early site, major construction stages and finished result. It should be edited with the intended audience in mind and should not imply that the footage proves claims that are not supported by the project record.
Consider combining time lapse with approved still photography or drone imagery where it adds useful context. Confirm permissions, branding, music licensing and any privacy requirements before publishing the material.
Archiving footage for future reporting and case studies
An archive should preserve more than the final video. Keep original images where agreed, final exports, dates, camera locations, project notes and permissions in a controlled storage system. This gives you a better reference for future reporting, training or case-study development.
The construction footage archive offers another useful way to think about organising records across projects. You should still establish your own retention period, backup process and access rules with the relevant project and information-management teams.
Select a construction time lapse provider in Brisbane
Choosing a provider is a practical procurement decision as well as a creative one. You need confidence that the proposed system suits the site, the installation can be completed safely and the footage will remain accessible for the duration of the project. Ask for enough detail to compare like with like.
The best conversation starts with your goals, program, site constraints and final uses. A provider should be able to explain what it will do, what it will not do and how changes will be handled without relying on vague assurances.
Evaluating experience with local construction projects
Ask whether the provider has worked with projects similar in duration, scale and environment. Commercial, civil, high-rise and infrastructure sites each create different challenges around viewpoint, access, safety and data management.
Request examples that show the quality of the complete process, from planning and installation through to final delivery. A polished video alone does not tell you how reliably the underlying record was captured.
Reviewing image quality, equipment, and service coverage
Compare sample footage at the resolution you expect to receive, not only compressed web previews. Review image stability, exposure changes, clarity, viewpoint and how well the sequence shows progress across different phases.
Construction Time Lapse Specialists combines durable systems with secure remote portal access for viewing site progress. Ask how that approach would be configured for your site, including camera positions, connectivity, power and the people who need access.
Checking installation, maintenance, and data security
Your agreement should explain who installs and tests the equipment, how maintenance is arranged and what happens if the camera is damaged or loses connectivity. It should also state where images are stored, who can access them and how footage is supplied at the end of the project.
For a broader comparison, you can review construction monitoring options, then return to the specific installation, support and storage terms offered for your site. Keep the assessment focused on documented inclusions rather than assumptions about features.
Comparing pricing, deliverables, and contract terms
A meaningful quote should separate equipment, installation, monitoring, maintenance, storage, editing and any extra visits. Confirm whether the price covers the entire filming period and what happens if the build is delayed or the camera must be relocated.
As part of your wider research process, keep unrelated planning material separate from the construction brief, including this Belgium sponsorship guide, Medicare review checklist, no-time-limit trading guide, Anoman AI, and SBO Mood Boost. The comparison itself should stay grounded in your project requirements, approved deliverables and contractual responsibilities.
Conclusion
A successful construction time lapse Brisbane project starts with a clear purpose and continues through careful camera planning, dependable scheduling, secure access and practical archiving. When you match the equipment and service model to the site, the footage can support communication, reporting, marketing and a lasting record of the build.
Frequently Asked Questions
What is construction time lapse used for?
It is used to document progress over time, communicate milestones, support project reporting, create marketing content and preserve a visual record of the construction process.
When should you install a construction time lapse camera?
Install it before the first milestone you need to document, allowing time for a site survey, permissions, mounting, testing, power and connectivity checks.
How often should a construction camera capture images?
The interval depends on the project phase, site activity, daylight, storage capacity and desired final video length. More frequent capture is not always necessary during slow periods.
Can time lapse footage support project reporting?
Yes. It can complement written reports by showing the sequence and visible development of the site, although it should not replace formal records, inspections or compliance documentation.
What should you consider when choosing a camera position?
Choose a stable, safe position with a clear view of meaningful work across the project. Check future obstructions, sunlight, privacy, access, weather exposure and the likely changes to the site layout.
How do you protect a camera on an active construction site?
Use a secure mount and suitable weather protection, route cables safely, keep the equipment clear of moving plant and include inspection and maintenance responsibilities in the project plan.
What should a provider quote include?
A quote should explain the equipment, installation, capture period, power, connectivity, maintenance, storage, remote access, editing, final formats, support and the process for delays or relocation.