Key Takeaways
A useful camera setup starts with what the project needs to document, not resolution alone. Plan the view, power, connectivity and access together so the record remains useful throughout the build.
- Choose image quality and capture frequency to suit the work and the final use of the footage.
- Match the camera’s weather protection, power and connectivity to actual site conditions.
- Plan a stable viewpoint that shows meaningful change without creating blind spots.
- Estimate storage and set secure access before capture begins.
- Check image quality, camera status and backup arrangements throughout the project.
What a 4K construction camera can do
A 4K construction camera can make a visual record easier to inspect, share and use in project discussions. Its value depends on more than pixel count: the viewpoint, capture schedule and changing site conditions all affect what the footage shows. Construction Time Lapse Specialists provides 4K cameras, remote monitoring and expert support for construction projects across Brisbane and Queensland. Before choosing a system, consider the decisions the images need to support.
Capture site progress in fine detail
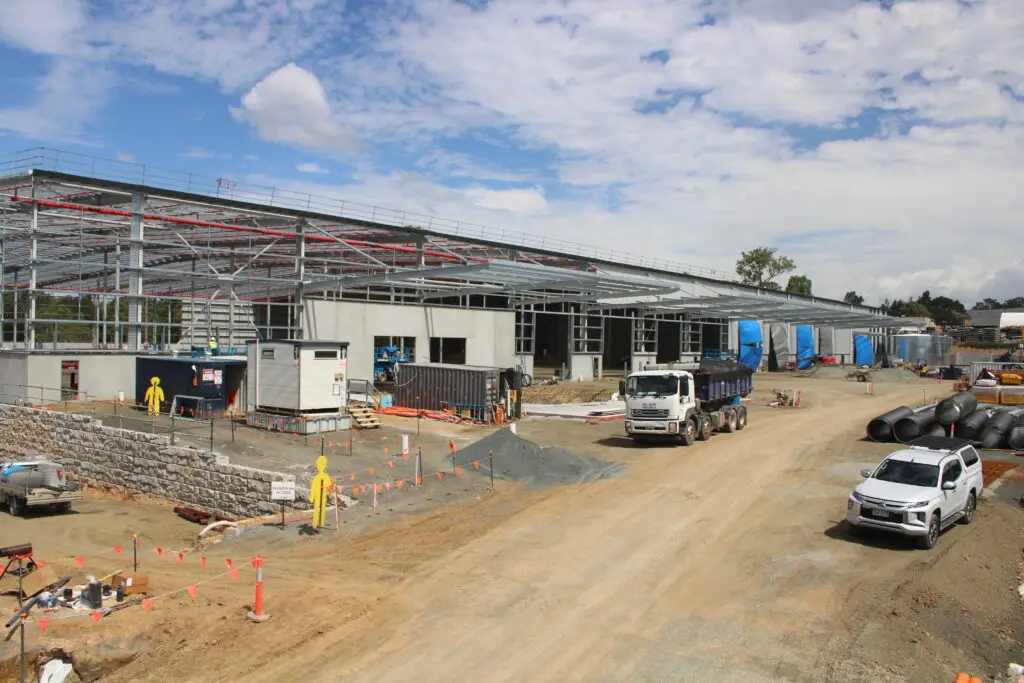
Higher-resolution images can make details easier to inspect when a camera is correctly positioned and the subject is within a useful part of the frame. That can help teams review visible changes across a site, but resolution cannot compensate for an obstructed view or a camera aimed at the wrong area. Think about the parts of the build stakeholders will need to see, then assess whether the camera can show them at a useful scale. Useful detail depends on framing as much as the specification.
Create time-lapse footage for project updates
A sequence of images taken over time can condense a long build into a concise visual record. Decide whether the finished footage is mainly for internal progress reviews, stakeholder updates or later project communications, since each use may call for a different framing and capture schedule. Construction Time Lapse Specialists offers construction time-lapse photography and camera installations, with 4K clarity among the documented service capabilities. For a broader look at the practical decisions involved, use this 4K camera guide as a companion to your project planning.
Support remote monitoring and documentation
Remote viewing can help project stakeholders check site progress without being physically present, while a consistent visual record can support reporting and project communication. The camera still needs a dependable way to send or store images, and someone should be responsible for checking that it is working as intended. MotionLapse describes systems with remote monitoring through 4G/5G connectivity and progress videos through a secure online portal. For additional aerial views in Brisbane and the Gold Coast, Panorama Drone Inspection provides photography and video, including roof and asset inspections.
Understand the limits of resolution
A high-resolution image is not automatically a complete record. Distance, lens choice, weather, exposure and the angle of view all influence how much useful information an image contains. A wide view may show the overall site while making an individual task harder to inspect; a closer view can show detail but leave other areas outside the frame. Match the chosen resolution to the project’s actual review needs rather than treating the largest number as a guarantee.
Match the camera to your project
The right setup depends on project duration, site access and the kind of record your team needs. A camera intended to produce periodic progress footage is not automatically suited to live viewing or security monitoring. It helps to define these needs before comparing equipment or arranging installation. Construction Time Lapse Specialists works with commercial, civil and infrastructure projects, so the intended use and site conditions should guide the brief.
Consider project length and site conditions
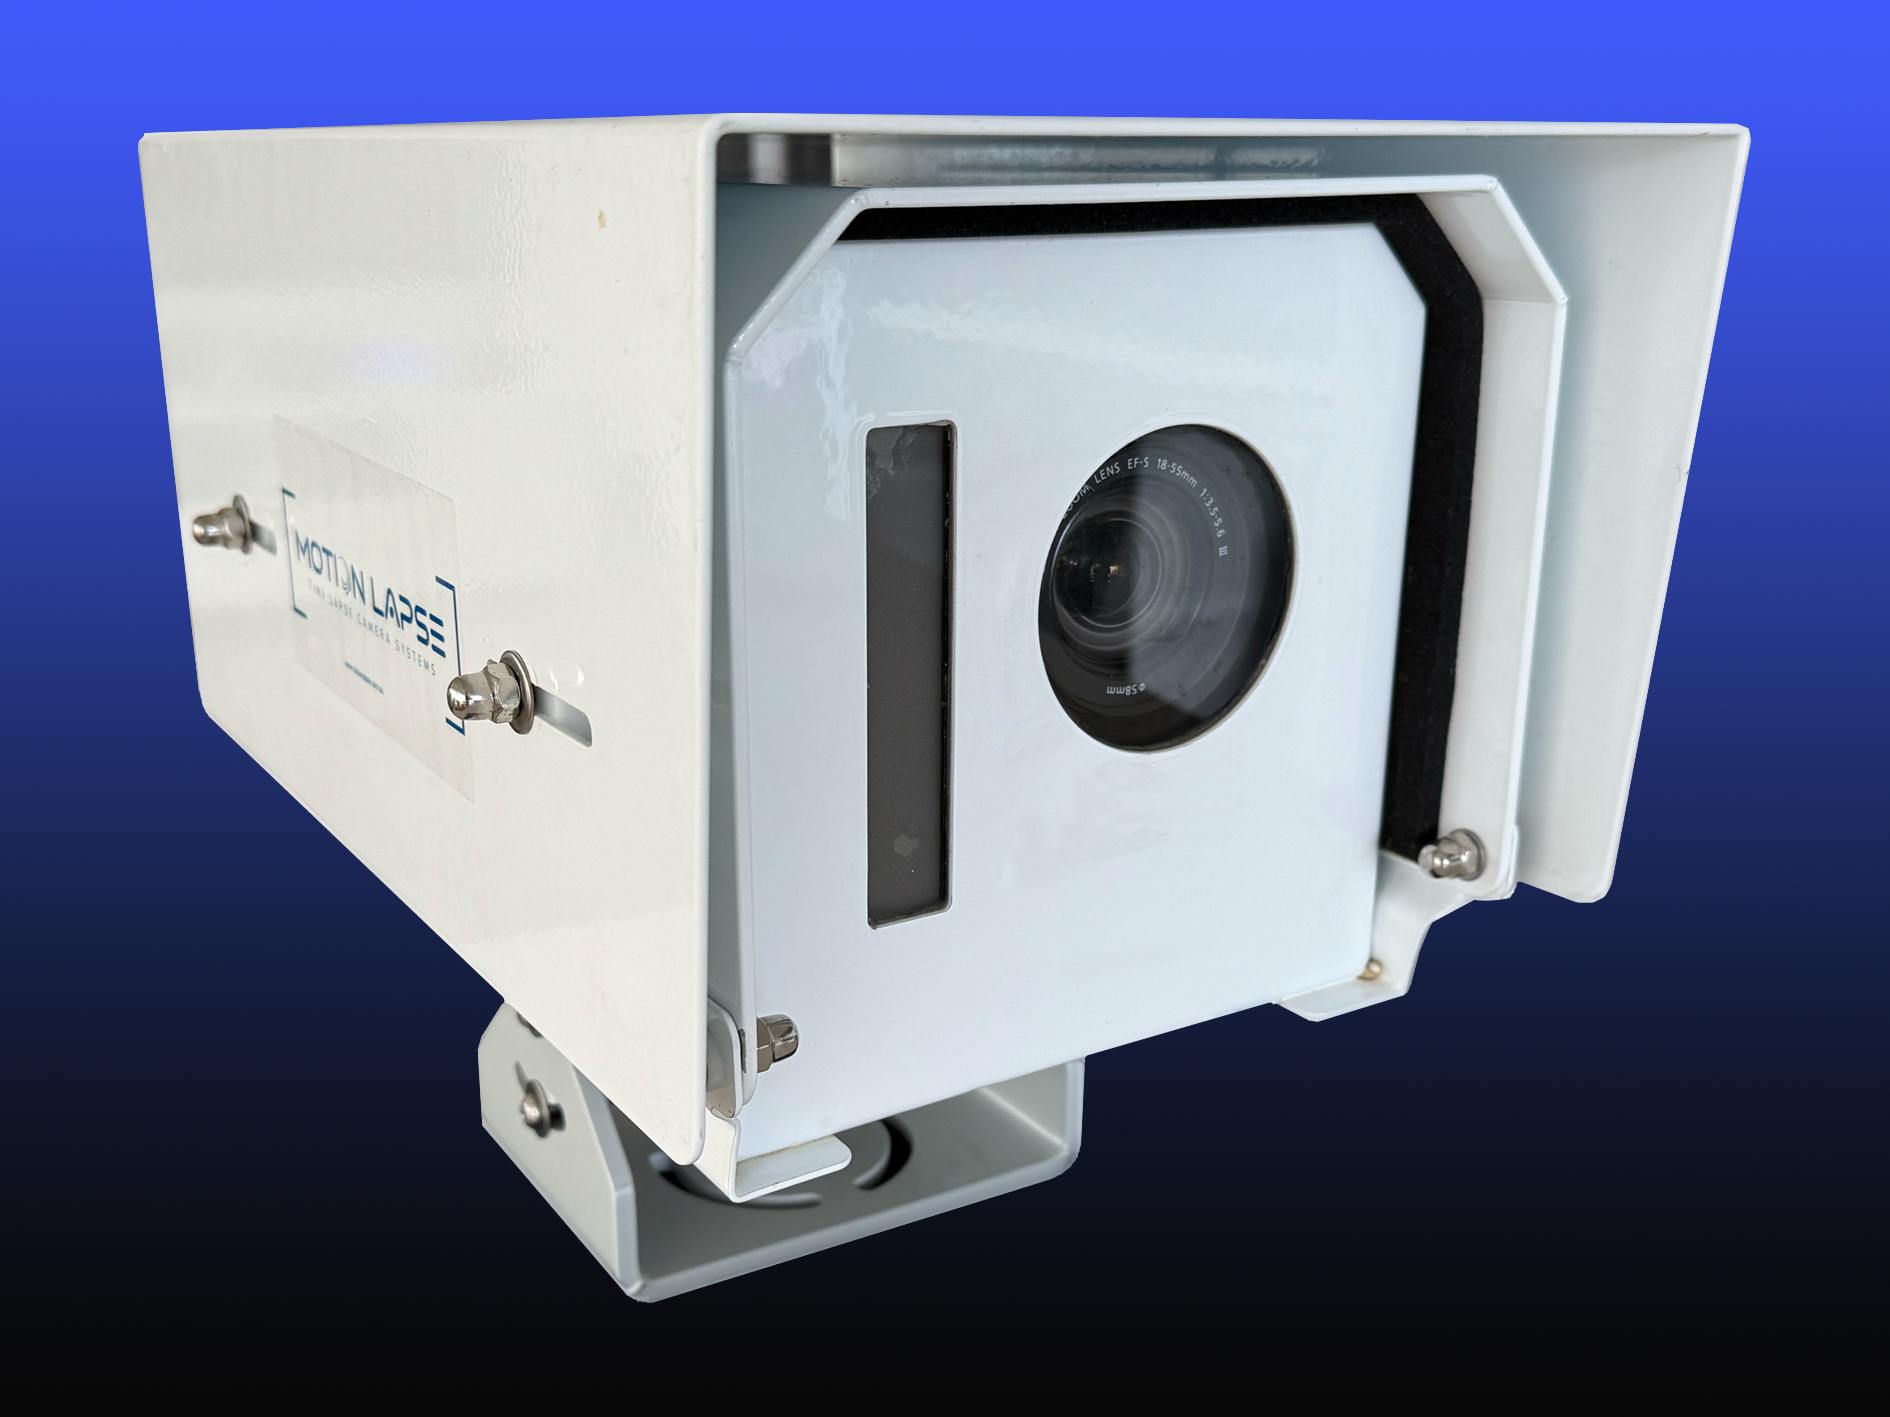
Start with the expected length of the build and whether the site will change substantially over that period. A system installed for a short stage may have different power and access needs from one that must document work through to handover. Consider exposure to weather, dust, vibration and changes around the camera location, then confirm that the proposed equipment and maintenance plan suit the conditions. If you are weighing alternatives, portable diffusers and construction cameras are plainly different purchases, but both illustrate why the operating context matters more than a generic feature list.
Choose between time-lapse, live streaming and security
Clarify what the project needs the camera to do. Time-lapse is suited to showing change across a period; live viewing is useful when stakeholders need a current view; security monitoring has its own coverage and operational requirements. Some setups may support more than one purpose, but confirm the documented capabilities rather than assuming one camera covers every need. This camera format comparison offers another perspective on the distinctions among construction camera formats.
Decide whether fixed or portable installation suits the site
A fixed position can provide a consistent viewpoint over time, which makes progress easier to compare from one capture to the next. A portable arrangement may be preferable where work moves across the site or access is likely to change, but relocation can alter framing and complicate comparisons. Decide how often the camera may need to move, who will approve a new position and how the visual record will stay consistent. If you are also considering aerial perspectives, drone inspection services are a separate way to capture site imagery rather than a substitute for a fixed time-lapse view.
Check who needs access to the footage
List the people who need to view, manage or share the recordings, including project staff, contractors and clients. Agree on who can grant access and whether files may be downloaded or shared outside the project team. Keep the arrangement straightforward enough that authorised stakeholders can find the footage when they need it. Resources on patient information address a different sector, but the basic need to set clear access responsibilities applies to project records too.
Compare key camera features
A feature list is most useful when it is checked against the actual site and recording plan. Ask how the camera will perform in changing conditions, where it will get power and how images will be transferred or stored. A capable specification is only helpful if the system can operate reliably in its intended position. Compare the practical implications, not just the headline terms.
Assess image quality in changing light
Check how the camera is expected to cope with the light at the proposed viewpoint, including changes through the day and across seasons. Buildings, cranes and temporary structures can cast new shadows as work progresses, so review whether the chosen angle will remain useful. Ask to see representative images where possible, and consider whether the most important areas will be legible at the times they are captured. A test view before long-term recording can reveal problems early.
Check weather resistance and operating temperature
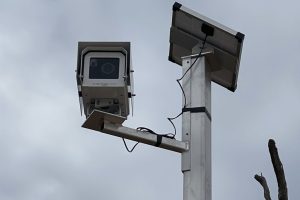
Outdoor equipment needs to suit the exposure it will actually face. Confirm the stated weather protection and operating range for the selected camera, rather than assuming all equipment described as rugged has the same rating. Also think about how the camera will be checked after severe weather or nearby site work. MotionLapse describes systems with IP66 protection, but the rating of any proposed equipment should be confirmed against its own specifications and installation conditions.
Compare power options and battery life
Power planning should account for the intended capture schedule, available services and practical access to the mounting point. Some projects may have mains power available; others may require a different approach, such as solar power, if appropriate to the location and system. Ask what happens if the expected power source is interrupted and who will notice. The following comparison helps turn broad options into questions for the installer.
| Power approach | Useful question | Site consideration |
|---|---|---|
| Mains power | Is a suitable supply available? | Confirm safe access and continuity. |
| Solar power | Can the location support the chosen system? | Consider exposure and obstructions. |
| Battery-supported setup | How long can it operate as configured? | Plan checks and replacement or recharge. |
Treat these as planning prompts, not a substitute for the camera’s specifications. MotionLapse lists solar or mains power as options for its systems; confirm the configuration and expected operating conditions for the particular project before settling on a plan.
Review connectivity, storage and remote access
Connectivity affects how quickly stakeholders can view footage and how much data can be transferred from site. Check which networks are available at the installation point, what happens during an outage and whether recordings can also be retained locally. Establish who controls remote access and where the project’s files will ultimately live. For teams exploring project ideas in unrelated fields, App Idea Report addresses a different kind of evaluation; for camera selection, keep the comparison grounded in site connectivity and record-keeping needs.
Plan installation and camera positioning
The installation determines what the camera can show for the life of the project. A stable mount and a deliberate view make it easier to compare images over time, while site changes can introduce new obstructions or hazards. Plan the location with the construction team, taking account of both the intended visual record and safe access for installation and servicing. Construction Time Lapse Specialists provides camera installations, so agree on the site requirements before work begins.
Select a stable mounting point with a useful overview
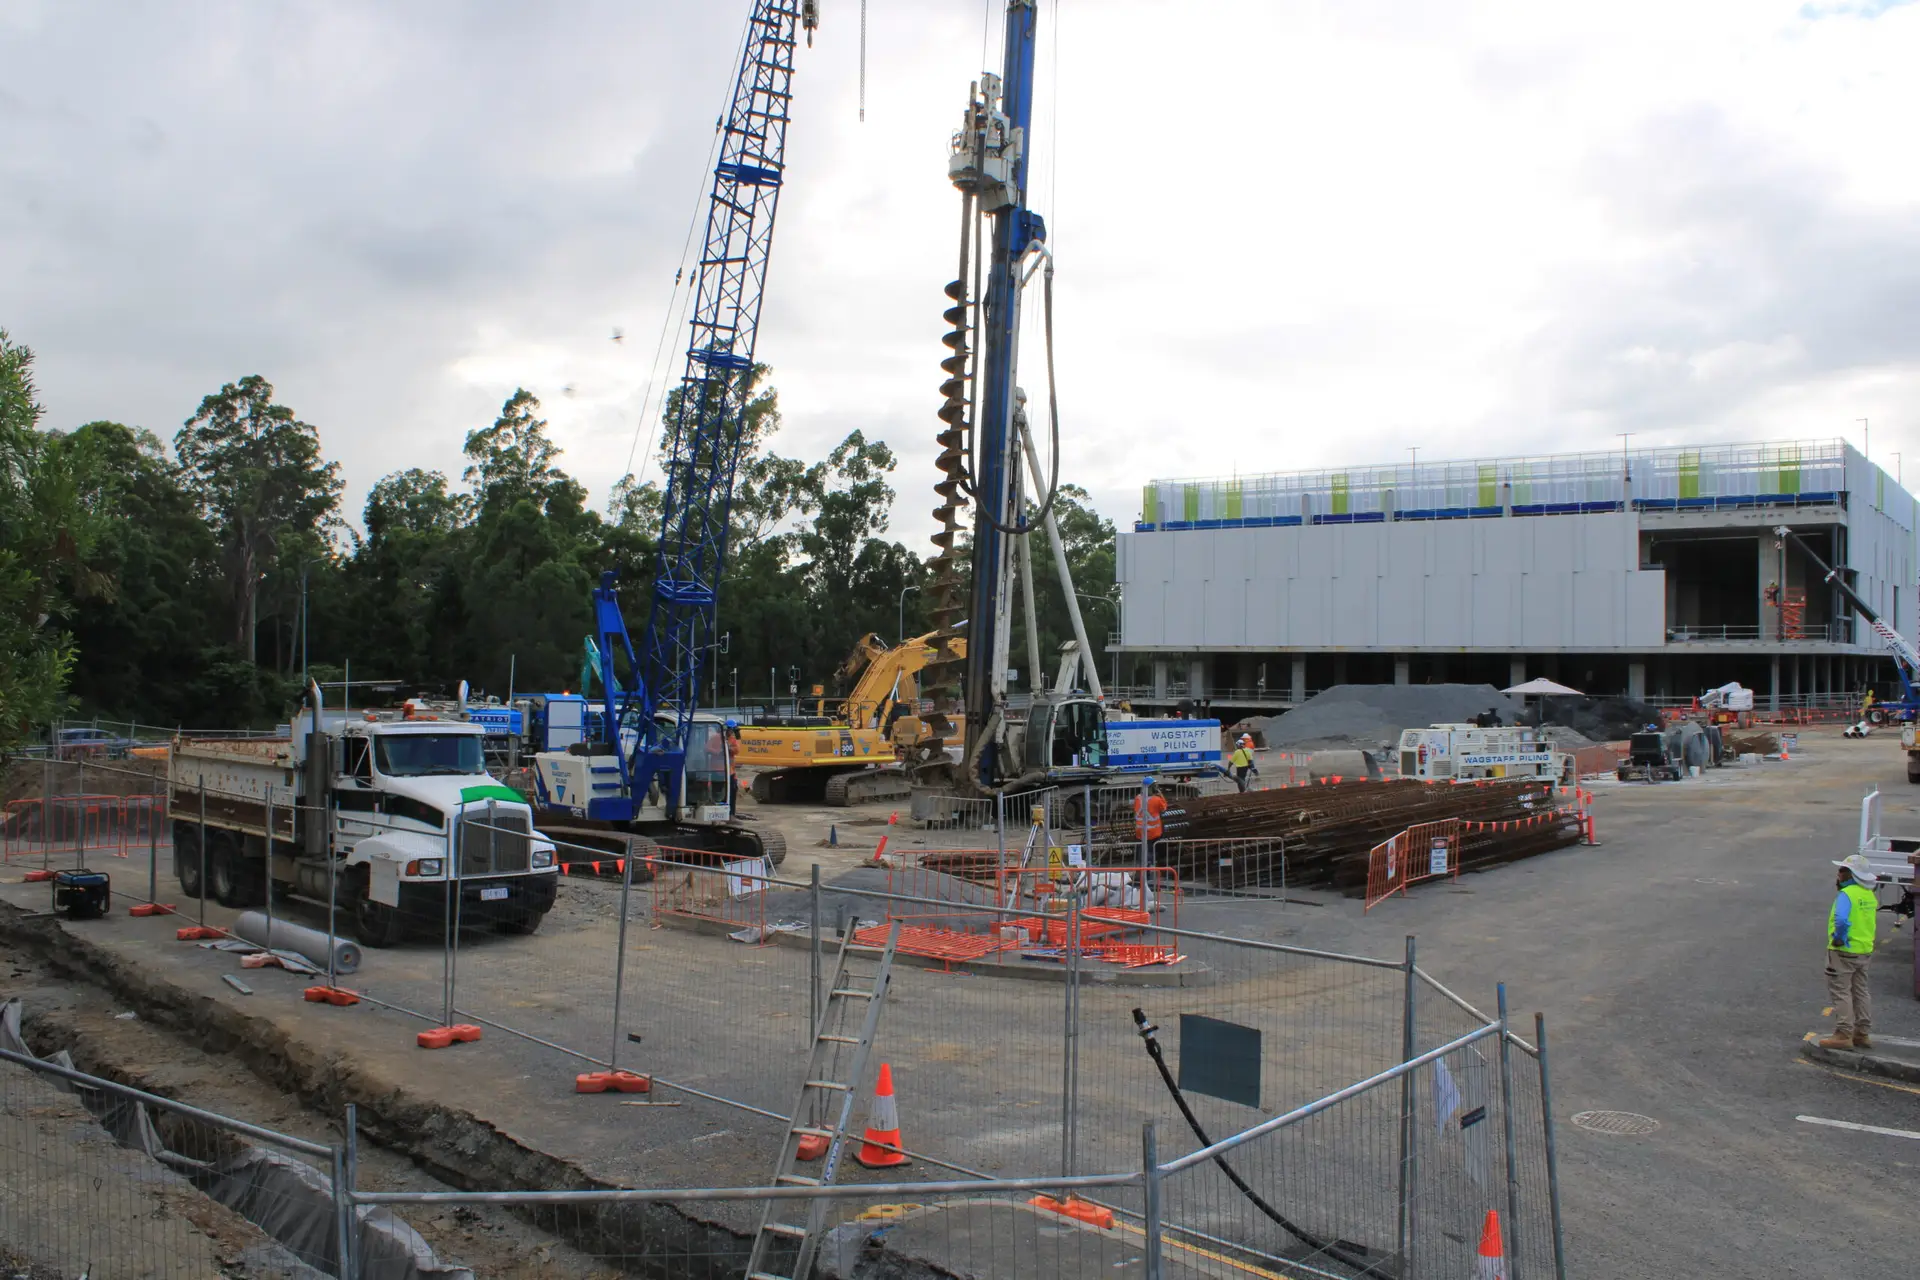
Look for a secure position that provides a broad, relevant view and is unlikely to be moved during normal site operations. Consider whether nearby structures, plant or future work could block the camera, and whether the mounting point can remain available throughout the build. A good overview is not necessarily the highest or widest possible view; it is the one that includes the areas stakeholders need to review. Confirm the position with the team responsible for site access and installation.
Frame the site to show meaningful progress
Choose the parts of the project that matter most to the intended viewers, such as a work area or a sequence of construction stages. Keep enough context in the frame to make changes understandable, without giving so much space to inactive areas that key work becomes difficult to see. A framing review before regular capture begins can help identify a better angle. For useful placement ideas, this camera positioning guide covers practical considerations for a construction time-lapse view.
Avoid glare, obstructions and changing site hazards
Walk through the likely view at different times of day and consider whether direct light, reflections or shadows could affect the images. Check for fences, signs, temporary structures and vegetation that may block the frame as the site evolves. It is also worth reviewing how cranes or other moving equipment could cross the view. Build in a simple way for the site team to report a new obstruction or hazard before it undermines the record.
Arrange safe installation and maintenance access
Installation should be planned around the site’s safety procedures and the equipment’s location, not treated as an informal add-on. Confirm who is responsible for authorising access, completing checks and arranging any work at height. Make sure the camera can be serviced without interfering with construction operations or creating unnecessary exposure to risk. A clear maintenance plan also makes it easier to respond if framing or equipment status changes.
Set up capture, storage and sharing
A camera produces a useful record only if its schedule, storage and access arrangements are workable. Set these up before regular capture starts, and check that they align with project reporting needs and the available connection. Keep the process simple enough for the people who will manage it during the build. Decisions made early can prevent gaps or confusion when a milestone needs to be reviewed.
Choose a capture interval that suits the work schedule
The capture interval should reflect how quickly meaningful site changes occur and how the footage will be reviewed. A rapid interval may create many images without improving the story of a slow-moving project; a longer interval may miss short, important stages. Consider the work programme and any reporting cadence, then review a sample sequence to see whether it communicates progress clearly. Adjust settings when the project moves into a different phase, if the system allows it.
Estimate storage needs for long-running projects
Estimate the volume of material based on project duration, capture frequency and the file format or quality selected. Leave room for continued recording and any copies needed for handover or reporting, rather than planning only for the first few weeks. Confirm who will monitor available capacity and what the process is if storage approaches its limit. A written estimate gives the project team a basis for deciding how footage will be retained.
Configure uploads and backups for available connectivity
Check whether the upload plan suits the connection available at the site and the amount of material the camera will create. Where connectivity is inconsistent, agree how recordings will be retained until a transfer can be completed and how the team will know if uploads have stopped. Keep an independent backup where the project’s retention requirements call for one. Construction Time Lapse Specialists describes secure remote portal access for viewing site progress; confirm the storage and backup arrangements that apply to the selected service.
Set permissions for clients, contractors and project teams
Agree on access before sharing footage, and give each person only the permissions needed for their role. Decide who can invite users, remove access when responsibilities change and approve downloads or external sharing. Keep a record of the agreed process so it survives staff changes and project handover. The same basic discipline applies across very different categories, from hoofdkussen shopping to project documentation, though camera footage needs rules suited to the site and its stakeholders.
Review footage and manage project risks
Regular checks help keep the visual record useful as the site and project requirements change. Review more than whether the camera appears to be powered on: confirm that images are clear, framing remains relevant and uploads or storage are behaving as planned. Agree who performs those checks and how issues are escalated. These small routines make problems easier to spot before they create a long gap in the record.
Check image quality and camera status regularly
Set a recurring review of recent images and camera status, with additional checks after significant site changes or severe weather. Look for blur, glare, new obstructions and changes to the view, as well as signs that capture or transfer has stopped. Keep the review proportionate to the project, but make it frequent enough to catch issues while they can still be corrected. Documenting checks can also help the team understand when a problem began.
Protect recordings with secure access controls
Limit access to people with a clear project need and use the access controls available in the chosen system. Decide how credentials are issued, updated and removed, especially when a contractor or team member leaves the project. Avoid treating a shared link as a substitute for a clear access policy. Keep storage and sharing practices consistent with the project’s information management requirements.
Confirm privacy and site-consent requirements
Before recording begins, check site rules, stakeholder expectations and any applicable privacy or consent requirements. Frame the camera to focus on relevant work areas and avoid capturing neighbouring property or people unnecessarily. Explain the purpose of recording to the appropriate parties and follow the project’s process for handling concerns. Requirements can depend on the location and circumstances, so seek suitable advice where needed.
Keep a backup plan for outages or equipment failure
Decide in advance what the team will do if power, connectivity or camera equipment fails. Identify who will be notified, how the cause will be checked and whether temporary capture or a replacement arrangement is practical. Keep any recovery steps and relevant contacts accessible to the people responsible for the system. For a project-specific conversation about construction time-lapse cameras and installation, request a quote from the service team.
Conclusion
Choosing a 4K construction camera is a matter of matching the image, installation and operating plan to the project’s real needs. A stable view, suitable power and connectivity, considered storage and secure access all contribute to a record that remains useful from the first capture through handover.