Key Takeaways
A remote construction site camera can help teams view activity and document progress between site visits. The right setup depends on what you need to see, site conditions and how footage will be used.
- Decide whether your priority is live viewing, security, progress records or a combination.
- Choose camera type and features to suit the site and project duration.
- Plan viewpoints, power and connectivity before installation.
- Set clear rules for access, privacy and footage retention.
- Review coverage and usefulness during the project, then adjust if needed.
What a remote construction site camera does
A remote construction site camera lets authorised users view images or video from a site without being there in person. Depending on the system, it may provide a live feed, recorded footage or a sequence of images documenting change over time. The value comes from matching the camera to a defined purpose, rather than assuming one setup can meet every need. Construction Time Lapse Specialists provides 4K cameras and remote monitoring for construction projects, alongside time-lapse photography and camera installations.
How live viewing and recorded footage work
Live viewing gives users a view of conditions at a particular moment, while recorded footage can be reviewed later to understand what happened or how work progressed. Some systems also capture still images at intervals, creating a visual record that can be compared across days or project stages. Before choosing, check how footage is accessed, how long it is stored and whether users can retrieve the relevant time period. A remote monitoring guide can help teams think through coverage and how camera visibility fits alongside on-site supervision.
Common uses across construction projects
Teams use cameras for different reasons: to review progress, check site conditions between visits, support incident follow-up or create material for project updates. A single viewpoint can be useful for a broad overview, while more than one camera may be needed where the site is extensive or work is happening in separate areas. For a project that needs a visual record, construction site camera hire is one option to consider alongside project duration, installation and footage management.
Who needs access to camera feeds
Access is usually most useful when it is limited to people with a clear reason to view the site. Project managers might check general progress, while a client or stakeholder may need selected updates rather than an unrestricted feed. Agree who can view, share or download footage, and review permissions when responsibilities change. The aim is to make information available to the right people without turning a camera feed into a substitute for site communication.
How cameras differ from standard CCTV
A camera system intended for construction may be selected for more than security: it can also support progress tracking and project documentation. Standard CCTV is commonly associated with watching live areas and reviewing footage after an event, whereas time-lapse capture records change over a longer period. Some projects need one function, some need both. If clearer records are central to the brief, a 4K construction camera guide can help compare image quality and intended use.
Key benefits for construction teams
Remote viewing can make it easier to keep an eye on a project when travel is difficult or when stakeholders are spread across locations. It does not remove the need for site inspections, supervision or direct conversations with crews. Instead, it adds another source of visual information for planning and reporting. The strongest benefit is often a shared view of progress, provided the camera position and access arrangements are agreed from the outset.
Monitoring progress without frequent site visits
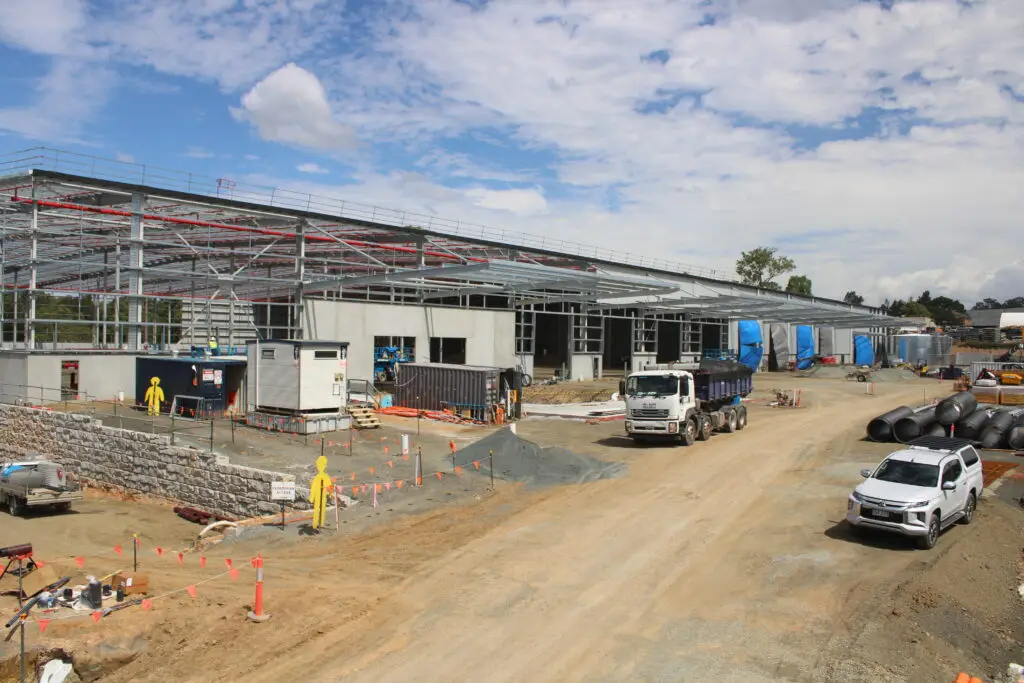
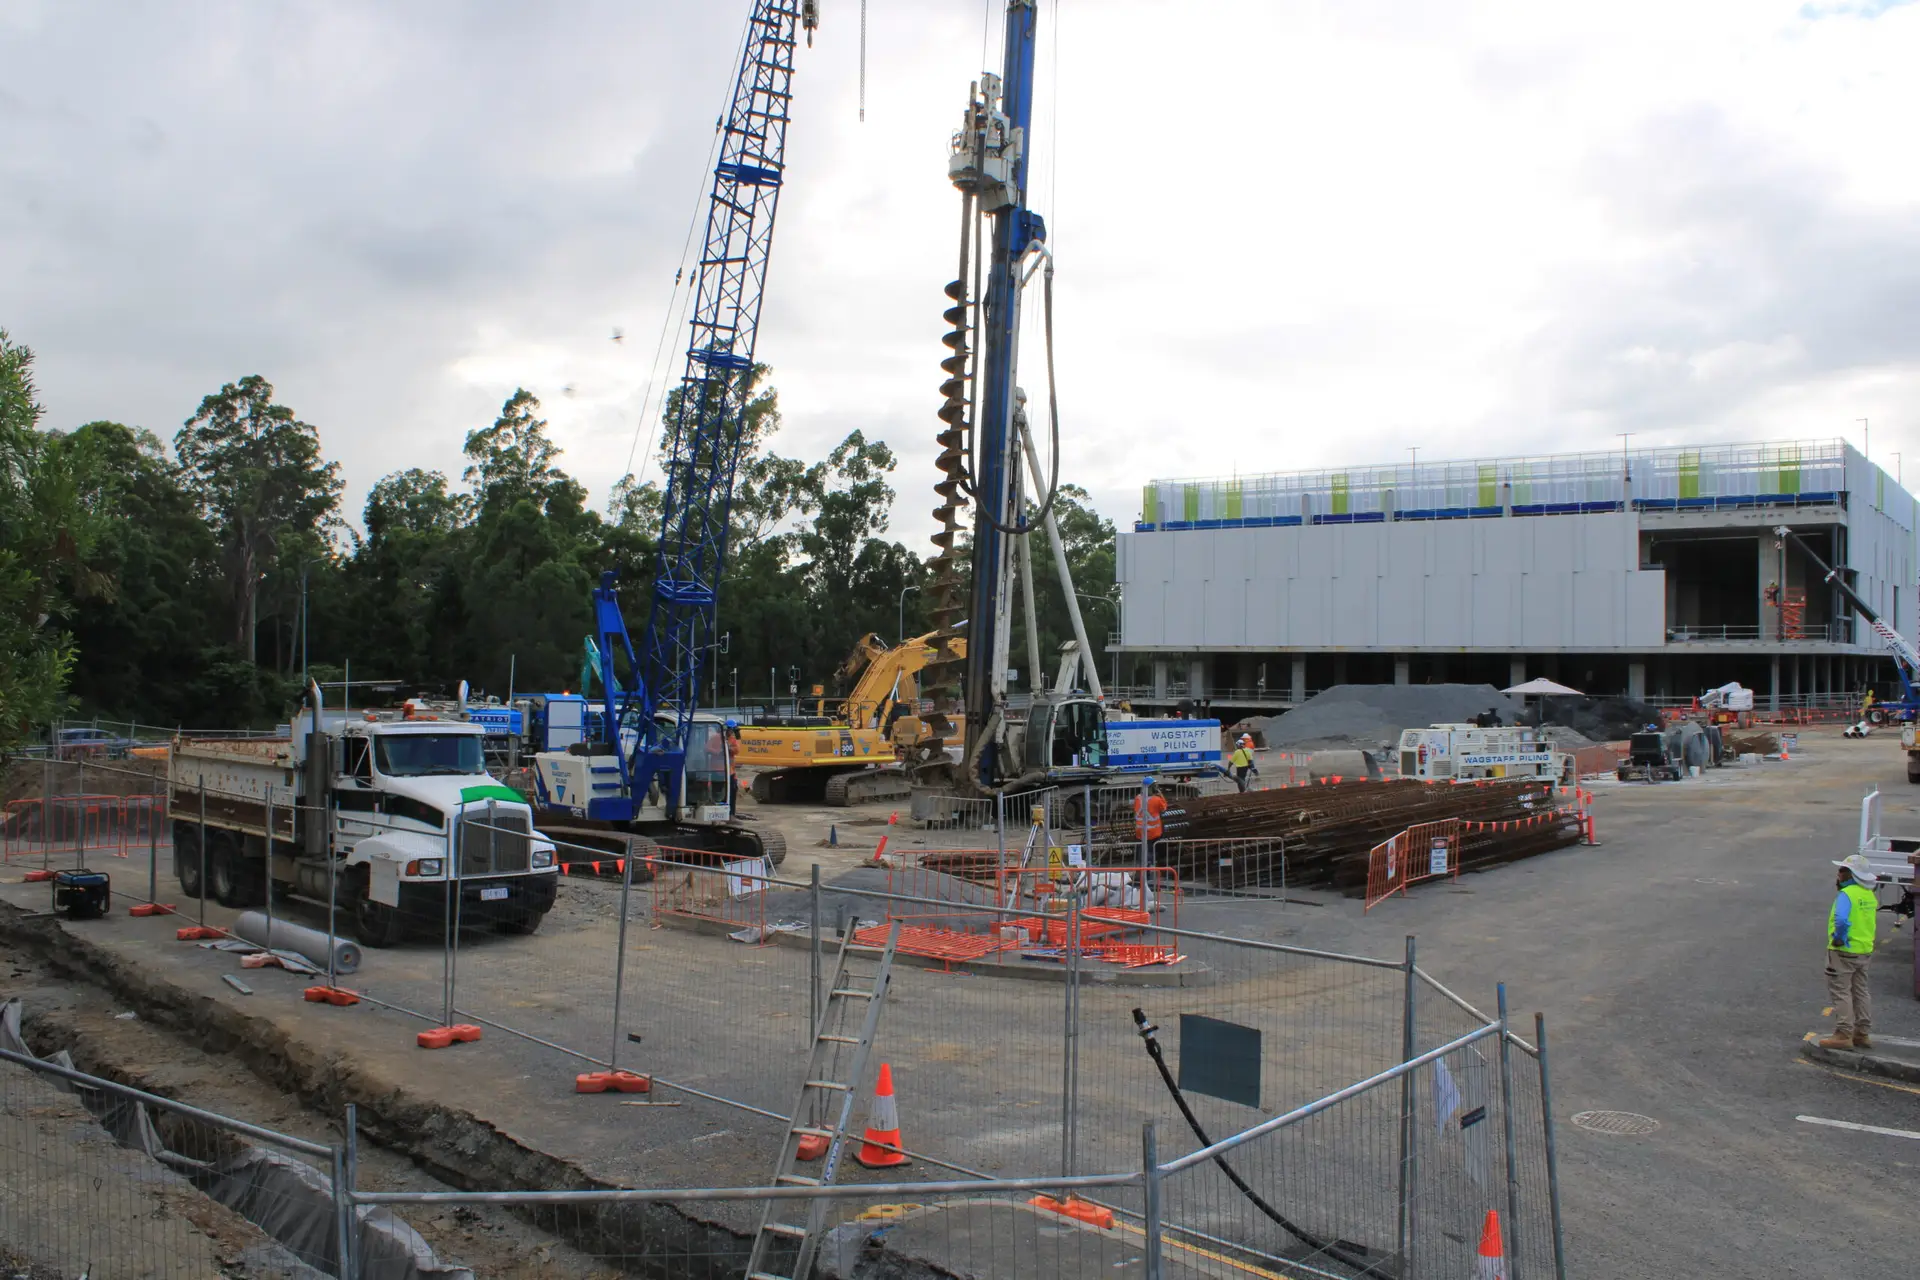
A camera can give project staff a view of visible work between planned visits, helping them prepare questions or identify changes that need checking in person. It is most useful when the viewpoint is stable and the team knows what it can, and cannot, show. Construction Time Lapse Specialists offers secure remote portal access for viewing site progress, supporting remote visibility for authorised stakeholders. Camera imagery should inform decisions, not replace direct verification where a task, measurement or safety condition requires it.
Improving security and incident response
A camera may help teams check activity around a site and review footage following an incident, depending on the system and its configuration. Before relying on it for security, clarify whether anyone is actively monitoring alerts or whether footage is only reviewed after the fact. The distinction matters: a camera that records an event does not necessarily trigger a response. Agree who receives alerts, who checks them and how concerns are escalated through existing site procedures.
Keeping clients and stakeholders informed
A well-chosen view can help explain visible progress to people who cannot visit regularly. It can support a project update, but footage should be presented with context: what stage the work is at, what has changed and what the image does not show. When still photography is also required, teams working in that region can compare Southwest Florida photographers for local photography and videography options. For construction projects, align any external imagery with the brief, site permissions and reporting schedule.
Creating a visual record of project milestones
Images captured consistently from a stable viewpoint can help illustrate change between milestones. A record is easier to use when teams note dates, capture intervals and any changes in camera position, so comparisons remain meaningful. The camera itself is only part of the record; storage, retrieval and clear naming conventions matter too. Construction Time Lapse Specialists also provides drone imaging and high-resolution photography, offering additional visual perspectives where the project calls for them.
Camera types and features to compare
Camera choices range from a fixed view to equipment that can move or capture images over time. The most suitable option depends on what the team needs to observe, how frequently it needs updates and the conditions on site. Features can sound similar in a supplier description, so compare them against actual tasks. A practical construction camera selection guide can help organise questions about connectivity, power, placement and access.
Fixed cameras, PTZ cameras and time-lapse cameras
A fixed camera covers one direction, which can suit a consistent overview or a particular access point. A PTZ camera can pan, tilt and zoom, allowing users to inspect different areas remotely if the system supports those controls. A time-lapse camera captures images at set intervals to show change over a longer period. Some systems may combine functions, but confirm the exact configuration rather than assuming that live viewing and time-lapse are both included.
Image quality, night vision and weather resistance
Image quality affects how clearly people can interpret the view, especially when the camera is mounted high or aimed across a large area. Night vision, weather protection and lens performance should be assessed against actual lighting, exposure and seasonal conditions at the site. Ask what the quoted equipment is rated to withstand and how image quality changes in low light. A technical specification is useful, but a planned viewpoint and a site check can show whether the view is fit for purpose.
Motion alerts, analytics and recording options
Some systems can record continuously, capture on a schedule or respond to detected motion; availability varies by camera and service. Analytics and alerts should be assessed carefully, including what triggers them and how users can review a notification. The following comparison can help focus a supplier discussion on practical outcomes rather than feature labels.
| Requirement | Question to ask | Why it matters |
|---|---|---|
| Live viewing | Can authorised users view the camera remotely? | Clarifies access between site visits. |
| Recording | Is footage continuous, scheduled or event-based? | Helps establish what evidence will be available. |
| Alerts | What activity triggers a notification? | Sets expectations for response and false alarms. |
| Storage | How long can footage be retained? | Affects later review and project records. |
Use the answers to confirm that the chosen setup fits the way the team will actually work. An alert is only useful if someone is assigned to review it, and recording is only useful if the relevant footage can be found when needed.
Mobile access and user permissions
Remote access is practical when authorised users can view the system from the places where they work, including on a mobile device if that is supported. Check whether accounts can be managed individually and whether permissions can be changed as the project team evolves. Avoid shared logins where possible, since they make it harder to understand who has accessed footage. Set expectations for downloading or sharing images as well as for viewing them.
Planning camera placement and connectivity
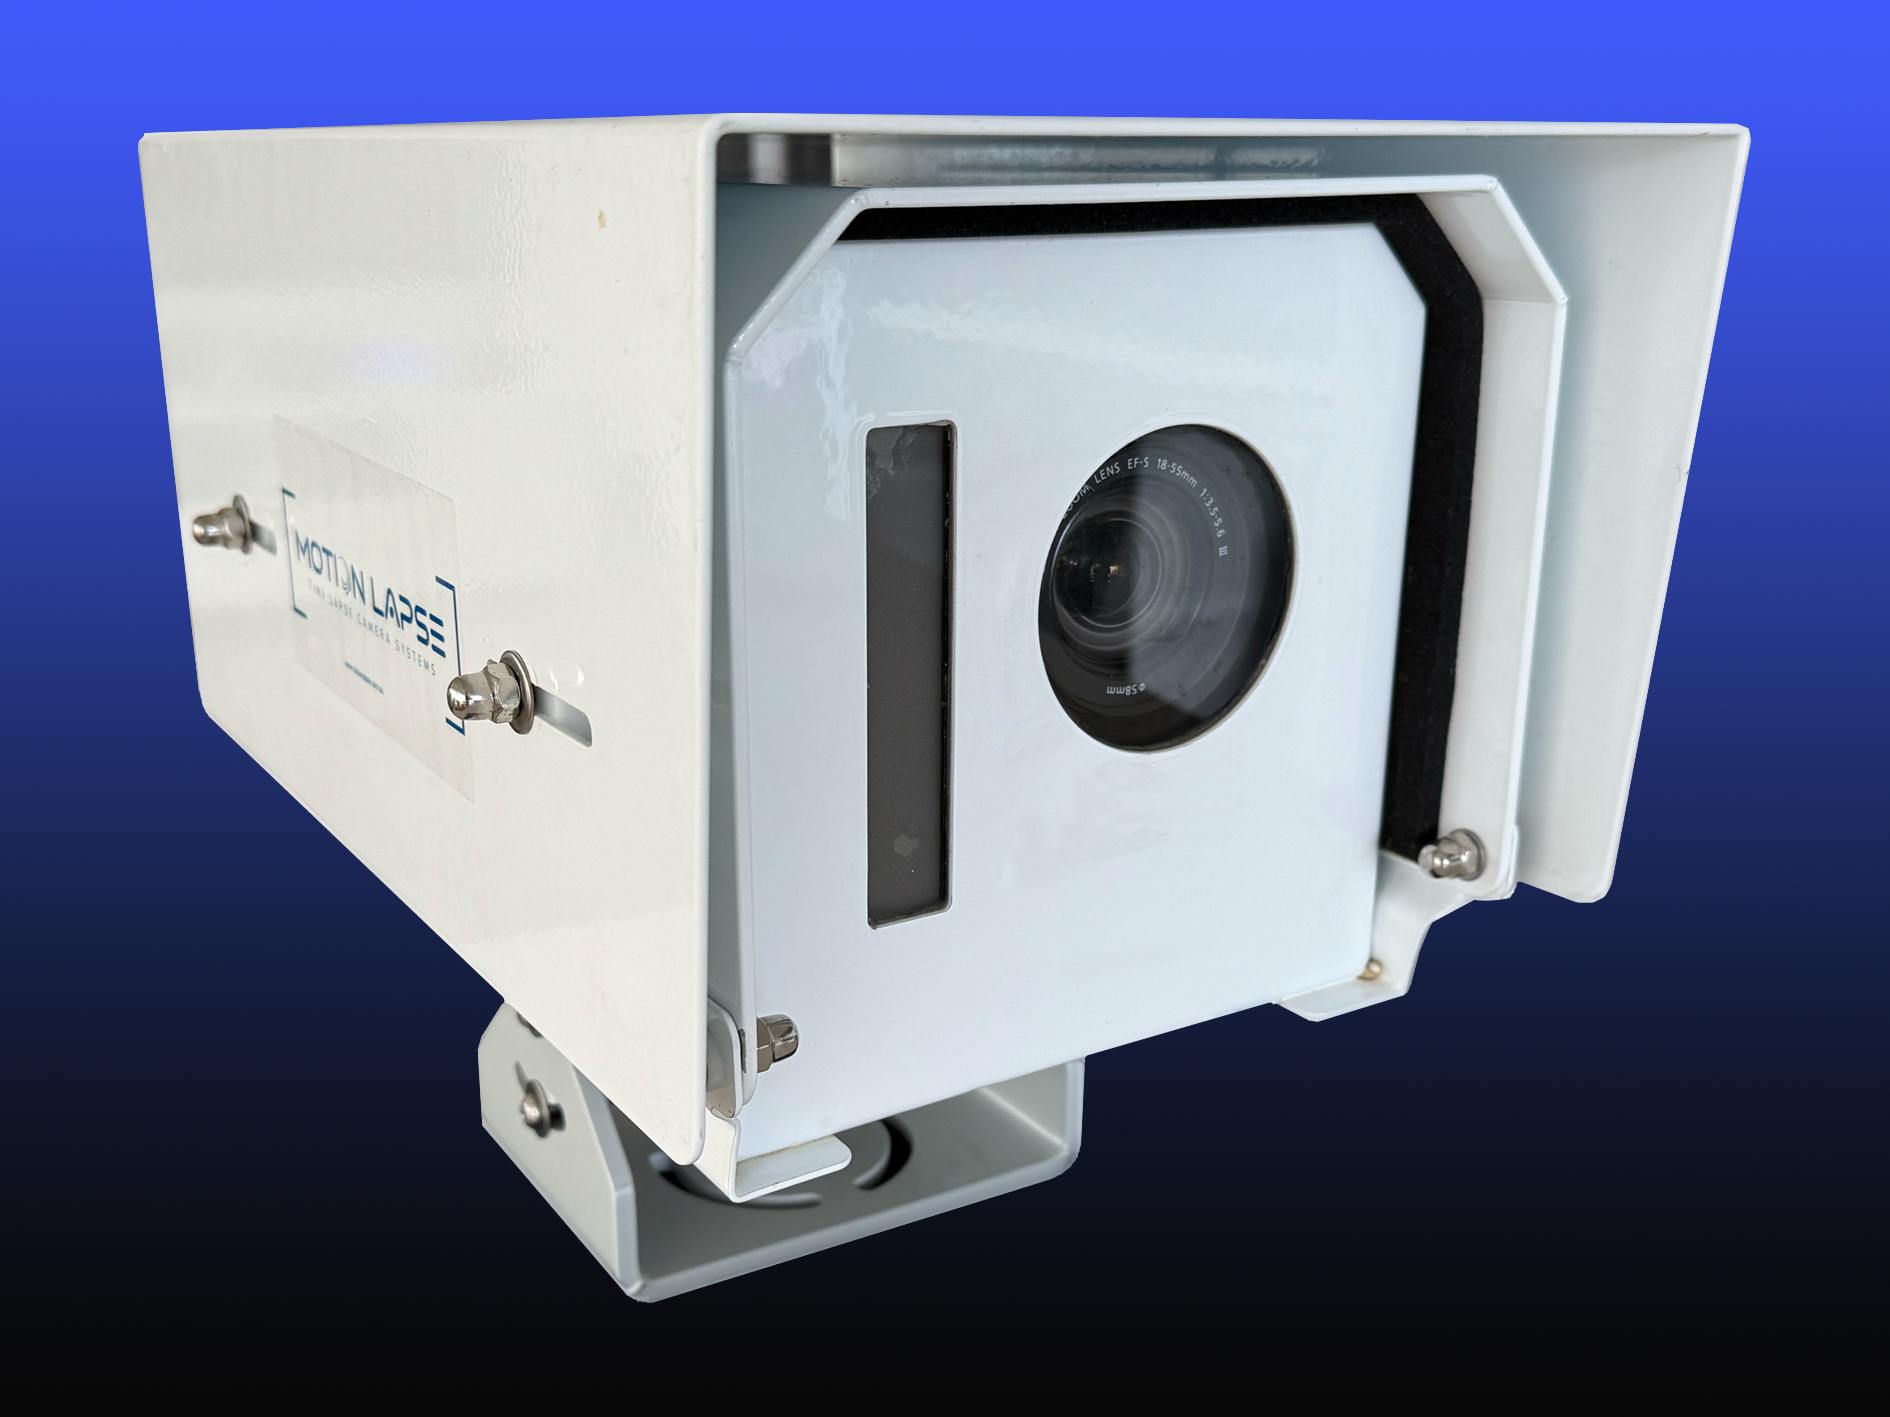
A camera can only show what its position, lens and surroundings allow it to show. Planning should start with the activities and areas that matter, then work backwards to suitable mounting points, power and communications. Conditions often change as a site develops, so placement is not a one-off decision. Construction Time Lapse Specialists installs camera systems for construction projects; a construction time-lapse camera planning guide offers further considerations for viewpoints, capture and remote access.
Choosing viewpoints for coverage and progress tracking
Start by marking the areas that need a clear view, such as the main work zone, a site entrance or a key stage of construction. Check whether structures, plant or temporary storage will obstruct the image as the project changes. A high, stable viewpoint can show broad progress, while a closer view may be better for a specific work area. Test the framing before installation is finalised, and document the intended view so later changes are deliberate rather than accidental.
Checking power options at temporary sites
Temporary sites may not have a convenient power supply at the required camera location, so confirm the available options before selecting equipment. Check the system’s requirements, expected operating conditions and what happens if power is interrupted. Where solar power is being considered, assess shade and maintenance needs separately from the camera’s own power requirements; solar panel output provides background on factors that affect solar generation. Do not assume that a solar arrangement will suit every site or camera without checking the specification.
Comparing mobile, Wi-Fi and wired connections
The right connection depends on coverage, reliability, installation constraints and how much data the system needs to send. Wi-Fi may be workable where a suitable network reaches the camera, while wired connections can require additional site infrastructure. Mobile connectivity can be considered where signal is adequate, but verify reception at the proposed camera position rather than relying on a general coverage map alone. For any option, confirm who is responsible for setup and what happens if the connection drops.
Accounting for blind spots and changing site layouts
Walk the site with the planned camera view in mind and note areas blocked by buildings, hoardings, materials or machinery. Consider how cranes, scaffolding and temporary works may alter the view over time. A regular review can reveal whether the camera still covers the intended area or whether it should be moved. If the camera is relocated, record the change and date so that images from different viewpoints are not mistaken for a continuous comparison.
How to choose a camera system
Begin with the questions the camera is meant to answer, then match equipment and service arrangements to those needs. A short project may call for a different setup from a long programme with changing stages and several stakeholders. Compare the total arrangement, not just the camera body: installation, access, storage and support can all affect whether the system is usable. The construction time-lapse camera guide also discusses project documentation and sharing progress updates.
Matching coverage to project size and duration
Consider the physical size of the site, the number of important work areas and how far the project is expected to run. A single viewpoint may be enough for a compact project with one clear focus, while a larger or more complex site may need multiple views. Duration affects image capture plans, storage needs and maintenance arrangements. Set out the project’s key stages and required views before requesting proposals, so suppliers can respond to a defined scope.
Assessing storage, access and support requirements
Ask where footage is stored, who can access it and how long it remains available. Confirm whether users can download or share files and whether support is available if access or equipment fails. These details influence how the camera fits into reporting and incident processes. For the project record, define a naming and retrieval approach early, rather than relying on someone to remember when an image was captured.
Comparing subscription and equipment costs
Compare costs over the full project term and include installation, ongoing service, storage and any charges for changes or removal. A purchase and a hire arrangement may allocate maintenance and support differently, so check what is included rather than comparing headline figures alone. Teams may also be weighing camera hire against purchase; hire or purchase costs is a useful comparison when planning the budget. The best-value arrangement is the one that meets the brief without leaving essential responsibilities unclear.
Checking installation needs and compatibility
Confirm mounting requirements, site approvals and any constraints around working at height or near active operations. Check that the proposed camera, power arrangement and connection work together, and ask what equipment is included in the installation. If the site has restricted access or a changing layout, agree how maintenance and adjustments will be completed safely. Written confirmation of responsibilities can prevent gaps between the installer, project team and service provider.
Deploying cameras securely and responsibly
A camera system needs clear operating rules as well as sound installation. Decide who can access live views and recordings, what footage is kept and how requests are handled. Site boundaries and the privacy of workers or neighbouring properties should be considered before the camera is switched on. Keep the arrangements under review as the project team, layout and purpose change.
Setting strong passwords and access controls
Use individual accounts where the system supports them, and give users only the access needed for their role. Set strong passwords, change default credentials and remove accounts promptly when someone no longer needs access. Review permissions when contractors or project responsibilities change. These simple steps make access easier to manage and reduce the chance of footage being viewed or shared by someone without approval.
Protecting footage and managing retention
Agree how footage is stored, who is responsible for it and how long it is retained. Keep a clear process for finding and exporting the material needed for project records, while avoiding indefinite storage without a defined purpose. Confirm whether backups are available and who can authorise their use. Retention should reflect the project’s operational and compliance requirements, with any legal or contractual obligations checked by the appropriate adviser.
Respecting worker privacy and site boundaries
Aim cameras at the work areas they are intended to monitor and avoid capturing neighbouring properties or spaces where people have a reasonable expectation of privacy. Explain the purpose of cameras to workers and visitors using the site’s normal communication processes. Limit access and sharing to legitimate project needs. Where the intended view changes, review whether the new framing remains appropriate before continuing to record.
Maintaining equipment in changing conditions
Dust, weather, vibration and site activity can affect equipment and image quality. Include checks for lens cleanliness, mounting stability, power and connection in a suitable maintenance routine. Arrange any work at height or near machinery through the site’s safety procedures, rather than treating a camera check as a casual task. Record faults and adjustments so the team knows when a gap in coverage may have occurred.
Measuring value during the project
The value of a camera system is clearest when teams connect it to a practical project need. That might mean a more useful progress review, footage available after an incident or a visual record that stakeholders can understand. Define a few measures before deployment and review them as the project proceeds. That makes it easier to tell whether the original setup still fits.
Tracking security incidents and response times
If security is a key objective, record the relevant incidents, how they came to the team’s attention and how long it took to respond. Compare the camera’s role with existing site procedures, without assuming that recording alone prevents incidents. Review whether footage was clear and available when needed, and whether alert arrangements worked as intended. Use the findings to adjust procedures or coverage where there is a practical reason to do so.
Reviewing progress against project milestones
Use dated images or footage to support milestone reviews, looking at what has changed since the previous checkpoint. A consistent viewpoint makes comparisons easier, while project notes help explain why an area looks different. Camera imagery can illustrate progress but does not establish completion of work on its own. Use it alongside site reports, inspections and other project records where those are required.
Gathering feedback from site teams and clients
Ask site teams whether the view is useful, whether access works smoothly and whether the system creates extra tasks. Clients and other stakeholders can comment on whether the updates help them understand progress. Feedback can reveal that a camera is pointed at the wrong area, that sharing is too limited or that image intervals do not suit the reporting cycle. When construction companies are developing broader project communication, construction SEO services may also be relevant to their online visibility and project portfolio needs.
Deciding when to adjust or relocate cameras
Revisit placement when new structures, equipment or temporary works block a view, or when project priorities shift to a different work area. Keep a note of the reason, date and new position so the visual record stays interpretable. Changes should be planned with site access, safe installation and privacy in mind. For disciplined supplier selection, the principles in trading club selection concern a different field, but its emphasis on clear rules and accountability is a useful general reminder to define responsibilities before committing.
When choosing or reviewing the system, keep the purpose visible: what the team needs to see, who needs access and what action follows from the information. Camera coverage is one part of a wider project process, not a substitute for good supervision or communication. Even a carefully planned setup may need adjustment as the site changes. A focused review helps ensure the equipment remains useful through each stage of work.
For readers comparing everyday nutrition resources, plant-based protein choices address a very different topic; the broader lesson is that recommendations need to fit individual requirements rather than being treated as universal. In a construction camera decision, use the project brief and site conditions to guide the choice.
Plan your project coverage
To discuss a camera installation or construction time-lapse photography for an upcoming project, contact the team to talk through the site, intended views and reporting needs.
Conclusion
A remote construction site camera is most effective when its purpose, placement, connectivity and access rules are agreed before deployment and reviewed as work progresses. Match the system to the project rather than relying on a feature list, and treat footage as one useful part of sound site oversight and communication.