Key Takeaways
A well-planned aerial record can make a construction project easier to understand, review and communicate. The strongest results come from combining safe flight operations with consistent capture methods and disciplined file management.
- Define the decisions and deliverables the imagery must support before flying.
- Use repeatable viewpoints and schedules so progress comparisons remain meaningful.
- Treat CASA compliance, site coordination and hazard controls as part of the production plan.
- Match cameras and flight methods to the required level of detail, coverage and accuracy.
- Combine aerial imagery with ground photography and time-lapse records for a fuller project history.
Understanding the role of construction drone photography
Construction drone photography gives project teams a broad visual view of work that can be difficult to understand from ground level. It can support planning, communication, inspections and presentation, provided the images are captured consistently and interpreted in context. This guide considers aerial imagery as one part of a wider visual record rather than a replacement for drawings, site reports or professional inspection.
How aerial imagery supports construction planning
Before work begins, aerial images can show site boundaries, access points, neighbouring properties, stockpiles and existing conditions. They also give planners a shared reference for discussing staging, logistics and likely constraints. A dated baseline is particularly useful because later images can be compared with what was present before mobilisation.
The value is clearest when imagery is tied to a project question. A site manager may need to review access, while a client may need a simple view of the overall footprint. In both cases, the flight brief should explain what the image needs to show and how it will be used.
Progress tracking for project stakeholders
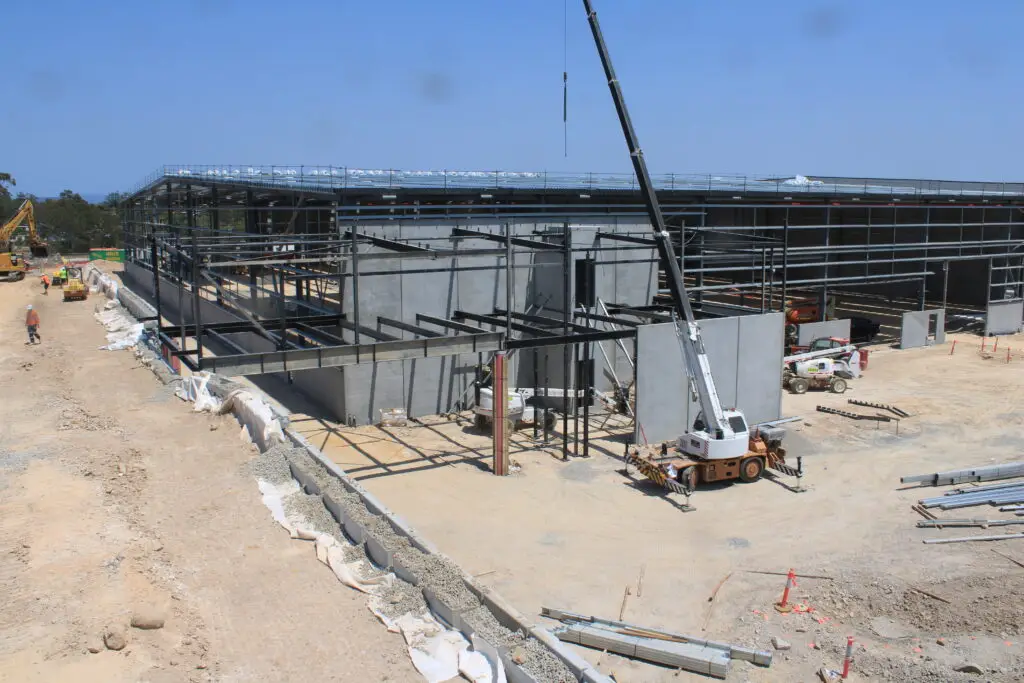
Regular aerial captures turn isolated photographs into a visual sequence. When the route, altitude and camera direction remain broadly consistent, stakeholders can see changes in excavation, structure, roofing, services and external works without relying solely on written descriptions. This is especially helpful for people who cannot attend the site regularly.
A useful progress image is not necessarily dramatic. It should show enough surrounding context to locate the work, while retaining sufficient detail to confirm what has changed. Construction Time Lapse Specialists combines drone imaging with time lapse camera solutions and high-resolution photography, allowing project teams to view a site from multiple perspectives.
Site documentation, inspections and reporting
Aerial imagery can supplement site records by documenting access conditions, temporary works, roof areas, façade progress and broad site organisation. It may also help an inspector decide where closer investigation is warranted, although a photograph should not be treated as a technical finding on its own. Reports should identify the date, location, viewpoint and limitations of each capture.
For teams developing a consistent visual process, this construction imagery guide offers a useful reference for defining goals, frequency, coverage and equipment. The same discipline applies whether the final record is used for a monthly report, a handover archive or a discussion about site conditions.
Marketing and tender presentation benefits
Strong aerial images can explain the scale and setting of a completed project quickly. They can show the relationship between a building, its access routes and surrounding development, while carefully selected ground images reveal materials and workmanship. Marketing use should follow the same standards as project documentation: accurate captions, appropriate permissions and no misleading edits.
Presentation teams often borrow visual ideas from other industries, but the construction story still needs to remain factual. Examples such as Karma Hill Photography, Design Concepts, Green Grid Electrical and Frontburner Marketing demonstrate how different visual and communication disciplines frame their work; for a tender, the useful lesson is to match each image to a clear audience and purpose. Maui beach weddings are a very different subject, but they likewise show why location, sequence and context matter when a visual story must be understood quickly.
Planning a successful construction drone shoot
A productive flight begins well before the aircraft leaves the ground. The team needs to agree on the purpose of the capture, the people who will use the material and the format in which it will be delivered. Good planning reduces repeat flights, avoids gaps in coverage and helps the operator work around active construction safely.
Defining the project goals and required deliverables
Start with a short brief that describes the project stage, areas to cover and decisions the imagery will support. Specify whether the output is intended for a progress report, inspection reference, stakeholder update, tender presentation, map or edited video. It is also worth stating the required resolution, file format, naming convention and delivery date.
A brief can distinguish essential captures from optional material. That keeps the shoot focused and gives the operator a practical way to prioritise if weather, access or site activity changes during the visit.
Choosing the right capture schedule
The best frequency depends on the pace of work and the decisions being made. A major earthworks phase may justify more frequent captures than a period when work is less visually obvious. The schedule should also account for milestones such as slab pours, structural completion, façade installation and landscaping.
Weather and light affect the record, but consistency usually matters more than chasing perfect conditions. Keep a simple register of capture dates, project stages and notable site changes so a later viewer understands why one image differs from another.
Selecting flight paths and camera angles
Plan a small set of repeatable routes rather than improvising every visit. A high oblique view can establish the overall site, while lower passes may show façade work, materials or access arrangements. Avoid angles that place the sun directly into the lens or hide important areas behind cranes and temporary structures.
The route should be practical for the site at that moment. A path that was safe during excavation may be unsuitable once cranes, mobile plant or new work zones are introduced. Mark preferred viewpoints on a site plan and review them before each flight.
Coordinating with site managers and contractors
The operator needs current information about deliveries, lifting operations, exclusion zones, traffic movements and planned work. A short pre-flight conversation with the site manager can prevent conflicts and identify a safer time to capture a particular elevation. Workers should know when an aircraft is operating and who has authority to pause the flight.
A clear contact process matters after the flight as well. The project team should know who receives the files, how urgent issues are escalated and where the approved record is stored. For a coordinated visual programme, teams can plan a capture around project milestones rather than treating each flight as an isolated task.
Meeting Australian drone regulations and safety requirements
A construction site is a dynamic aviation environment, not an empty backdrop. Aircraft, cranes, power lines, vehicles, workers and members of the public may all affect the operation. In Australia, the responsible team must confirm the applicable CASA requirements and local conditions before every commercial flight.
Understanding CASA rules for commercial drone operations
Commercial operations may involve operator accreditation, aircraft requirements, permissions and operating limits that depend on the circumstances. The remote pilot remains responsible for conducting the flight within the approved conditions, maintaining required visual awareness and following the relevant rules. Project staff should not assume that a familiar site automatically makes a flight routine.
CASA guidance and current approvals should be checked rather than relying on an old template. A useful internal reference is this CASA compliance guide, particularly when a project involves controlled airspace, proximity to people or night operations.
Checking airspace, exclusion zones and local restrictions
Before attending site, check airspace information, temporary restrictions and any relevant facility or event constraints. The physical site boundary may not match the area that must be protected during the flight. Consider neighbouring roads, rail corridors, schools, hospitals, public areas and other locations where people may be present.
The operator should record the checks and identify any permissions or notifications required. Conditions can change between visits, so a previous approval or route should not be copied forward without review.
Managing people, vehicles and site hazards
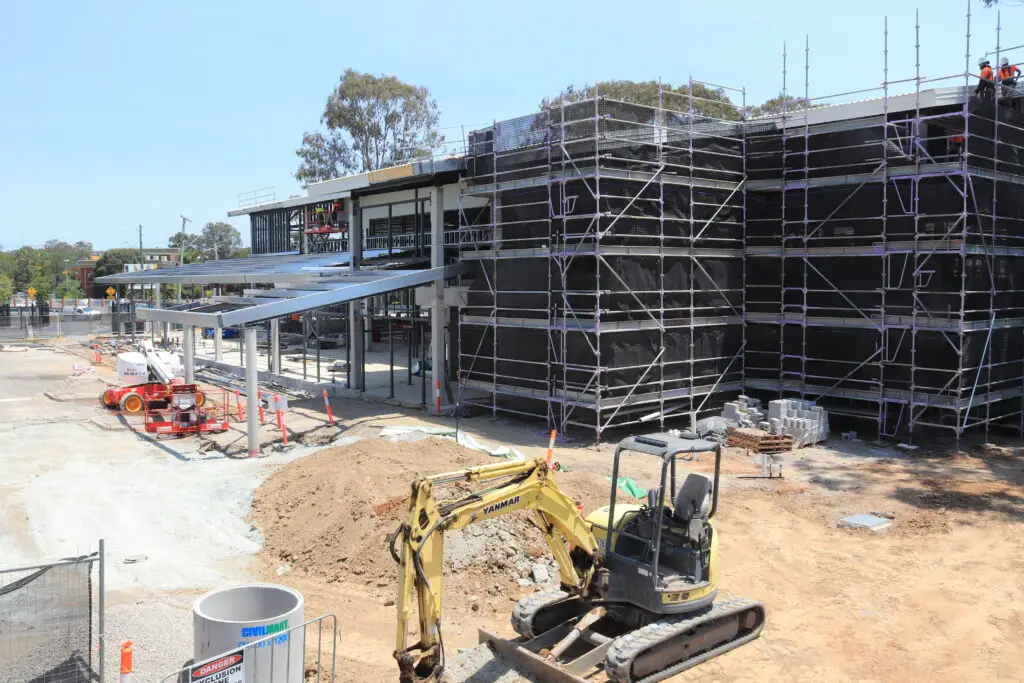
Construction hazards require active coordination. Keep the aircraft clear of workers, mobile plant, cranes, suspended loads and temporary structures, and use a defined take-off and landing area. Wind, dust, glare and electromagnetic interference may also affect the operation or the quality of the imagery.
A practical pre-flight check should cover:
- people and vehicle movements near the launch and recovery area;
- overhead obstructions, cranes, cables and unfinished structures;
- weather, visibility, wind and the aircraft’s battery condition;
- emergency landing options and communication with the site contact.
These checks are simple, but they create a repeatable habit. If the site changes during the flight, the pilot should reassess rather than continue because the original plan looked suitable.
Creating a documented risk assessment and flight plan
A written risk assessment should describe the operation, hazards, controls, responsible people and stop conditions. The flight plan can then set out the route, height, operating area, timing, communications and contingency arrangements. Keep both documents with the project record so the capture can be understood later.
The assessment should be proportionate to the work, but not superficial. A short flight over an active high-rise site may present more risk than a longer operation over a quiet, open area, so duration alone is not a useful measure of complexity.
Choosing drones, cameras and supporting equipment
Equipment should follow the brief, not the other way around. A small site may need only clear stills from repeatable viewpoints, while a large civil project may require broader coverage, mapping outputs or more complex coordination. The operator should explain what the equipment can reliably produce and what it cannot establish.
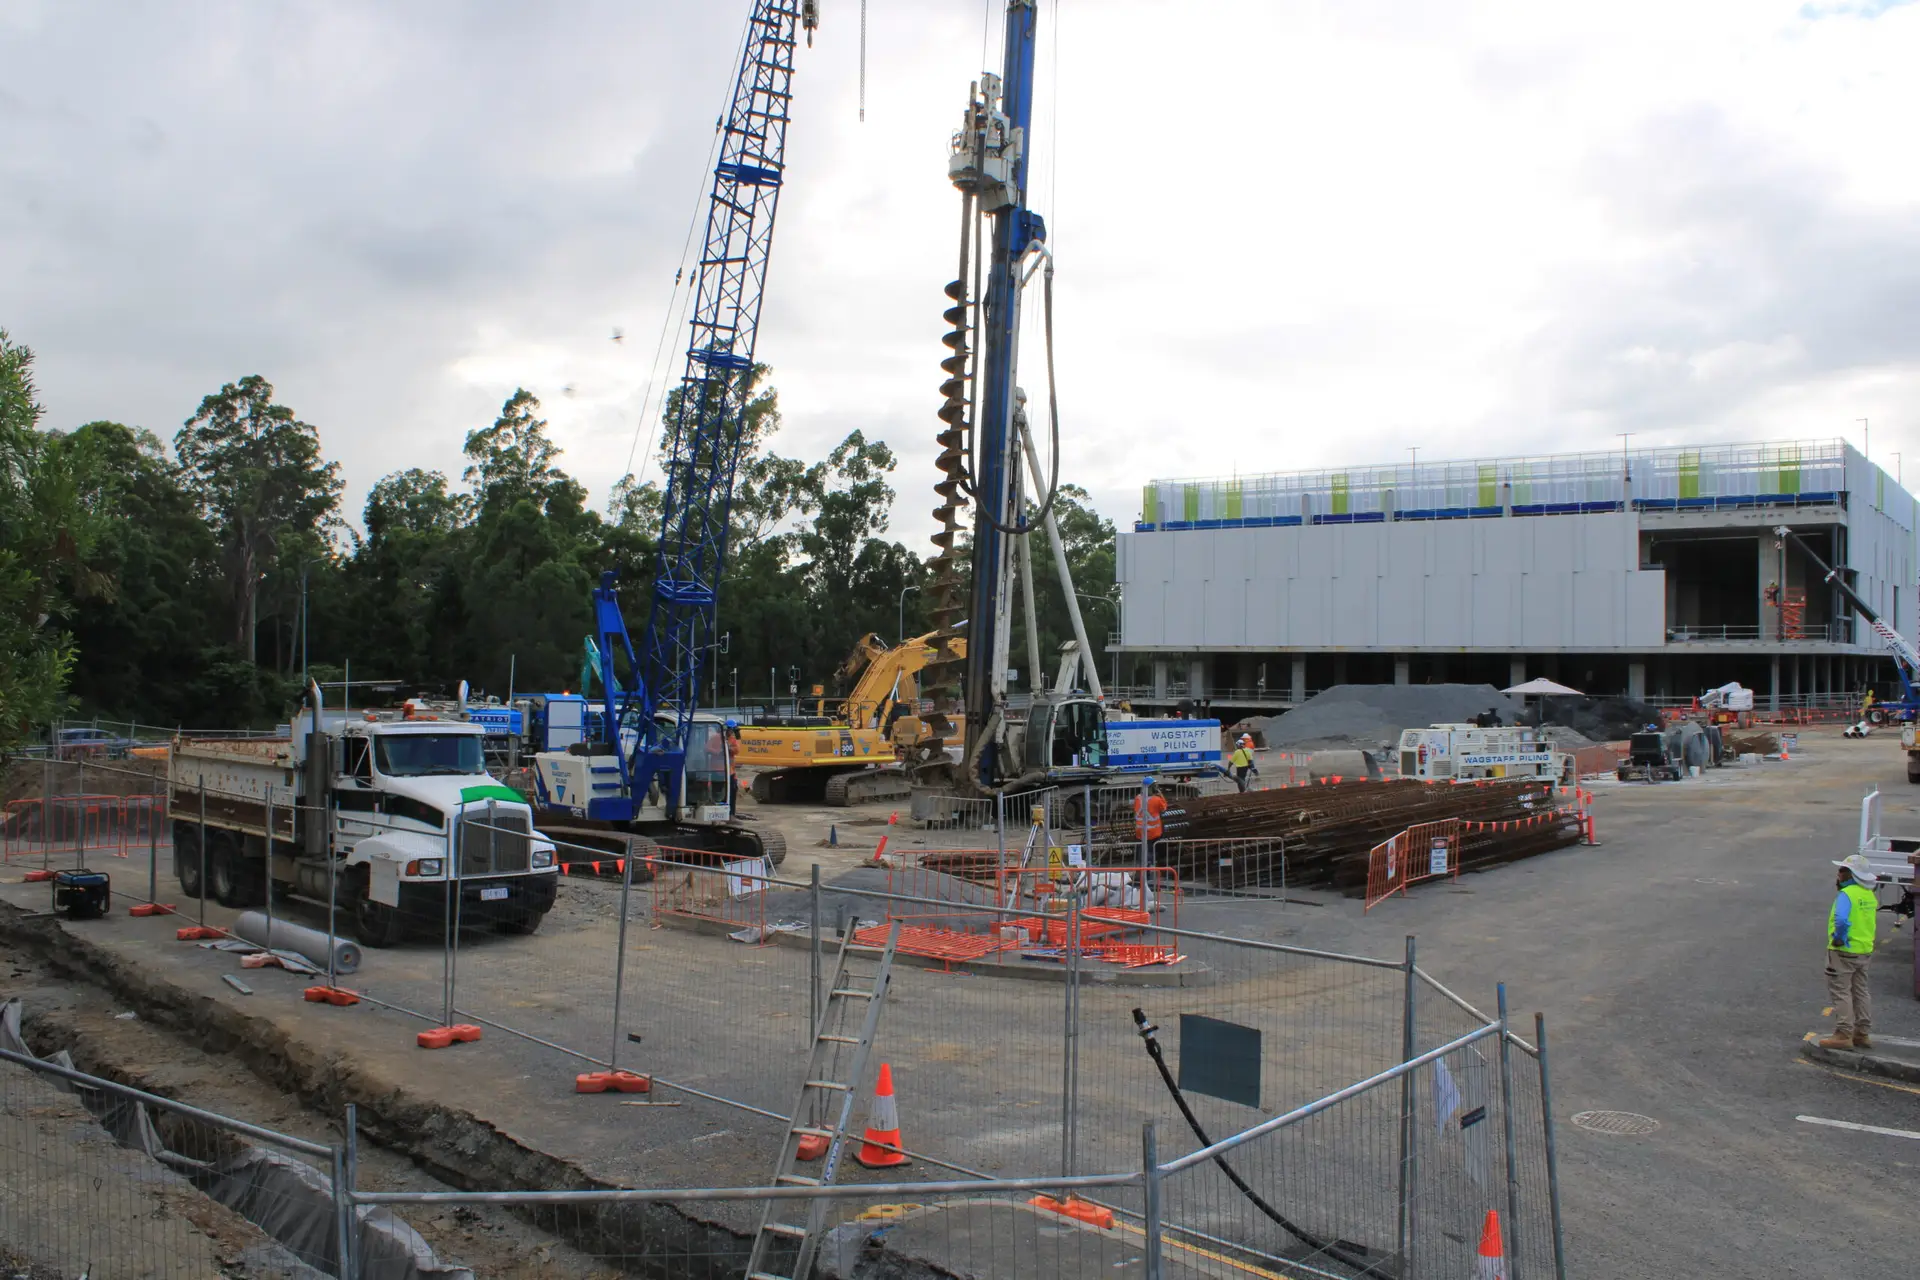
Matching drone capabilities to construction requirements
Consider flight time, wind performance, obstacle awareness, image quality, positioning accuracy and ease of operation. A compact aircraft may be practical for access and transport, while a larger platform may suit a camera or sensor needed for a particular deliverable. The decision should also account for the operator’s permissions and the site’s operating conditions.
Do not select a platform solely because it has a long specification sheet. The useful question is whether it can capture the required areas safely, repeatably and at an appropriate level of detail.
Selecting photo, video and mapping cameras
Still photography works well for reports, comparisons and detailed records. Video can communicate movement, sequence and scale, while mapping cameras may support survey or modelling workflows when the required controls and processing are in place. These outputs serve different purposes and should not be treated as interchangeable.
Ask how images will be delivered and whether metadata, ground control, overlap or processing are needed. The requested output should determine the camera settings and capture method, rather than expecting one flight to produce every possible result.
Using batteries, lighting and backup equipment effectively
Battery planning includes flight batteries, controller power, charging arrangements and enough reserve for delays. Carrying spare storage media, propellers, cables and basic weather protection can prevent a minor equipment issue from cancelling a planned visit. A pre-flight equipment check should be completed before leaving for site.
Lighting is usually a matter of choosing the right time and direction rather than adding artificial light from the aircraft. Keep exposure and colour settings consistent when the purpose is comparison, and record any unusual conditions that may affect interpretation.
When to engage a licensed drone operator
A licensed or appropriately authorised operator is sensible when the site is complex, the work is commercial, the airspace is constrained or the deliverables require specialist capture. They can manage the aviation planning while the project team concentrates on what the imagery needs to show.
Construction Time Lapse Specialists provides drone imaging alongside 4K cameras and high-resolution photography, which can help a project create a connected record across aerial and fixed viewpoints. The scope should still be agreed in writing, including permissions, safety responsibilities, outputs and turnaround.
Capturing high-quality construction imagery
Image quality is more than sharpness. The frame needs to communicate location, scale, stage and change without creating a false impression of the work. Consistency, sensible composition and accurate records usually matter more than producing a large volume of attractive footage.
Establishing consistent viewpoints for progress comparisons
Choose a small number of repeatable viewpoints and document them with route notes or reference images. Keep the approximate height, direction, lens setting and framing stable where possible. If a route must change because the site has developed, note the reason and establish a replacement viewpoint.
Consistent images let a reviewer compare like with like. They also reduce the time needed to explain each capture, because the audience learns where the camera is positioned and what the frame normally includes.
Using suitable altitude, lighting and camera settings
Altitude should be high enough to provide context but low enough to retain useful detail, subject to the approved operating conditions. Shoot with the sun at a helpful angle when possible, watch for hard shadows and avoid exposing the sky so brightly that the structure becomes too dark. Stable shutter speed, focus and colour settings support a more coherent series.
Review a sample image before leaving site. A quick check can reveal motion blur, glare, blocked views or an overlooked area while a return flight is still possible.
Photographing structures, materials and site details
Wide views show progress across the project, but closer images may be needed for roof plant, façade elements, stockpiles, access paths or temporary works. Use enough overlap between views to preserve context, and pair aerial images with ground photographs when surface detail or workmanship is the subject.
Captions should identify the location and date without claiming more than the image demonstrates. A photograph can show that an area is visible; it cannot by itself certify installation quality, structural performance or compliance.
Avoiding common image quality and safety problems
Many weak records result from small oversights: changing the viewpoint every visit, flying into low sun, allowing the aircraft to drift near hazards or storing files without useful names. A consistent checklist protects both the visual result and the safety process.
Clear records support sound decisions. Keep original files, note the capture conditions and separate edited presentation images from source material. If a frame has been cropped or adjusted for colour, retain the original so the project record remains transparent.
Using aerial data for construction management
Aerial imagery becomes more useful when it is connected to the project’s existing reporting rhythm. It can illustrate a written update, help a remote stakeholder orient themselves and provide a visual prompt for questions about access, sequencing or site conditions. The image should support management decisions rather than sit in a folder without context.
Creating progress reports clients can understand
A client report should lead with the changes that matter, not with a large undifferentiated gallery. Use a small selection of dated images, clear captions and a short explanation of what has advanced, what is pending and what needs attention. Include the limitations of the imagery where they affect interpretation.
The following structure can help match capture effort to reporting use:
| Deliverable | Best visual emphasis | Typical audience | Useful supporting detail |
|---|---|---|---|
| Monthly progress report | Repeatable overview and milestone views | Client and project team | Date, stage and location |
| Site coordination update | Access, logistics and active work zones | Supervisors and contractors | Current hazards and constraints |
| Inspection record | Specific area with context | Technical reviewers | Viewpoint, limitations and follow-up |
| Tender or case study | Scale, setting and finished work | Prospective clients | Accurate captions and permissions |
This approach keeps the report readable while preserving the information needed to interpret each image. It also makes it easier to compare reporting periods without asking readers to search through unrelated footage.
Combining photos with 3D models and site maps
Where the project requires mapping or modelling, photographs can provide visual context around a plan or model. The capture method, processing assumptions and accuracy should be documented, especially when measurements or positional comparisons are involved. A visually convincing model is not automatically a survey-grade deliverable.
Use common file names and coordinate references where appropriate so aerial outputs can be connected to other project information. The team should agree who validates the processed data before it is used for a formal decision.
Monitoring quality, access and potential defects
Aerial views can reveal blocked access, changes in site layout, standing water, incomplete areas or conditions that deserve closer inspection. They are particularly helpful for spotting patterns across a broad site. Follow-up should occur at ground level or through the relevant technical process when the image suggests a potential defect or safety concern.
The operator and project team should avoid presenting visual indications as confirmed findings. Marking an area for review is often the most accurate and useful conclusion an aerial image can support.
Organising files, metadata and version control
Create a folder structure that separates original captures, selected source images, edited outputs, reports and video projects. Record the date, project stage, operator, route and relevant conditions. Use stable file names that identify the project, location, date and sequence without relying on a camera’s default numbering.
Version control matters when an image is cropped, colour corrected or annotated. Retain the original, name the working version clearly and make sure the report references the approved file rather than an earlier draft.
Producing and sharing professional deliverables
A professional deliverable is fit for its intended use. A high-resolution still for a report has different requirements from a short promotional video, and both differ from imagery kept as an internal site record. Agreeing those differences early avoids unnecessary editing and makes approval faster.
Editing images without compromising accuracy
Adjustments to exposure, colour, contrast and cropping can improve readability, but they should not remove relevant site information or create a misleading impression of progress. Keep a clean master and apply consistent treatment across a series. Any annotations should be clearly distinguishable from the captured image.
For formal reporting, retain the original file and record the changes made. Presentation images can be polished while still remaining faithful to the conditions shown.
Preparing videos, panoramas and time-lapse sequences
Video works best when it has a clear beginning, middle and end rather than simply collecting every flight clip. A short sequence may show the relationship between site areas, while a panorama can help viewers understand the overall setting. Time-lapse footage adds another perspective by showing change over a longer period.
Construction Time Lapse Specialists supports construction visual monitoring through durable time lapse camera systems, secure remote portal access and 4K cameras, alongside aerial and high-resolution photography. Combining these sources can create a more continuous record, provided each output is labelled with its capture method and date.
Protecting privacy and managing image permissions
Review every frame for identifiable people, vehicle details, neighbouring properties and sensitive site information before wider distribution. Obtain the permissions required by the project and restrict access where images reveal security arrangements or commercially sensitive work. A secure sharing method is preferable to sending large image sets through uncontrolled channels.
The release process should identify who approved the images, where they may be used and whether edits are permitted. This is especially important when project imagery moves from internal reporting to websites, tenders or public announcements.
Measuring the value of drone photography for the project
Value can be assessed through practical outcomes rather than image counts. Track whether the imagery reduced unnecessary site visits, clarified stakeholder questions, improved reporting consistency or helped identify areas for follow-up. Also consider the cost of capture, processing, storage and coordination.
Review the process after a milestone or project stage. The findings may support a different flight frequency, improved viewpoints or a better combination of aerial, ground and fixed-camera records on the next phase.
Conclusion
Construction drone photography is most effective when it is planned as part of a reliable project information system: define the purpose, fly safely, capture repeatable views, preserve accurate source files and deliver imagery in a form stakeholders can use. Combined with ground photography and time-lapse monitoring, aerial imagery can provide a clearer record of progress from early site works through to completion.