Key Takeaways
A long-term construction camera should be selected around the project, not simply the camera specification sheet. Plan the viewpoint, power, access, storage and final use before installation.
- Define the project duration, capture interval and required viewpoints first.
- Match resolution and field of view to reporting, review and marketing needs.
- Treat power, weather protection, security and connectivity as one system.
- Test the workflow before construction activity begins and check it regularly.
- Compare the full cost of ownership with the value of a dependable visual record.
Define your construction time lapse camera requirements
Choosing a construction time lapse camera starts with a clear brief. A small residential build, a high-rise development and a linear infrastructure project will all need different coverage, power and access arrangements. Write down what the footage must prove, who will use it and how long the system needs to operate. This planning stage prevents an apparently suitable camera from becoming a difficult site obligation.
Set the project duration and capture interval
Start with the programme rather than the equipment. A project running for several months may need a different power and storage plan from one running for years, while a capture interval should reflect the pace of visible change. Daily progress may be well represented by a few images each hour during working periods, whereas slower stages may need fewer captures.
Allow for pauses, extensions and weather delays when estimating the recording period. A schedule that ends on the original completion date can leave a gap just when the most useful handover footage is being created.
Identify the site conditions and camera locations
Walk the site and mark locations that can remain secure, stable and useful throughout the build. Consider changing hoardings, cranes, temporary buildings, excavation, access routes and the point at which the structure will block an early viewpoint. A consistent angle is usually more valuable than a dramatic one because it makes progress easier to compare.
The planning guidance in construction time lapse archives is useful when documenting several stages or viewpoints. Record the proposed height, direction, power source, network signal and likely maintenance access for each position.
Decide who needs access to the footage
The project manager may need regular progress views, while the client, consultant, government stakeholder or communications team may need selected updates. Decide whether people need live or recent views, downloadable files, edited highlights or a complete archive. Access should be simple enough to use without creating a new administrative task on site.
A secure portal can also reduce unnecessary visits when stakeholders only need to review visual progress. Set permissions early and agree who is responsible for sharing reports or approving published footage.
Match image quality to reporting and marketing goals
Resolution should be judged against the finished use, not chosen in isolation. A report may need clear evidence of changing work areas, while a project showcase may require enough detail for cropping and editing. Make sure the lens can frame the full site without making workers, plant or structural changes too small to interpret.
For a practical comparison of project goals, equipment and installation decisions, see this camera selection guide. A clear visual record is the objective; the highest advertised resolution is not automatically the most useful result.
Compare the essential camera features
Camera specifications matter most when they support reliable operation over a long period. Resolution, power, storage and connectivity should be considered together because a sharper image can require more storage, and remote access may depend on a dependable power and data arrangement. Look for a system that fits the site’s practical constraints rather than a feature list that looks impressive on paper.
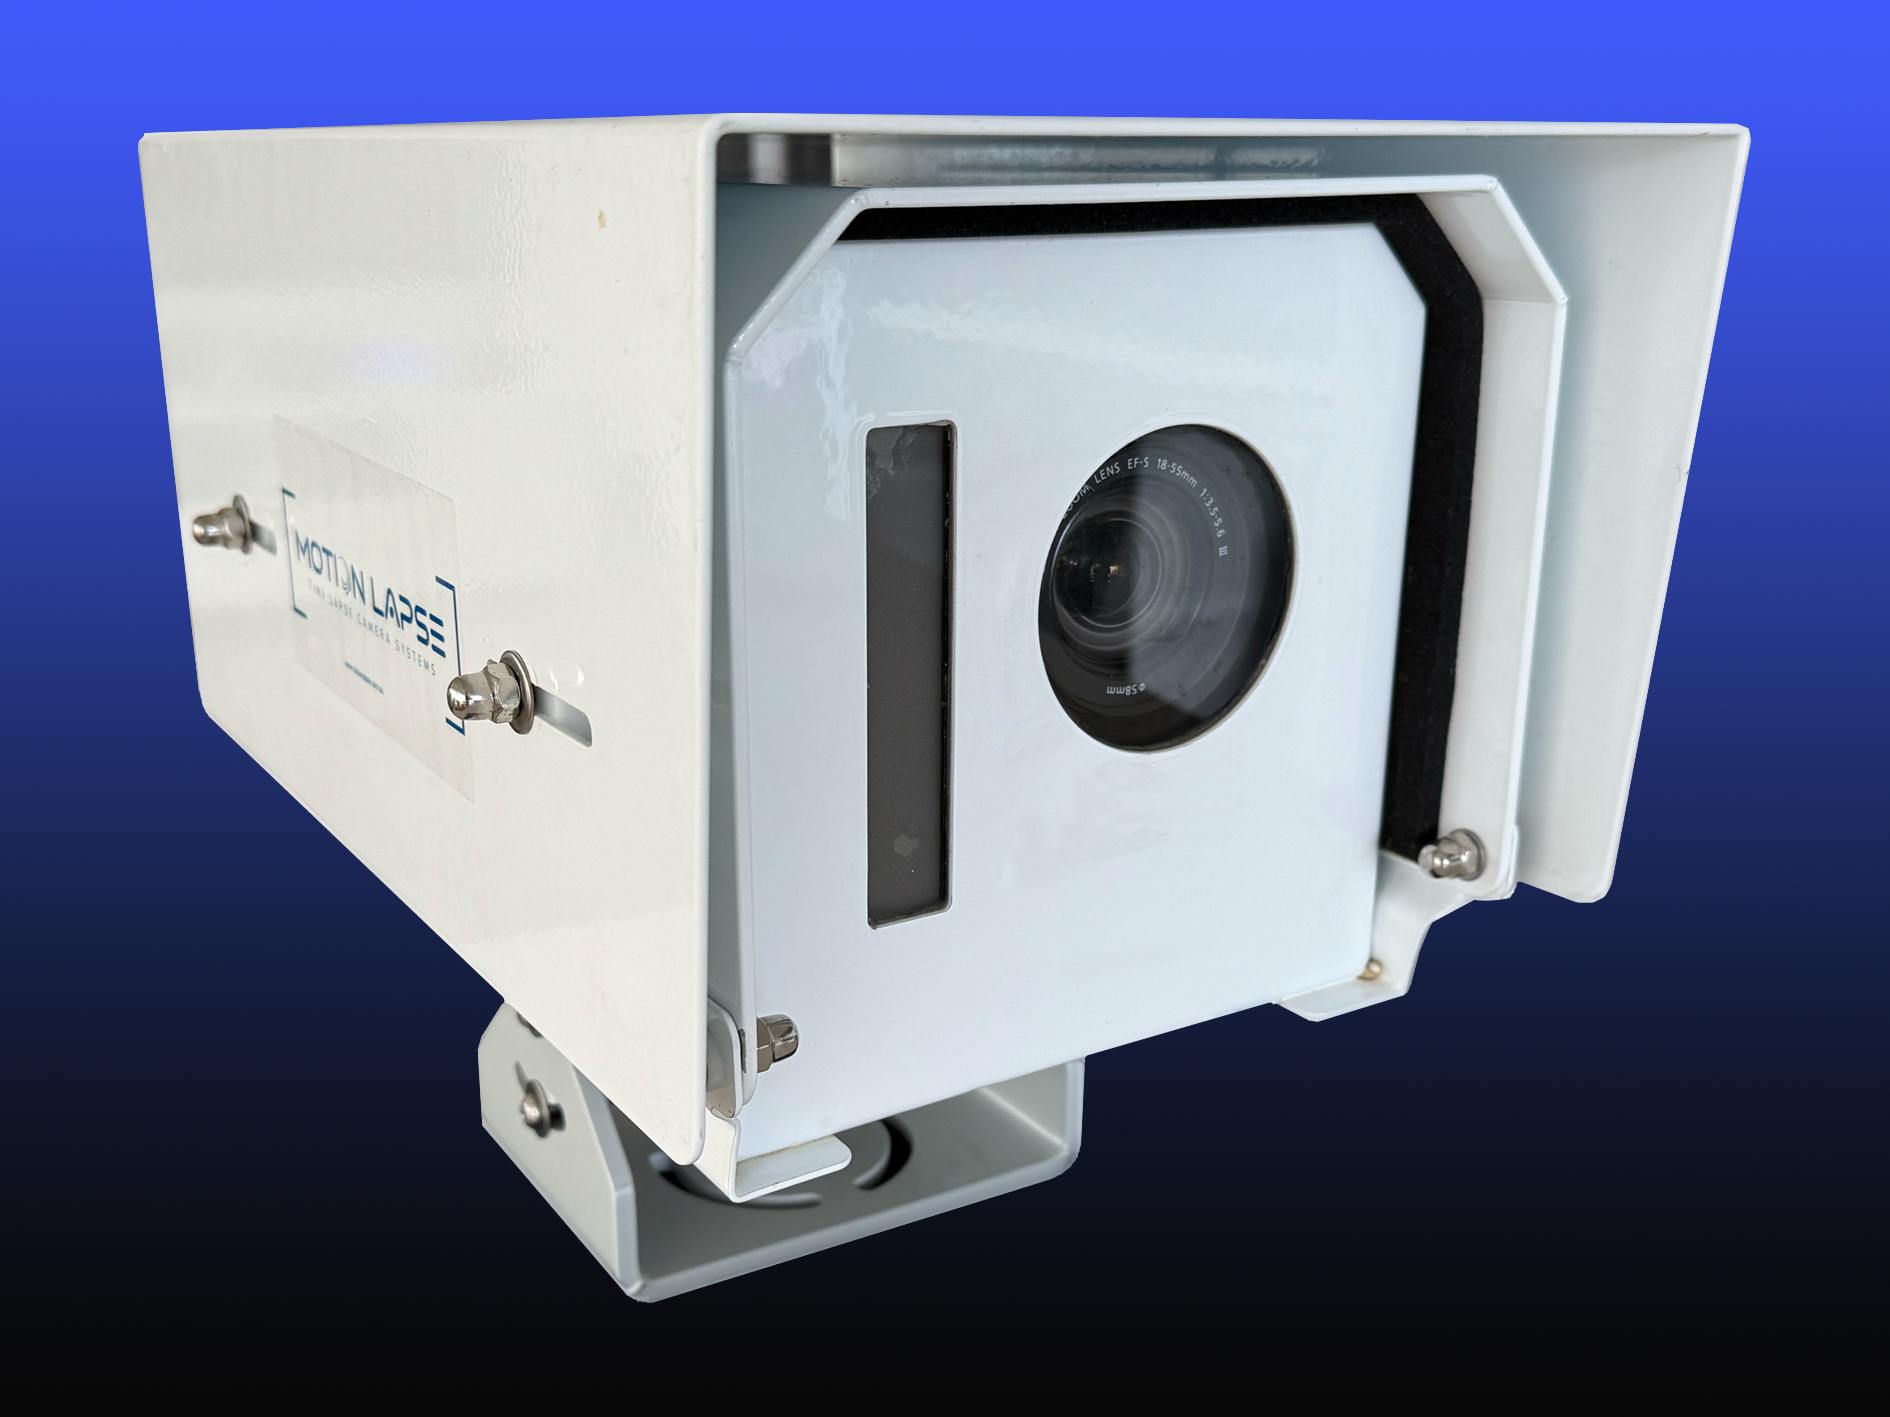
Resolution, field of view and image consistency
A wide field of view can include more of a confined site, but excessive width may make the important work difficult to see. Check how the image looks at the edges, how the camera handles changing light and whether framing can remain consistent after installation. Day-to-night transitions and exposure changes deserve particular attention on projects that record continuously.
Where the final footage will be reviewed by several parties, consistent framing often matters as much as resolution. The construction camera rental guide also highlights the need to match image quality, intervals and viewpoints to the project rather than selecting them separately.
Battery life and power options
Power planning is one of the main differences between a short test and a long-term installation. Check whether mains power is available, whether a suitable solar arrangement is possible and how the system behaves during cloudy periods or outages. Batteries, cables and enclosures should be accessible for planned servicing without placing people in an active work zone.
Ask how power performance will be checked remotely, if remote monitoring is part of the proposed service. A power failure can be more damaging than a modest limitation in image resolution because it creates an avoidable gap in the record.
Storage capacity and data management
Estimate storage from the capture interval, project duration and file type, then allow room for extensions and duplicated backups. Decide whether files will remain on the camera, be transferred to cloud storage or be downloaded into the project’s document system. Naming conventions should identify the project, camera position and date without relying on one person’s memory.
A simple comparison helps during procurement:
| Requirement | Question to ask | Practical implication |
|---|---|---|
| Local storage | How much footage can remain on the device? | Plan retrieval and replacement before capacity is reached. |
| Cloud storage | Is remote access and backup included? | Confirm permissions, retention and download arrangements. |
| File format | What will the editing team receive? | Check compatibility with reporting and production software. |
| Backup process | How often are files copied elsewhere? | Protect the archive from device failure or accidental deletion. |
The answer should be documented in the project plan, including who checks capacity and where the master archive is kept. Storage is a workflow responsibility, not merely a number in a product specification.
Remote access, connectivity and alerts
Remote access is valuable when it lets authorised users check progress without travelling to site. Confirm the available cellular or site network, upload frequency, portal access and any alerts for power, connectivity or camera faults. Connectivity should be tested from the actual mounting position because a signal at the site office may not represent conditions higher on a structure.
Construction Time Lapse Specialists provides durable visual monitoring systems with secure remote portal access for viewing site progress. If the site is remote or spread across several work fronts, agree how interruptions will be escalated and how quickly someone can attend.
Choose the right camera setup for the site
The best setup shows the work that matters while staying protected and maintainable. One carefully positioned camera may suit a compact project, but larger sites often need several views to avoid blind spots. Think in terms of coverage, continuity and safe access rather than simply counting cameras.
Fixed-position cameras for progress monitoring
A fixed camera provides a stable reference for comparing images across weeks or months. It should be mounted firmly, framed before major works begin and checked after events such as high winds, scaffolding changes or crane movement. Record the original position and settings so the system can be restored if it is disturbed.
Fixed coverage is particularly useful for progress meetings because the team can see what has changed without interpreting a series of unrelated photographs. It should complement, not replace, site inspections and formal project records.
Multiple cameras for large or complex projects
Use additional cameras when one angle cannot show the main structure, access routes or separate work fronts clearly. Consider overlap between views, consistent capture intervals and whether all units can be serviced on the same visit. Number each camera and give it a plain-language location name.
For civil and infrastructure work, viewpoints may need to follow a corridor or capture distinct stages. A short coverage plan is better than adding cameras reactively after an important area has disappeared from view.
Mounting options for buildings, poles and temporary structures
Mounting should provide a steady image without creating a hazard or relying on a structure that will soon be removed. Building faces, poles and temporary platforms each require a different assessment of access, vibration, load, weather exposure and future obstruction. Keep cables protected and avoid routes where plant or materials can catch them.
Have the installation reviewed by the responsible site team before work begins. The system should be removable or relocatable without forcing workers into unsafe access arrangements.
Selecting viewpoints that show meaningful progress
A useful viewpoint reveals scale, sequence and change. Include enough foreground to orient the viewer, but avoid spending most of the frame on fencing, sky or a fixed obstruction. Think through the full project lifecycle: a view that works during excavation may be blocked once the building rises.
Use a simple test image from each proposed position and ask someone who is not on site to identify what is being built. If they cannot, adjust the angle, height or field of view before installation.
Plan for weather, security and site safety
Construction sites expose equipment to dust, rain, heat, vibration and accidental impact. Australian conditions can change quickly, and a camera mounted outdoors may remain in place through storms and extended hot periods. Protection therefore needs to cover the housing, mounting, power and data connections together.
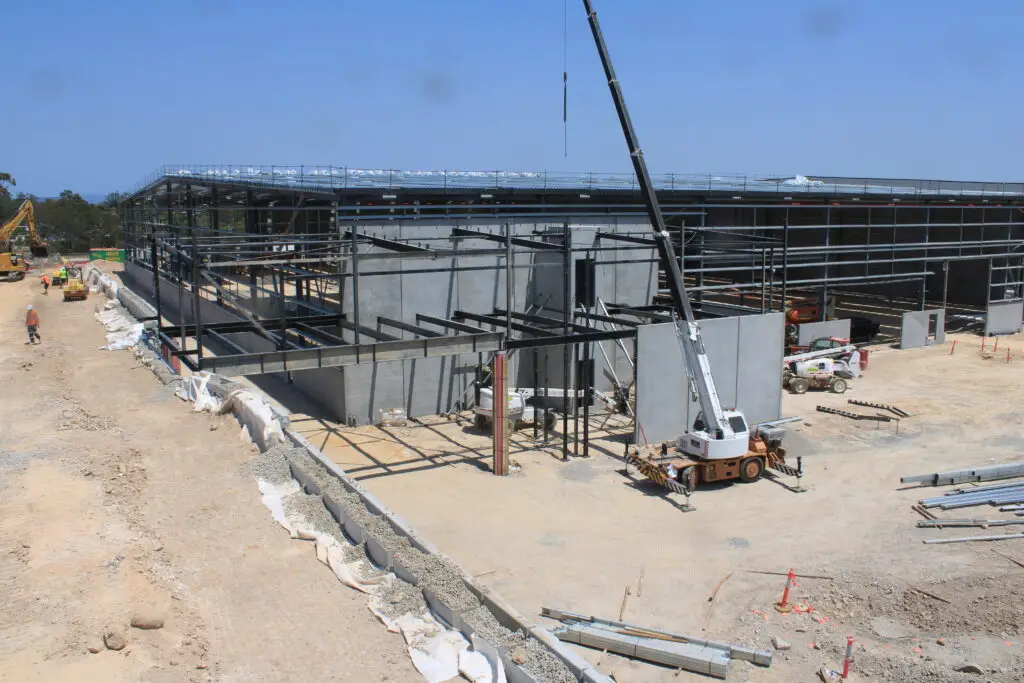
Weatherproofing for Australian construction conditions
Check the stated environmental protection and whether it applies to the complete installed system. The enclosure should shed water, protect connections and allow suitable ventilation without admitting dust. Position the camera to avoid direct glare, standing water and predictable runoff from roofs or temporary structures.
Plan for seasonal changes in sun angle and shadows as well as rainfall. A protected camera can still produce poor footage if glare or a new obstruction appears during the programme.
Protecting equipment from dust, impact and theft
Place equipment outside normal plant routes and away from areas where materials are lifted, stored or thrown. Use tamper-resistant fixings where suitable, protect exposed cables and record the equipment serial numbers. A discreet position can help, but it must not compromise the required view or maintenance access.
Include inspection in the site routine after major works, severe weather and changes to fencing. Protection is more effective when responsibility for checking it is clearly assigned.
Complying with workplace health and safety requirements
Camera installation is a site activity and should follow the same induction, permit, access and exclusion-zone requirements as other work. Consider working at height, electrical supply, lifting equipment, traffic management and the risk of dropped objects. Do not ask a project team to improvise access simply to adjust a camera.
Construction Time Lapse Specialists supports commercial, civil and infrastructure projects with visual monitoring, but the principal contractor remains responsible for site controls and coordination. Include the installation method and maintenance arrangements in the project’s safety planning.
Managing privacy, signage and neighbouring properties
Frame the work area carefully so the system does not unnecessarily record neighbouring homes, public spaces or private activity. Where people may be identifiable, confirm the project’s privacy approach, signage and access controls before recording starts. Keep raw files secure and restrict downloads to legitimate project needs.
A clear purpose helps resolve borderline decisions. If a neighbouring property is not needed to show progress, adjust the framing or use appropriate masking during editing.
Build a reliable time-lapse workflow
A camera becomes useful when the surrounding process is dependable. Installation, scheduling, monitoring and archiving should have named owners and simple checks. Treat the first week as a commissioning period rather than assuming that a powered and connected camera is automatically recording usable footage.
Installing and testing the camera before work begins
Install early enough to capture the existing site and allow time for corrections. Check focus, exposure, framing, time and date, capture interval, power, network connection and storage. Review sample images at different times of day and confirm that the lens remains clean and the mount does not move.
The project planning checklist is a useful prompt for bringing location, scheduling, data storage and equipment into one discussion. Keep a commissioning record with photographs of the installed position.
Creating a consistent capture schedule
Set the interval around visible activity and the intended final video length. Capture only during useful hours where that reduces unnecessary storage, but consider whether night or weekend images are needed to show lighting, weather or security-related events. Any schedule change should be logged so later footage can be interpreted accurately.
A consistent schedule also makes reports easier to compare. Avoid frequent adjustments made for convenience unless the reason and date are recorded.
Checking footage and camera health remotely
Assign a regular review, even when the system offers alerts. Look for a frozen frame, a shifted viewpoint, condensation, unexpected darkness, missing uploads or an obstruction caused by new works. Remote checks are most useful when they trigger a defined response rather than simply generating notifications.
Construction Time Lapse Specialists combines remote access with visual monitoring services, allowing authorised project stakeholders to review site progress through a secure portal. Confirm who receives alerts and who can attend when a fault cannot be corrected remotely.
Backing up images and organising project files
Keep the original images, system notes and edited exports in an organised project structure. Separate camera positions and reporting periods, use consistent dates and protect the master archive from casual deletion. A second copy should be available if the primary storage location is unavailable.
The archive should remain understandable after the original project team has moved on. Include a short readme with camera locations, settings, maintenance dates and any known gaps.
Turn construction footage into useful project content
Time-lapse footage can serve several audiences, but each audience needs a different selection and explanation. A client update may focus on sequence and milestones, while a public-facing video may need a wider story and careful privacy review. Decide the purpose before editing so the footage remains evidence as well as presentation material.
Creating progress reports for clients and stakeholders
Use selected frames or short sequences to show movement since the previous reporting period. Add dates, camera locations and a brief explanation of what the viewer is seeing. Visual material is strongest when it sits beside programme information, site notes and decisions rather than replacing them.
A secure portal can give stakeholders timely visibility while preserving control over the underlying files. Keep reporting versions separate from the complete archive so a concise update does not overwrite source material.
Producing time-lapse videos for marketing and handover
A finished video should have a clear beginning, meaningful transitions and an ending that reflects the completed work. Include enough context to show the project’s scale, but avoid excessive repetition. Obtain the approvals needed for logos, people, neighbouring properties and public release before publication.
Construction Time Lapse Specialists provides construction time-lapse photography and camera installations, with footage that can support project communication and visual presentation. Agree the desired format, duration and delivery date before the final edit.
Using footage to document delays and milestones
A dated visual record can help teams review when work areas changed, when access became available or when a milestone was reached. It should be read alongside site diaries, instructions, programme updates and other formal documents. Avoid treating a single frame as proof of cause; the footage shows conditions and sequence, not necessarily responsibility.
Mark significant events in the archive as they occur. This makes later retrieval faster and reduces the temptation to search through months of unlabelled images.
Editing clips for presentations and social media
Create different exports for different uses rather than stretching one video across every channel. Presentations may need annotations and a slower pace, while social content may need a short vertical or square version if the original framing permits it. Retain a high-quality master and document the date, crop and music used in each derivative.
The same discipline applies when reviewing unrelated visual material: even a roof age inspection depends on context, dates and clear records. Keep construction footage similarly precise and avoid edits that imply a sequence the source images do not support.
Evaluate costs and long-term value
The purchase price is only one part of a long-term camera decision. Installation, power, data, maintenance, storage, editing and eventual removal can materially change the total. Compare like with like, especially when a service includes technical support or scheduled checks that the project team would otherwise need to provide.
Comparing upfront equipment and installation costs
Request a quote that separates equipment, mounting, installation, commissioning and removal. Ask whether the price covers one viewpoint or a complete multi-camera arrangement, and whether changes to the site will require a return visit. A lower equipment price may not be economical if the team must design, install and troubleshoot the system internally.
Hiring can be sensible where the project duration or camera count is uncertain. The hire or buy comparison provides a useful framework for considering upfront investment, support and scalability.
Calculating power, data and maintenance expenses
Estimate electricity or solar equipment, cellular data, storage, cleaning, inspections, replacement parts and site attendance. Include likely programme extensions and the cost of recovering from a missed period. These figures should be assessed over the full expected recording period, not just the first month.
A simple monthly allowance is often easier for project control than an unexplained lump sum. Make assumptions visible so the budget can be updated when the programme changes.
Assessing subscription plans and software features
Check what a subscription actually includes: portal access, storage duration, user permissions, alerts, downloads, video creation and technical support may be priced separately. Confirm whether archived files remain available after the subscription ends and whether the project can export its original images.
Software is valuable when it reduces manual handling without limiting control of the record. Ask for a clear description of retention, access and support before committing to a long plan.
Measuring return on investment for the project team
Value may come from fewer site visits, clearer stakeholder communication, faster progress reviews, stronger handover material or a reliable record of project stages. Set a few practical measures at the start, such as reporting time saved, stakeholder use of the portal or the number of approved outputs produced.
Do not promise a financial result from footage alone. Instead, review how the system performed against the project’s original purpose and whether the visual record justified its full cost. For broader equipment context, construction project documentation covers battery life, environmental resistance, resolution and storage considerations.
A reliable record can also support a contractor’s wider planning, but it should not be confused with advice about financial structures, which is a separate professional matter.
Plan Your Camera Installation
If you have a long-term build to document, contact our team to discuss a camera installation and visual monitoring arrangement suited to the project, its site conditions and reporting needs.
Conclusion
The right construction time lapse camera is the one that can keep producing useful, accessible footage through the full project lifecycle. Define the purpose, choose stable viewpoints, plan power and storage, protect the installation and assign responsibility for checks and backups. With those foundations in place, time-lapse footage becomes a practical visual record for progress reporting, stakeholder communication and project presentation.