Key Takeaways
A professional construction time lapse video begins with a clear purpose, not a camera. Plan the viewpoint, capture schedule, equipment, storage and final audience before work starts.
- Define the story, milestones and viewpoints before installing equipment.
- Match the camera, interval, power and protection to the project conditions.
- Keep framing, exposure, storage and maintenance consistent throughout the build.
- Edit around milestones so the finished video is clear and useful.
- Export versions suited to stakeholders, websites, social platforms and presentations.
Define the project goals and recording plan
A useful time lapse is planned as part of the project record, rather than treated as an afterthought. Decide who will watch it, what decisions it should support and which stages need to be visible. A well-defined brief also makes it easier to select equipment and judge whether the finished footage has done its job. This construction time lapse guide is a useful reference when mapping the purpose, duration and capture approach.
Choose the story your video needs to tell
Start with the intended outcome. A client update may need a straightforward view of progress, while a marketing film can give more attention to transformation, craftsmanship and the completed structure. Compliance and reporting footage calls for dependable coverage and a clear visual record, without relying on dramatic editing.
Write a short brief that names the project, audience, recording period and desired final length. Include the phrase – construction time lapse video if it is part of the search or content brief, but let the actual story guide the production choices. The strongest films usually follow a simple arc: site preparation, major construction stages, finishing work and handover.
Set milestones and the filming schedule
List the moments that change how the project is understood: excavation, foundations, structural framing, enclosure, services, fit-out, landscaping and completion. Then work backwards from those milestones to decide when recording starts and when it can finish. Include a little time before and after each major stage so the edit does not feel abruptly cut.
A project programme is more useful than a generic daily schedule. Ask the site team when activity is likely to be fastest, when access will be restricted and when a camera check can safely occur. Recording outside working hours may reduce unnecessary frames, but it should never compromise the continuity of the visual record.
Identify the site areas and viewpoints to cover
Choose viewpoints that explain the work rather than simply showing the largest available space. One elevated position may communicate the overall build, while a second angle can show access, staging or a difficult section of the project. Consider how the site will change as cranes, hoardings, stockpiles and temporary structures move.
Make a viewpoint map and note obstructions that may appear later. If the project needs multiple perspectives, assign each camera a clear purpose and label the files accordingly. Consistent, repeatable viewpoints are particularly valuable when stakeholders need to compare progress over time.
Plan around weather, access and safety requirements
Construction sites change quickly, so the recording plan must sit within the site management plan. Confirm where equipment can be installed, who can access it and how inspections will be carried out without entering a hazardous area. Check privacy, traffic management, permits and any restrictions around neighbouring properties.
Weather deserves practical attention in Australia. Sun glare, wind, dust, rain and heat can affect both the camera and the image. A documented camera installation plan should include mounting, inspection and removal arrangements, with a named person responsible for checking the system.
Select the right construction time lapse equipment
Equipment choice depends on the length of the project, the conditions on site and the quality expected at the end. A smartphone may work for a short internal record, but long commercial builds usually need more deliberate control of power, weather protection, storage and interval capture. The aim is not to buy the most complicated system; it is to select one that can keep recording reliably.
Compare dedicated cameras, action cameras and smartphones
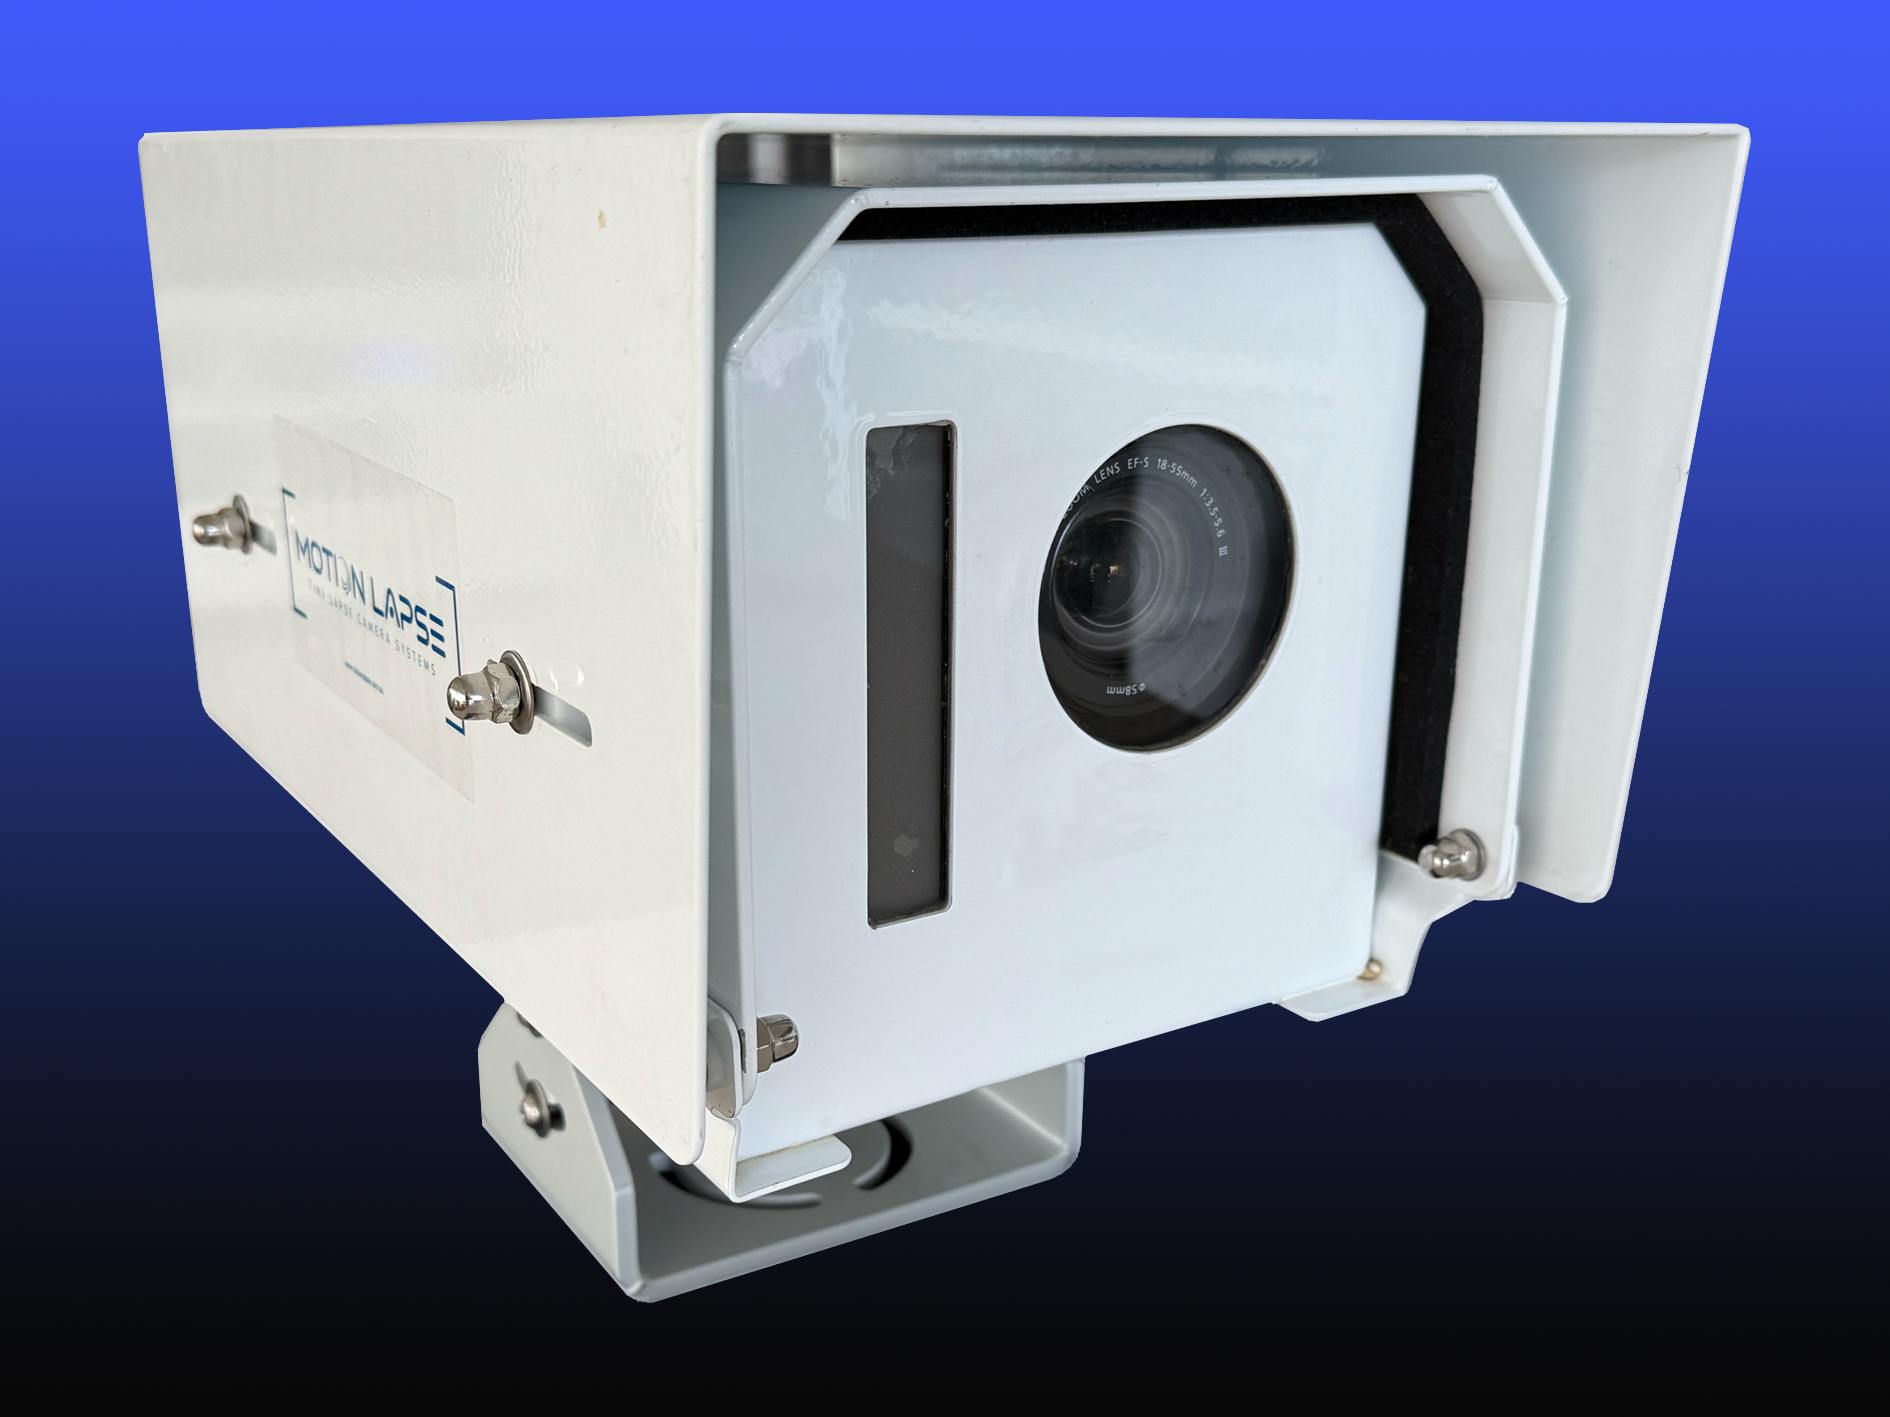
Dedicated time lapse cameras are designed for unattended interval capture and longer deployments. Action cameras can be practical where size and flexibility matter, while smartphones are best reserved for short tests, supplementary clips or quick milestone updates. Consider lens coverage, mounting, exposure control, battery life and how easily files can be retrieved.
For a commercial, civil or infrastructure project, a specialist system can reduce the number of compromises. Construction Time Lapse Specialists provides time lapse camera solutions for documenting progress, supporting reporting and sharing project updates. The appropriate choice still depends on the site, project duration and intended output.
Choose resolution, frame rate and storage capacity
Resolution should reflect where the video will be viewed and whether frames may later be cropped. High-resolution capture preserves detail for presentations and large displays, but it also increases storage requirements. Set a frame rate that produces smooth movement after the images are assembled, rather than choosing a setting without considering the final edit.
Estimate storage before installation using the number of captures per day, image size, recording days and backup copies. Leave headroom for schedule extensions and test the full workflow with sample files. It is much easier to change a setting before the camera is mounted than after several weeks of footage have accumulated.
Assess power options for long-term recording
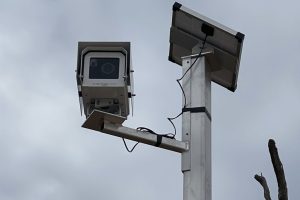
Mains power can be dependable where a safe, protected connection is available, but cables must not create a trip or access hazard. Batteries suit smaller or temporary installations, while solar charging may be appropriate for remote areas when the system is designed for the expected sunlight and weather. Always allow for cloudy periods, maintenance visits and seasonal variation.
Construction Time Lapse Specialists supplies 4K cameras and provides expert support for construction time lapse projects across Brisbane and Queensland. Match the power design to the chosen system, rather than assuming a single solution will suit every site.
Protect equipment from dust, rain and site damage
Use a suitable housing, secure mounting and a position away from direct impact, spray and accumulating dust. The lens should remain clear, with enough shade to manage glare but not so much that the viewpoint is obstructed. Protection also includes the cable route, memory card access and any exposed connectors.
Before leaving the installation, test the camera in the conditions it will face. Check focus, reflections, condensation, wind movement and the strength of the mount. A short trial can reveal problems that would otherwise appear only when the project is well advanced.
Position and configure the camera on site
The camera position determines the usefulness of every frame, so installation deserves the same care as editing. A wide view may show overall progress but hide detail; a close view may show workmanship but lose context. Plan for the site at completion, not only the site on installation day.
Select a stable location with a clear viewpoint
Choose a fixed structure, pole or other approved mounting point that will not move as vehicles pass or machinery operates nearby. Avoid loose temporary fencing and surfaces likely to be removed. The viewpoint should show the main work area while remaining outside normal plant routes and safe working zones.
Walk through the proposed view at different times of day. Check for glare, shadows, cranes, temporary buildings and future obstructions. A clear, stable angle is more valuable than a dramatic one that becomes unusable halfway through the build.
Calculate the ideal height and framing
Set the height high enough to see over temporary barriers, but not so high that the working area becomes distant and flat. Keep important edges, access points and structural lines inside the frame, allowing for future work above and around them. Mark the pan, tilt and lens settings so the camera can be restored after inspection.
Use a test image to confirm that the horizon is level and that the most important activity sits comfortably within the frame. Avoid excessive empty sky or foreground. If more than one camera is required, overlap the views enough to explain how the areas relate without creating duplicate footage.
Set interval times for different construction stages
Capture intervals should reflect the pace of change. Fast activity such as earthworks may benefit from shorter intervals, while slow structural or finishing stages can use longer ones. Consider working hours, available light, storage capacity and the movement you want the final video to show.
Record the chosen interval in the project log and change it only when there is a clear reason. Sudden shifts can make the edit feel uneven. Where the system allows scheduling, set capture windows that align with activity while retaining enough continuity to show weather and changing site conditions.
Secure the camera and restrict unauthorised access
Use tamper-resistant fixings and keep the equipment out of routine reach. Label the installation without exposing unnecessary technical information, and restrict access to the people responsible for inspections and data handling. The mount should be checked after strong wind, nearby impact or any change to the surrounding structure.
Document the original position with a reference photograph and installation notes. If the camera must be moved, record the reason, date and new settings. This simple record helps explain changes in perspective during the final edit.
Manage power, connectivity and data
A dependable recording system is a small operational service, not a device that can be installed and forgotten. Assign responsibility for power checks, connectivity, storage and escalation when a fault occurs. Build a recovery process before the first missed frame, because a long project can contain several interruptions.
Use mains power, batteries or solar charging
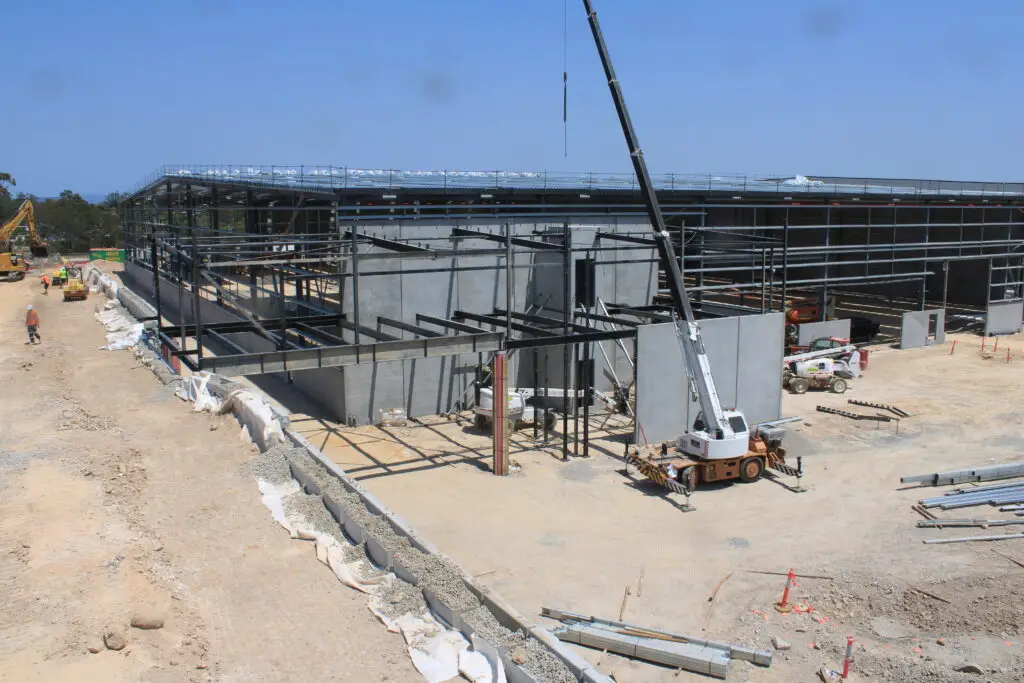
Select the power source after reviewing the site location, project duration and access arrangements. Mains power needs protection and approval; batteries need a realistic replacement schedule; solar charging needs enough capacity for poor weather and seasonal changes. Keep a record of inspections and battery or charge performance.
Construction Time Lapse Specialists uses durable systems suited to construction environments and can provide customised camera solutions. The installation still needs site-specific planning, including safe isolation, cable protection and a contingency if the primary supply fails.
Monitor the camera remotely when possible
Remote access can reduce unnecessary site visits and provide an early warning when the camera stops uploading or the image changes unexpectedly. Check recent frames, connection status, available storage and power information where those functions are supported. Remote monitoring does not replace physical inspections, especially after severe weather.
A secure remote portal can also make progress easier to share with authorised project stakeholders. Keep permissions current and agree who receives alerts, who reviews the images and who can request a framing or schedule change.
Protect footage with reliable storage and backups
Use a consistent file structure based on project, camera, date and milestone. Keep an original copy of captured images before colour or speed adjustments, and back up important material to a separate location. Test that backups can actually be opened rather than assuming a completed transfer is usable.
A simple storage plan helps the whole team work consistently. The following records are worth maintaining from installation through handover:
- Camera ID, viewpoint and installation coordinates.
- Capture interval, operating hours and exposure settings.
- Power, connectivity and inspection history.
- File transfers, backups and milestone selections.
These details turn a folder of images into an auditable project record. They also make it easier for an editor to locate the right sequence without altering the original evidence.
Troubleshoot interruptions, movement and connectivity loss
When footage stops, first establish whether the problem is power, network access, storage capacity, weather or physical movement. Compare the last usable frame with the first frame after the interruption, then record what was found and what was changed. Do not silently overwrite a gap in the log.
If the camera has moved, preserve the affected files and take a new reference image after restoring the frame. For a network outage, keep local capture running where possible and schedule a controlled transfer once the connection returns. Clear notes are as valuable as quick repairs.
Capture consistent footage throughout construction
Consistency is what allows viewers to see progress rather than merely watch a collection of disconnected images. Keep the camera settings, viewpoint and capture routine stable, while accepting that the site itself will change. Small variations can be corrected in post-production; major movement or unexplained setting changes are much harder to fix.
Keep framing and exposure consistent
Lock the camera securely and avoid automatic changes that cause visible flicker, especially where the system permits manual exposure and white balance. Check that the lens remains focused and that the image has not been affected by condensation, dust or a shifted mount. Save a reference frame after each inspection.
If lighting changes require a setting adjustment, record the time and reason. A short note helps the editor understand why colour or brightness may differ between two stages and prevents the change being mistaken for a technical fault.
Record changing light and seasonal conditions
A construction site may look completely different in summer sun, winter cloud, rain or early morning shade. These variations are part of the project story, but they should be captured without allowing glare, darkness or reflections to overwhelm the frame. Consider the direction of the sun when choosing the initial viewpoint.
Review a few frames from different times of day during the test period. If the site is exposed to strong light, use appropriate shading and check whether nearby reflective surfaces are affecting the image. Seasonal conditions should inform maintenance and power planning as well as visual quality.
Coordinate filming with contractors and site activity
Tell the site team where the camera is positioned and why it must not be moved. Include the equipment in inductions and daily coordination where appropriate, particularly when cranes, scaffolding, demolition or traffic routes change. Contractors can also advise when an important stage is about to begin.
A nominated site contact can report obstructions, accidental impact or a change in the work area. This shared responsibility protects continuity without making the camera operator part of every construction decision.
Maintain a camera inspection and maintenance routine
Set inspection dates around the project programme and known weather risks. Each visit should check the lens, housing, mount, power, connection, storage, framing and recent images. Record the result even when no action is required.
Keep maintenance visits short and controlled. If cleaning or adjustment is needed, take before-and-after reference photographs and confirm that the next capture is correctly framed. A routine is less disruptive than trying to recover a neglected system later.
Edit the construction time lapse video
Editing should clarify the project, not disguise gaps or exaggerate progress. Begin with an organised collection of original images, logs and milestone notes. Then build a sequence that gives viewers enough context to understand what changed and why each stage matters.
Organise footage by date and project milestone
Create folders or bins for each camera and date range, then add milestone markers for excavation, structure, enclosure, fit-out and completion. Keep the original capture sequence separate from selects and exports. This makes revisions safer and allows a stakeholder to ask for a different cut without losing the source material.
Use consistent filenames and retain the installation log alongside the footage. If an image is removed because of a fault, weather event or obstruction, note that decision. Good organisation saves more time than searching for a clever editing shortcut.
Remove gaps, shake and unusable frames
Review the sequence for accidental movement, blocked views, rain on the lens, severe flicker and frames captured during maintenance. Remove material that distracts from the story, but be cautious about deleting unusual conditions that explain a project delay or change. Keep an untouched archive even when the public edit is shorter.
Stabilisation can help with minor movement, but it cannot reliably repair a camera that has shifted substantially. Where a gap matters, use a simple caption or milestone card rather than implying continuous capture.
Adjust speed, colour and image stabilisation
Choose a pace that lets viewers recognise changes without making the film feel slow. Use restrained colour correction to balance daylight shifts, and apply stabilisation only when it improves the sequence without distorting edges. Test the video on the screen where it will actually be watched.
The final rhythm should give major stages room to register. A short sequence of earthworks may need different timing from months of interior work, so vary the edit by milestone rather than forcing every section into the same speed.
Add titles, captions, branding and progress markers
Titles should establish the project, location, recording period and viewpoint without covering important construction detail. Captions can identify milestones, weather events or changes to the camera position. Keep typography readable and restrained, particularly when the video will be embedded in a project presentation.
Construction Time Lapse Specialists combines construction time lapse systems with 4K cameras, drone imaging and high-resolution photography. If additional approved imagery is included, label perspectives clearly so viewers understand what is time lapse and what is supplementary footage.
Share and evaluate the finished project video
A finished video has more than one audience, so prepare it for the way each group will use it. A project director may want a concise milestone summary, while a client or community audience may need more context. Decide what should remain private, what can be shared publicly and who approves the final export.
Choose formats for websites, social media and presentations
Use a clean master file for archiving and create platform-specific versions from that master. Website video should load efficiently and include a useful thumbnail; social edits may need a shorter opening and captions; presentations may benefit from a larger frame and a clear project title. The content should remain recognisable after resizing.
Before publishing, check that the video does not reveal restricted information, private faces, neighbouring properties or sensitive site details. A public-facing construction progress video should be edited with the same care as any other project communication.
Export versions for different screens and platforms
Confirm the aspect ratio, resolution, codec, file size and audio requirements for each destination. Watch the exported file from beginning to end, because a successful render does not guarantee that captions, transitions or colour have survived correctly. Keep version numbers and export dates in the project record.
Prepare a short cut, a standard presentation cut and a high-quality archive where resources allow. This avoids repeatedly compressing the same file and gives stakeholders a practical option for their intended screen.
Use music, narration and permissions correctly
Use music only when the licence permits the intended audience, territory and duration. Obtain permission for identifiable people, third-party logos, aerial imagery and any supplied photographs. Narration should explain what viewers can see, not repeat every caption.
Keep a permissions register with the final project files. The same discipline used in website development planning, show cause hearing documentation, pool contractor marketing, medical assistant career guidance and field service cancellation prevention applies here: record sources, approvals and the intended use before publication.
Measure views, engagement and stakeholder value
Views are useful, but they are only one measure. Review completion rate, watch time, downloads, presentation use, stakeholder feedback and whether the footage reduced questions or unnecessary site visits. Compare results with the original brief rather than chasing a single headline metric.
For internal projects, value may appear as clearer reporting, faster discussion of progress or a reliable record for later reference. For public work, it may include qualified enquiries and stronger communication with the community. Treat each outcome as evidence about this project, not a guarantee for the next one.
Bring the project into focus
If you need a dependable visual record from mobilisation to completion, speak with Construction Time Lapse Specialists about 4K cameras, remote monitoring and expert support for projects across Brisbane and Queensland. A site-specific discussion can help match the recording approach to your programme, access conditions and reporting needs.
Conclusion
A professional construction time lapse video is built through deliberate planning, stable capture, careful data management and an edit that respects the project record. When the camera, schedule and audience are considered together, the finished film becomes more than a highlight reel: it becomes a clear way to communicate progress and preserve the story of the build.