Key Takeaways
A useful commercial construction time lapse starts with clear goals and a practical capture plan. The right setup makes it easier to preserve, review and share a visual record of the build.
- Decide who will use the footage and what they need to see.
- Choose milestones and camera views that show meaningful change.
- Plan for site access, weather, power and changing conditions.
- Review and organise images so they can support project updates and later use.
- Check a provider’s experience, support, deliverables and usage terms.
What commercial construction time lapse can do for a project
A commercial build can span months or years, with activity spread across different work areas and stages. Regularly captured images help turn that shifting activity into a visual record that is easier to revisit than scattered observations. The footage can serve more than one audience, but its value depends on capturing the views and milestones that matter to them. For teams planning a visual record, this commercial time-lapse planning guide offers a useful companion to the considerations below.
Show progress across long and complex builds
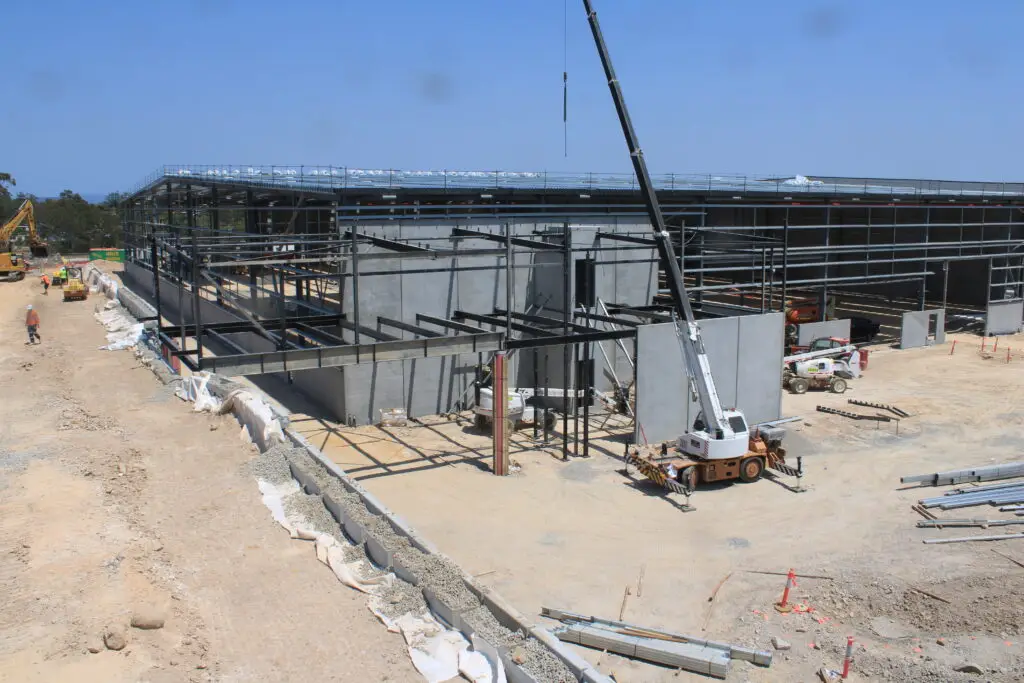
A time-lapse sequence condenses a long programme into a shorter view of how the site changed. It can make the transition between major phases easier to follow, from early site works to the structure and later fit-out. A well-chosen view also helps viewers understand the relationship between different areas of a large site, rather than seeing a collection of disconnected snapshots.
Keep clients and stakeholders informed
A current visual update gives people who are not regularly on site another way to understand progress. It can add context to a written report or meeting, especially when work is difficult to explain from a status line alone. Agreeing on who receives the footage and how often it is shared helps keep updates relevant without overwhelming the audience.
Create a record for project reviews and reporting
When images are captured consistently, teams can refer back to the sequence during project reviews and reporting. A dated record may help people discuss what was visible at a particular point, while still being read alongside schedules, site notes and other project documentation. It should be treated as supporting context, not as a substitute for formal records or decisions made by the project team.
Support marketing, tenders and future case studies
Once the project is complete, selected footage can help explain the work to prospective clients or other stakeholders. The material is most useful when the project team has considered its intended audience and approvals early, rather than trying to resolve permissions after filming. For promotional use, a small business video strategy can offer ideas for fitting project footage into a wider video plan.
How to plan a time-lapse project
Planning begins with the purpose of the footage, not the camera specification. A project team should agree what needs to be visible, who will review the images and how the record will be used during and after construction. Those decisions shape the capture schedule, camera locations and practical arrangements for site access. A commercial solar financing review, for example, belongs to a separate funding workstream, but it may be helpful to keep visual documentation needs in view when coordinating wider project planning.
Set clear goals and audiences for the footage
A project manager may need a regular view of progress, while a client may want concise updates and a communications team may need approved material for later use. Write down the main purpose and audience before deciding how frequently to capture images. A short brief can also clarify who can access the footage and who approves material before it is shared.
Choose key construction milestones to capture
Milestones give the visual record a useful structure. Rather than treating every day as equally significant, identify stages that will show a visible change and consider what angle will make that change legible. For instance, the view that explains foundation works may not be the one that best shows a completed exterior; where internal finishes are relevant, a timber flooring guide can help readers understand one specific element of the fit-out.
A simple milestone plan can connect what the team wants to see with the practical capture approach:
| Milestone | Useful view | Possible use |
|---|---|---|
| Site establishment | Wide view of the work area | Establish the starting context |
| Structural progress | View showing the building form | Compare changes across stages |
| External works | View of façades and surrounding areas | Document visible completion |
| Handover preparation | View of the completed project | Select images for final updates |
The table is a starting point, not a fixed schedule. Adapt the milestones to the project programme and make sure the selected view remains useful as temporary works and site boundaries change.
Coordinate camera access with site teams
Installation and ongoing access need to fit the site’s operating arrangements. Agree who can authorise the location, how maintenance visits are managed and what inductions or controls apply before work begins. If separate site security coverage is also under discussion, keep those requirements distinct from the time-lapse brief; a home security setup guide addresses related questions such as wiring and coverage needs.
Account for project duration, weather and site changes
A long capture period calls for a plan that can tolerate changing conditions. Consider how weather, nearby works, lifting activity or a revised site layout could affect the view, and decide when the team will review the setup. Projects in Brisbane and Queensland can discuss practical scheduling and weather considerations in this Brisbane time-lapse guide. For broader planning, Construction Time Lapse Specialists provides construction time-lapse cameras and photography, with 4K clarity, remote monitoring and expert support.
Choosing cameras and camera positions
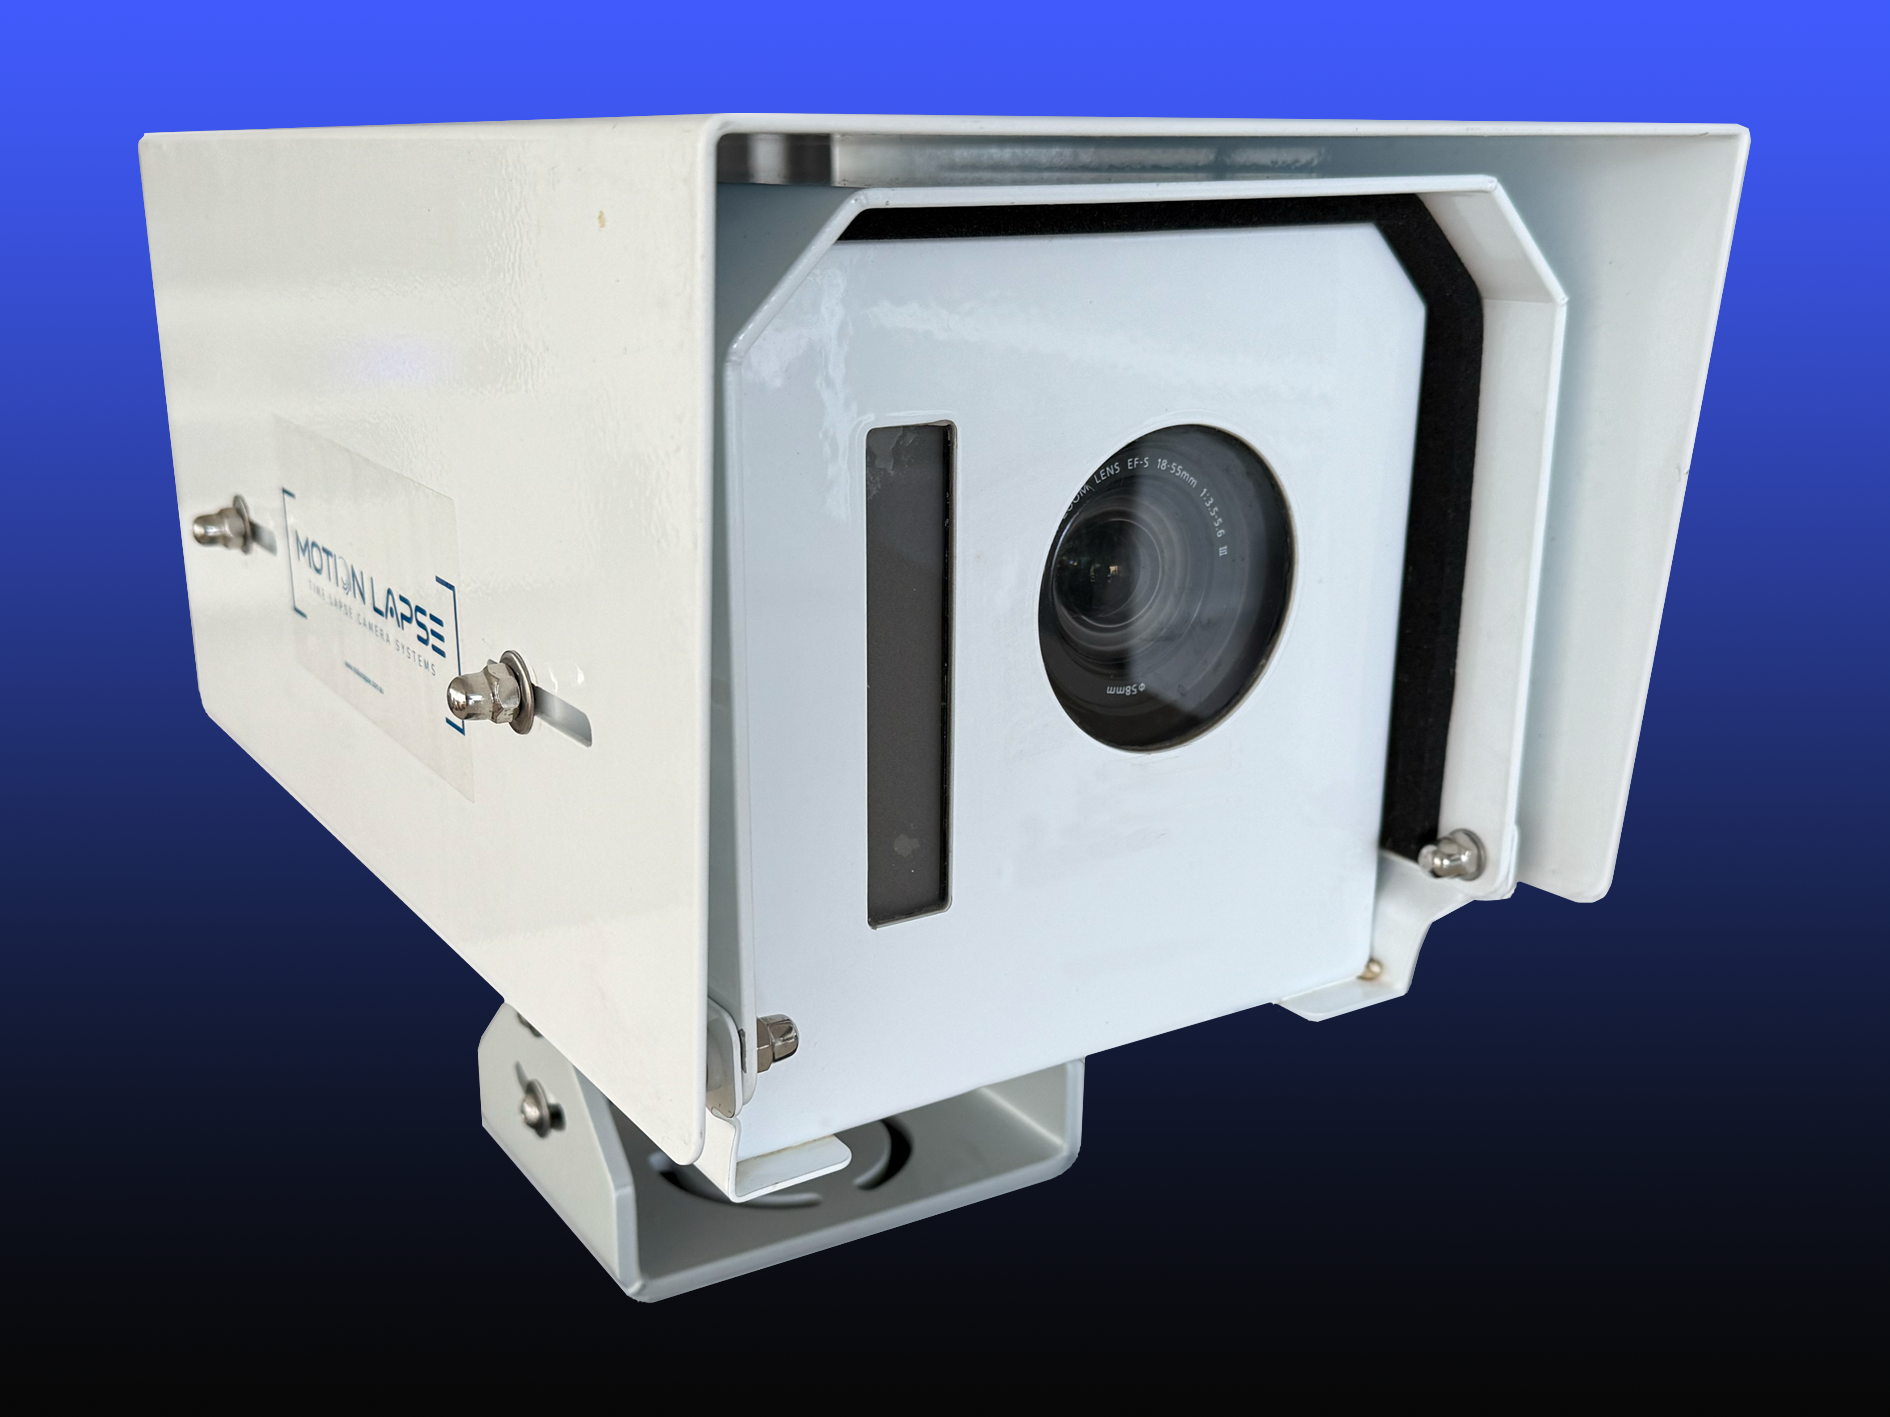
Equipment should suit the project’s duration, site conditions and intended output. A fixed camera can maintain a consistent viewpoint over time, while aerial imagery can show broader context when it is planned as a separate capture activity. Camera location matters as much as the device: the view should remain understandable as the site develops, without creating avoidable access or safety issues. Teams can also refer to this overview of camera image capture when considering how captured frames may be reviewed and shared.
Compare dedicated time-lapse cameras with drone footage
A dedicated time-lapse camera is suited to repeated image capture from a planned position over an extended period. Drone footage is captured as a separate aerial view and can add context from above when conditions and permissions allow. They are not interchangeable: the project should decide whether it needs a continuing fixed viewpoint, occasional aerial perspectives, or both. Construction Time Lapse Specialists provides 4K cameras, drone imaging and high-resolution photography as visual monitoring services.
Select viewpoints that show meaningful progress
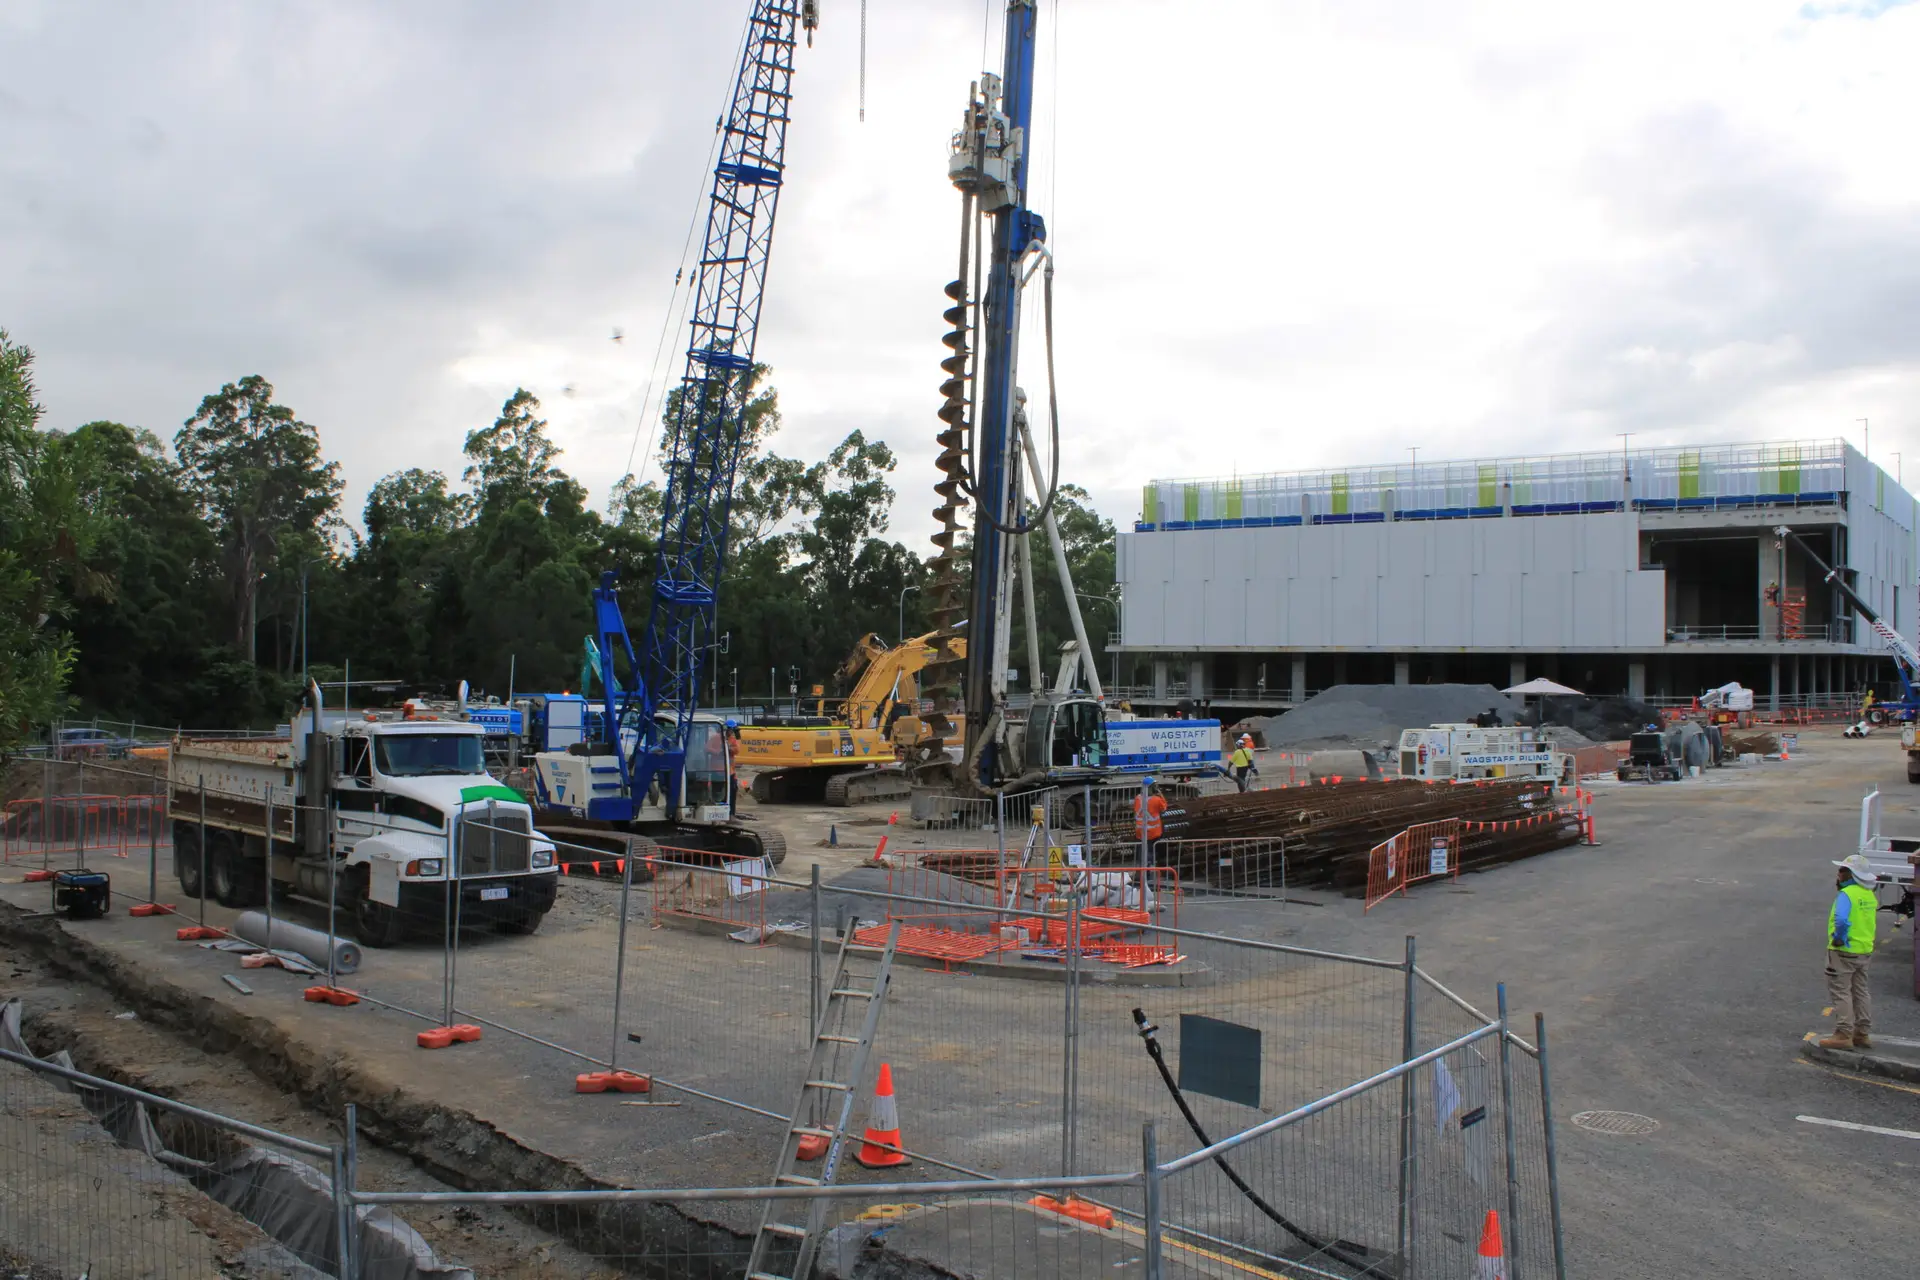
A useful viewpoint should make changes easy to recognise, with enough of the work area visible to give each frame context. Avoid choosing a position solely because it is convenient to install; check sightlines against cranes, temporary structures, hoardings and future building stages. It can help to review a proposed frame with the site team before installation and confirm that it tells a clear story without exposing areas that should remain private.
Check power, connectivity and weather protection
Before a camera is installed, confirm how it will be powered and whether the location supports the required connectivity. Weather exposure and physical protection also matter for equipment expected to remain on site over time. Ask the provider to explain the assumptions behind the proposed setup, including what happens if site conditions or access arrangements change.
Plan safe installation and maintenance access
A camera position may be technically suitable but difficult to reach safely for installation or maintenance. Discuss access methods, responsibilities and any site-specific controls before work starts. Include the intended mounting location in the site coordination process, and review it again if construction activity changes the surrounding area or access route.
Managing capture during construction
Once capture begins, the work shifts from initial setup to keeping the record useful over time. Construction activity changes the scene, and equipment needs to remain serviceable throughout the agreed period. A clear routine for review and site coordination helps teams catch problems before they create long gaps in the record. It also gives people a defined point of contact when the camera view or site access needs attention.
Set an interval that suits the pace of work
The capture interval should reflect how quickly the site is changing and what the footage needs to show. A dense sequence may be useful during active phases, while a slower pace may suit periods with less visible change. Agree the intended interval with the provider and project team, then review it if the programme or purpose of the footage changes.
Keep the camera view clear as the site changes
Temporary works, parked plant, new structures or changed boundaries can gradually obscure a view that was clear on installation day. Schedule occasional checks of the frame and decide who can flag a blocked or outdated view. When a change is needed, coordinate it with site staff so the adjustment does not interrupt work or create a new access concern.
Monitor image quality and equipment status
Regular checks can help identify issues such as a shifted camera, obscured lens or interruption to capture. Agree how the team will learn about a problem, who will arrange a site visit and how any missing period will be recorded. Construction Time Lapse Specialists offers remote monitoring as part of its described service, giving teams a way to view site progress remotely.
Coordinate filming with safety and privacy requirements
The camera plan should be reviewed against site safety processes and any privacy expectations. Make sure the intended frame is appropriate, explain the purpose of capture to relevant site personnel and follow the project’s rules for access and information sharing. Where footage may include neighbouring property or sensitive areas, adjust the view or sharing arrangements before recording begins.
Turning captured images into useful deliverables
A collection of images becomes more useful when it is organised and shaped for a particular purpose. Project teams may want a record for internal review, a concise update for stakeholders or selected footage for later promotion. Each use calls for a different level of editing and context, so it helps to agree deliverables before the project reaches its final stages. If the material will be presented on site or to visitors, an interactive timeline display is one possible format to consider.
Review and organise images throughout the project
Do not leave the entire review process until handover. Regularly check that images are present, grouped by date and associated with the correct project stages. A simple naming and filing approach makes it easier to retrieve a particular period later and reduces the risk of losing context when staff or responsibilities change.
Edit footage into a clear project story
Editing should help viewers understand the build, rather than simply compressing every frame into a fast sequence. Select a clear beginning and end, keep transitions easy to follow and consider whether the pace gives important stages room to register. The finished piece should reflect the project accurately and be reviewed by the appropriate people before distribution.
Add titles, dates and milestone markers
Brief titles and dates can orient viewers, particularly when footage is shown to people who were not involved in day-to-day site activity. Milestone markers can make key changes easier to find, but they should match the project’s agreed terminology and verified dates. Keep labels concise so they support the images rather than compete with them.
Prepare versions for presentations, social media and archives
A presentation clip, a short social post and an archive copy may need different lengths or formats. Decide which versions are required and who will approve each one, then make sure the underlying record is retained in a form that suits the project’s needs. Clear usage permissions matter if footage will be shared beyond the original project team.
Selecting a commercial time-lapse provider
A provider is responsible for more than supplying equipment: the proposal should explain how the capture plan will work in the conditions of the project. Compare the approach against the project’s goals, duration, access requirements and intended deliverables. Ask for practical detail rather than relying only on a camera specification or a sample film. That makes it easier to identify what is included and where the project team will need to provide input.
Compare experience with projects of similar scale
Look for experience relevant to the type of site, access arrangements and capture period involved. Ask how the provider would approach the project’s viewpoints and milestones, and whether the proposed plan can adapt if the site changes. A useful discussion should connect the equipment and service to the actual construction programme, not just describe general capabilities.
Ask about monitoring, maintenance and data backup
Clarify how the equipment will be checked, how the team will be notified of problems and what maintenance is included. Ask what happens if a camera is obstructed or access is temporarily unavailable. Data handling should also be clear: understand how images are stored, who can access them and what backup arrangements form part of the proposal.
Clarify deliverables, ownership and usage rights
List the expected outputs, such as image access, edited footage or other agreed materials, and confirm when each will be provided. Discuss who owns the captured material and what permissions apply to internal, public or promotional use. These details prevent uncertainty when the project team later wants to include footage in a report, presentation or case study.
Evaluate the quote against project needs and duration
Compare quotes on scope as well as price. Check the capture period, installation, monitoring, maintenance, data handling and final outputs against the project brief, and note any exclusions. A lower initial cost may not meet the project’s needs if essential support or deliverables are outside the quoted scope.
Conclusion
A well-planned commercial construction time lapse depends on clear goals, considered camera positions and a capture plan that can adapt as the site changes. With the right checks on access, monitoring, data handling and final use, project footage can become a practical visual record as well as a useful communication tool. For a project in Brisbane or Queensland, discuss your project with Construction Time Lapse Specialists.