Key Takeaways
A useful construction camera setup starts with the site’s risks and project goals, not a particular camera model. Plan for coverage, power, connectivity, footage access and privacy together.
- Match camera type and viewpoint to the area and monitoring goal.
- Check image quality, alerts, storage and retention before choosing equipment.
- Plan power and connectivity around the site’s actual conditions.
- Revisit placement as the project layout and risks change.
- Set clear rules for footage access, privacy and record keeping.
What a construction site monitoring camera can do
A construction site monitoring camera can support security, site awareness and project documentation, but it works best as one part of a broader site plan. Decide what you need to observe and how the footage will be used before choosing equipment. That makes it easier to distinguish a camera intended for a gate from one intended to record progress over months.
Deter theft, vandalism and unauthorised access
Visible cameras may discourage opportunistic theft or vandalism, while recorded footage can help clarify what happened after an incident. They are not a substitute for access controls, lighting or site procedures. Consider which areas hold valuable materials, and whether a camera can record activity there without creating an avoidable blind spot elsewhere. For financial planning, course of construction coverage is a separate consideration: insurance terms and camera monitoring address different parts of a project’s risk management.
Monitor safety practices and site activity
A camera view can help authorised staff check activity across parts of a site, particularly when they cannot be physically present at every location. It should support, not replace, on-site supervision, safety processes or direct communication with workers. Establish what questions the footage is intended to help answer, and avoid treating a camera view as a complete picture of conditions on the ground.
Create time-lapse records for project updates and claims
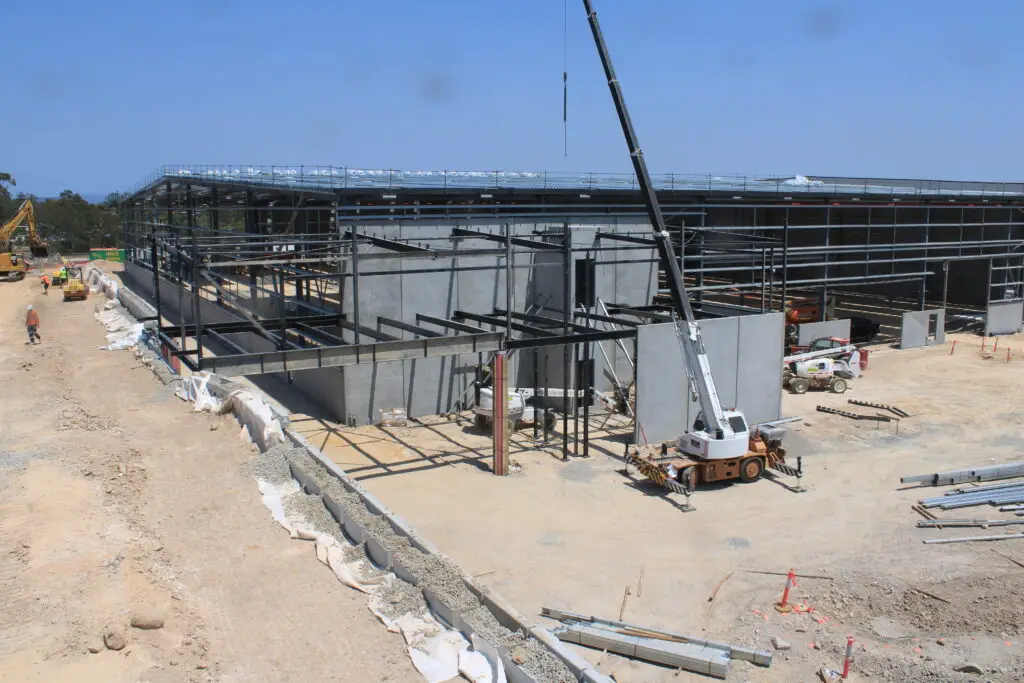
A consistent visual record can help teams explain progress to stakeholders and review changes over time. Construction Time Lapse Specialists provides construction time-lapse photography and camera installations, with visual monitoring services that include 4K cameras, drone imaging and high-resolution photography. When records may be relevant to a claim or project update, preserve them in an organised way and make sure the reporting process explains what the images do—and do not—show.
Which camera type suits your site
The right camera depends on the question you need it to answer. A fixed view suits a defined area, while an adjustable view can cover a wider zone; a time-lapse setup is intended to document progress over a longer period. The distinctions below are a starting point, not a substitute for checking the actual site, mounting options and required footage.
Fixed cameras for entrances and critical areas
A fixed camera records a consistent view, making it useful for an entrance, loading point or other specific location. Before installation, check that the lens angle captures the approach and the activity that matters, rather than only a small patch of ground. A fixed view is easier to review consistently, but changes to fencing, stored materials or work zones can reduce its usefulness.
PTZ cameras for wide, adjustable coverage
A PTZ camera can be moved to view different directions, which may suit a location where the area of interest shifts. That flexibility still requires someone to decide where the camera should point; one view cannot show several directions at once. Consider whether the operating team can monitor and adjust it as needed, and whether fixed views are still required for key areas that must remain in frame.
Time-lapse cameras for documenting project progress
Time-lapse cameras record a project from a planned viewpoint over time, so a stable position and consistent capture plan matter. Construction Time Lapse Specialists supplies construction time-lapse cameras and photography for projects across Brisbane and Queensland, including 4K cameras. Compare the broad roles of common camera types before committing; the table is a useful way to frame the choice.
| Camera type | Typical role | Main planning question |
|---|---|---|
| Fixed | A defined entrance or critical area | Does the view cover the activity that matters? |
| PTZ | A broad area where the view may need adjustment | Who will direct the camera, and when? |
| Time-lapse | A project view recorded over time | Is the viewpoint stable for the project duration? |
Treat the categories as complementary rather than interchangeable. Some projects may need more than one viewpoint or camera type, particularly when security monitoring and progress documentation have different requirements.
Features to compare before you buy
Camera specifications matter only when they suit the conditions and purpose of the installation. Compare image quality alongside how footage is viewed, stored and retrieved. A clear picture that is difficult to access later may be less useful than a simpler setup with a dependable review process.
Image quality for day and night monitoring
Think about the detail required at the intended distance and the range of lighting conditions, including shadows, glare and night-time activity. Check sample footage or test a camera from the proposed mounting point rather than relying on a resolution figure alone. For lighting around the camera, site lighting choices can be matched to the needs of different site zones, including mounting height and beam distribution.
Motion detection, alerts and remote viewing
If the system offers motion detection or alerts, decide what activity should trigger attention and who will receive it. Too many irrelevant alerts can make important events easier to overlook, so test the settings in real site conditions. Remote viewing is useful only when authorised people can access it reliably and understand what the image can tell them; it does not replace an inspection or a conversation with the site team.
Weather resistance, storage and video retention
Outdoor equipment needs to suit its exposure, mounting location and expected project duration. Confirm how footage is stored, how long it remains available and how it can be retrieved when needed. Keep the practical workflow in mind: retrieval matters as much as recording when a team has to find a particular date or event later.
How to handle power and connectivity
Power and connectivity shape where a camera can be installed and how consistently people can view its footage. Conditions may change as temporary services, structures and work zones move around the site. Assess the available infrastructure at the proposed camera locations rather than assuming the whole site has the same coverage.
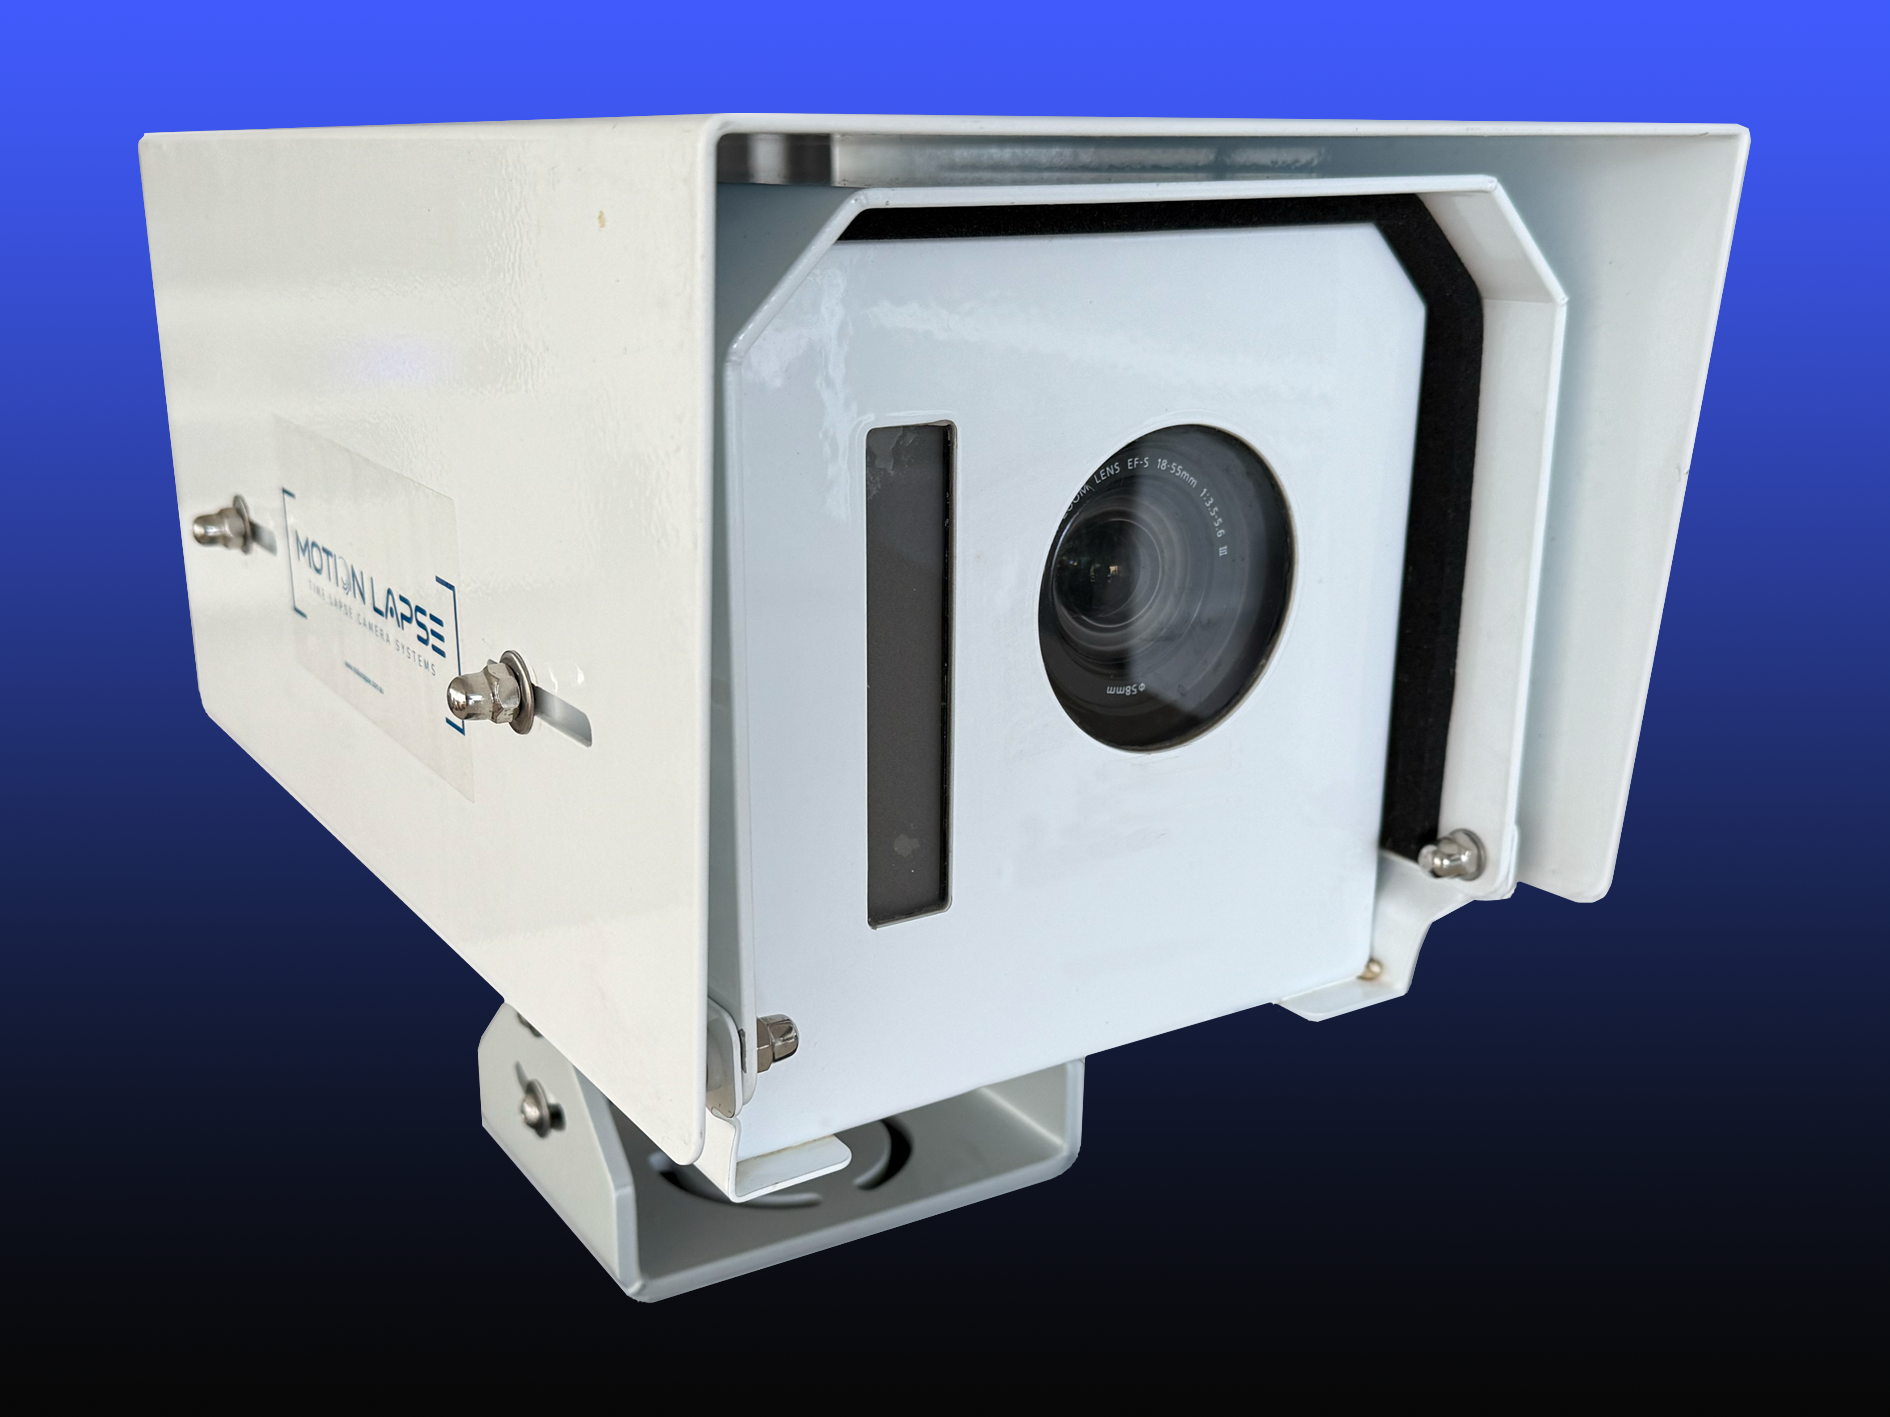
Choose between mains power, batteries and solar
Mains power can suit a permanent location with a suitable supply, while battery or solar arrangements may be considered where cabling is impractical. Each option has installation and upkeep implications: access to power, exposure, expected operating period and the effort needed to check the system. Include maintenance in the decision, not just the initial mounting plan.
Compare Wi-Fi, mobile networks and wired connections
A wired connection may be practical where infrastructure is already available, while Wi-Fi or a mobile network depends on signal and site conditions. Check coverage at the actual mounting point, including where temporary structures or equipment may interfere. For a broader view of off-grid camera considerations, compare the connectivity approach with the site’s power and remote-access requirements rather than treating either as a standalone choice.
Plan for outages, weak signals and data limits
Before deployment, decide what the team needs to know if a camera goes offline or footage cannot be viewed remotely. Test the connection during the workday and, where relevant, at night or in areas with weak reception. A clear fallback process—who checks the system, who is notified and how footage is recovered—helps prevent a technical interruption from becoming an unnoticed gap in the record.
How to plan camera placement
Placement should follow the site’s boundary, access routes and monitoring goals, not simply the easiest mounting point. A good view records relevant activity while keeping the camera and its installation clear of work areas and hazards. As the site changes, the plan needs to change with it.
Map site boundaries, entrances and high-risk zones
Start with a current site plan and mark entrances, storage areas, equipment locations and other places where monitoring is needed. Look for areas that are hard to observe from the ground, then check whether a camera can cover them without creating a misleading view. If bird activity around a structure is also a site concern, this bird exclusion guidance describes assessment and physical exclusion as a separate issue from camera placement.
Account for changing layouts, lighting and blind spots
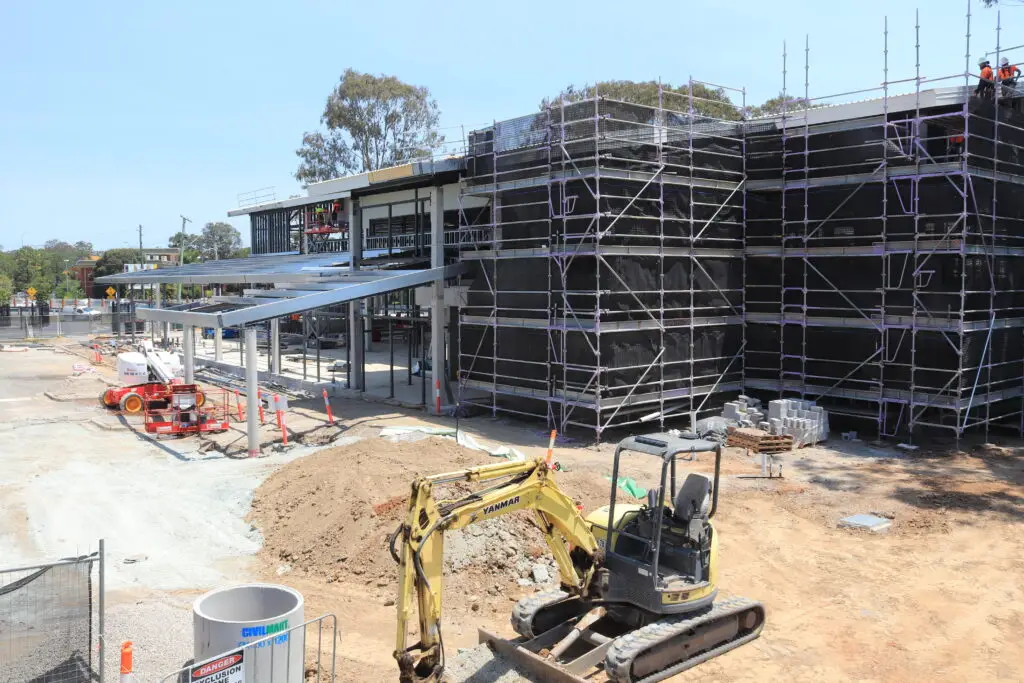
A camera that works during early works may lose its view when scaffolding, materials or new structures appear. Plan periodic checks and note how sunlight, artificial lighting and temporary obstructions affect the image. These four checks help keep a placement plan practical:
- Confirm the view after major site layout changes.
- Check for obstructions at different stages of work.
- Review image quality in changing light conditions.
- Reassess whether the camera still covers the intended area.
Use the checks as prompts during site reviews rather than a one-off installation checklist. A small adjustment at the right stage may restore a useful view, while a camera that has become redundant can be repositioned or removed safely.
Position cameras to capture useful evidence safely
The camera should show enough context to interpret an event, not merely a close-up of one object. Choose a mounting position that can be serviced safely and does not obstruct site operations. Consider nearby work and access needs before installing or adjusting equipment, and record the final viewpoint so future reviewers understand what the footage covers.
How to manage privacy and cybersecurity
A camera system can capture workers, visitors and neighbouring properties as well as construction activity. Set expectations before recording begins and define who may view, share or retain footage. These decisions are part of the deployment plan, not a task to leave until after installation.
Set clear rules for recording and footage access
Document the purpose of each camera, who is authorised to access its footage and how requests for review will be handled. Keep access aligned with legitimate project needs and avoid recording areas that are not relevant to the monitoring goal. Where a monitoring room is used, consider its practical layout and working conditions; this control-room layout guidance discusses the room environment without changing the need for clear access rules.
Protect accounts, devices and stored video
Use individual access where possible, limit permissions to the people who need them and remove access when roles change. Keep a record of where footage is stored and how it can be retrieved or securely deleted under the project’s rules. A surveillance view can inform decisions, but it should not be treated as a replacement for site supervision or professional judgement.
Check signage, workplace requirements and local obligations
Before recording, check the requirements that apply to the site, workplace and intended use of footage. Make signage clear and visible where required, and explain the purpose of monitoring through appropriate site communications. Requirements can vary by context, so confirm them with the relevant project advisers rather than relying on a generic camera policy.
How to deploy and assess your camera system
A deployment is easier to assess when the team agrees in advance what success looks like. Define the locations, views and records that matter, then test the full process from capture through to review. Reassessment should be part of normal project management as work stages and risks shift.
Define monitoring goals and success measures
Write down what the system needs to support: for example, observing a particular access point, documenting progress or providing remote visibility to stakeholders. Decide how the team will judge whether the view and footage are useful, and who is responsible for reviewing them. For a wider project record, Construction Time Lapse Specialists provides secure remote portal access for viewing site progress, alongside visual monitoring services that include time-lapse photography and drone imaging.
Test coverage, alerts and footage retrieval on site
Test from the actual camera position, not just from a product display or a desktop preview. Check the view, connection, any alerts in use and the steps required to find and retrieve footage. If installation support is needed, teams can discuss an installation as part of planning the equipment and site requirements.
Review performance as the project and risks change
Review the system after major changes to the site, including new structures, altered access routes or equipment movements. Confirm that the intended areas remain visible and that authorised staff can still access the records they need. When visual information is used in project updates, a clear project reporting process can help separate observations, evidence and recommendations.
Talk through your project
For a project-specific approach to construction time-lapse cameras and visual monitoring, contact Construction Time Lapse Specialists to discuss the site, viewpoints and records you need.
Conclusion
Choosing a construction site monitoring camera is a matter of matching the system to the site’s purpose, conditions and changing layout. Careful planning for coverage, power, connectivity, access and footage management helps create a visual record that is useful to the people responsible for the project.