Key Takeaways
A successful time lapse project starts with a clear purpose, a practical installation plan and deliverables agreed before the first frame is captured.
- Define who will watch the finished video and what it needs to communicate.
- Match camera numbers, intervals and power systems to the site and project duration.
- Plan for Brisbane weather, changing light, access restrictions and equipment security.
- Use regular monitoring and milestone reviews to protect a long-term construction record.
- Confirm editing, licensing, storage and final formats before approving the quotation.
Define your time lapse project goals
A time lapse is most effective when it has a job to do. It may explain progress to a client, document a construction sequence, support reporting or give a finished project a strong marketing asset. Before discussing equipment, decide what the audience should understand after watching it.
The answer will shape every later choice, from the viewpoint and capture interval to the length and pace of the edit. A project manager usually needs dependable visibility and records, while a public-facing video may need a more carefully shaped narrative. Treat the creative brief and the operational brief as connected, but not identical.
Clarify the story, audience and desired outcome
Start by writing a short description of the change you want the footage to show. For a build, that might be the movement from cleared site to completed structure; for an event, it could be the transformation of an empty venue. Name the intended viewers, including internal teams, clients, authorities, investors or the broader public.
A useful brief also states the practical outcome: a progress record, a stakeholder update, a case study, training material or a promotional film. This prevents a technically impressive sequence from becoming directionless. It also gives the photographer a sound basis for recommending camera positions and capture frequency.
Choose between construction, event and commercial applications
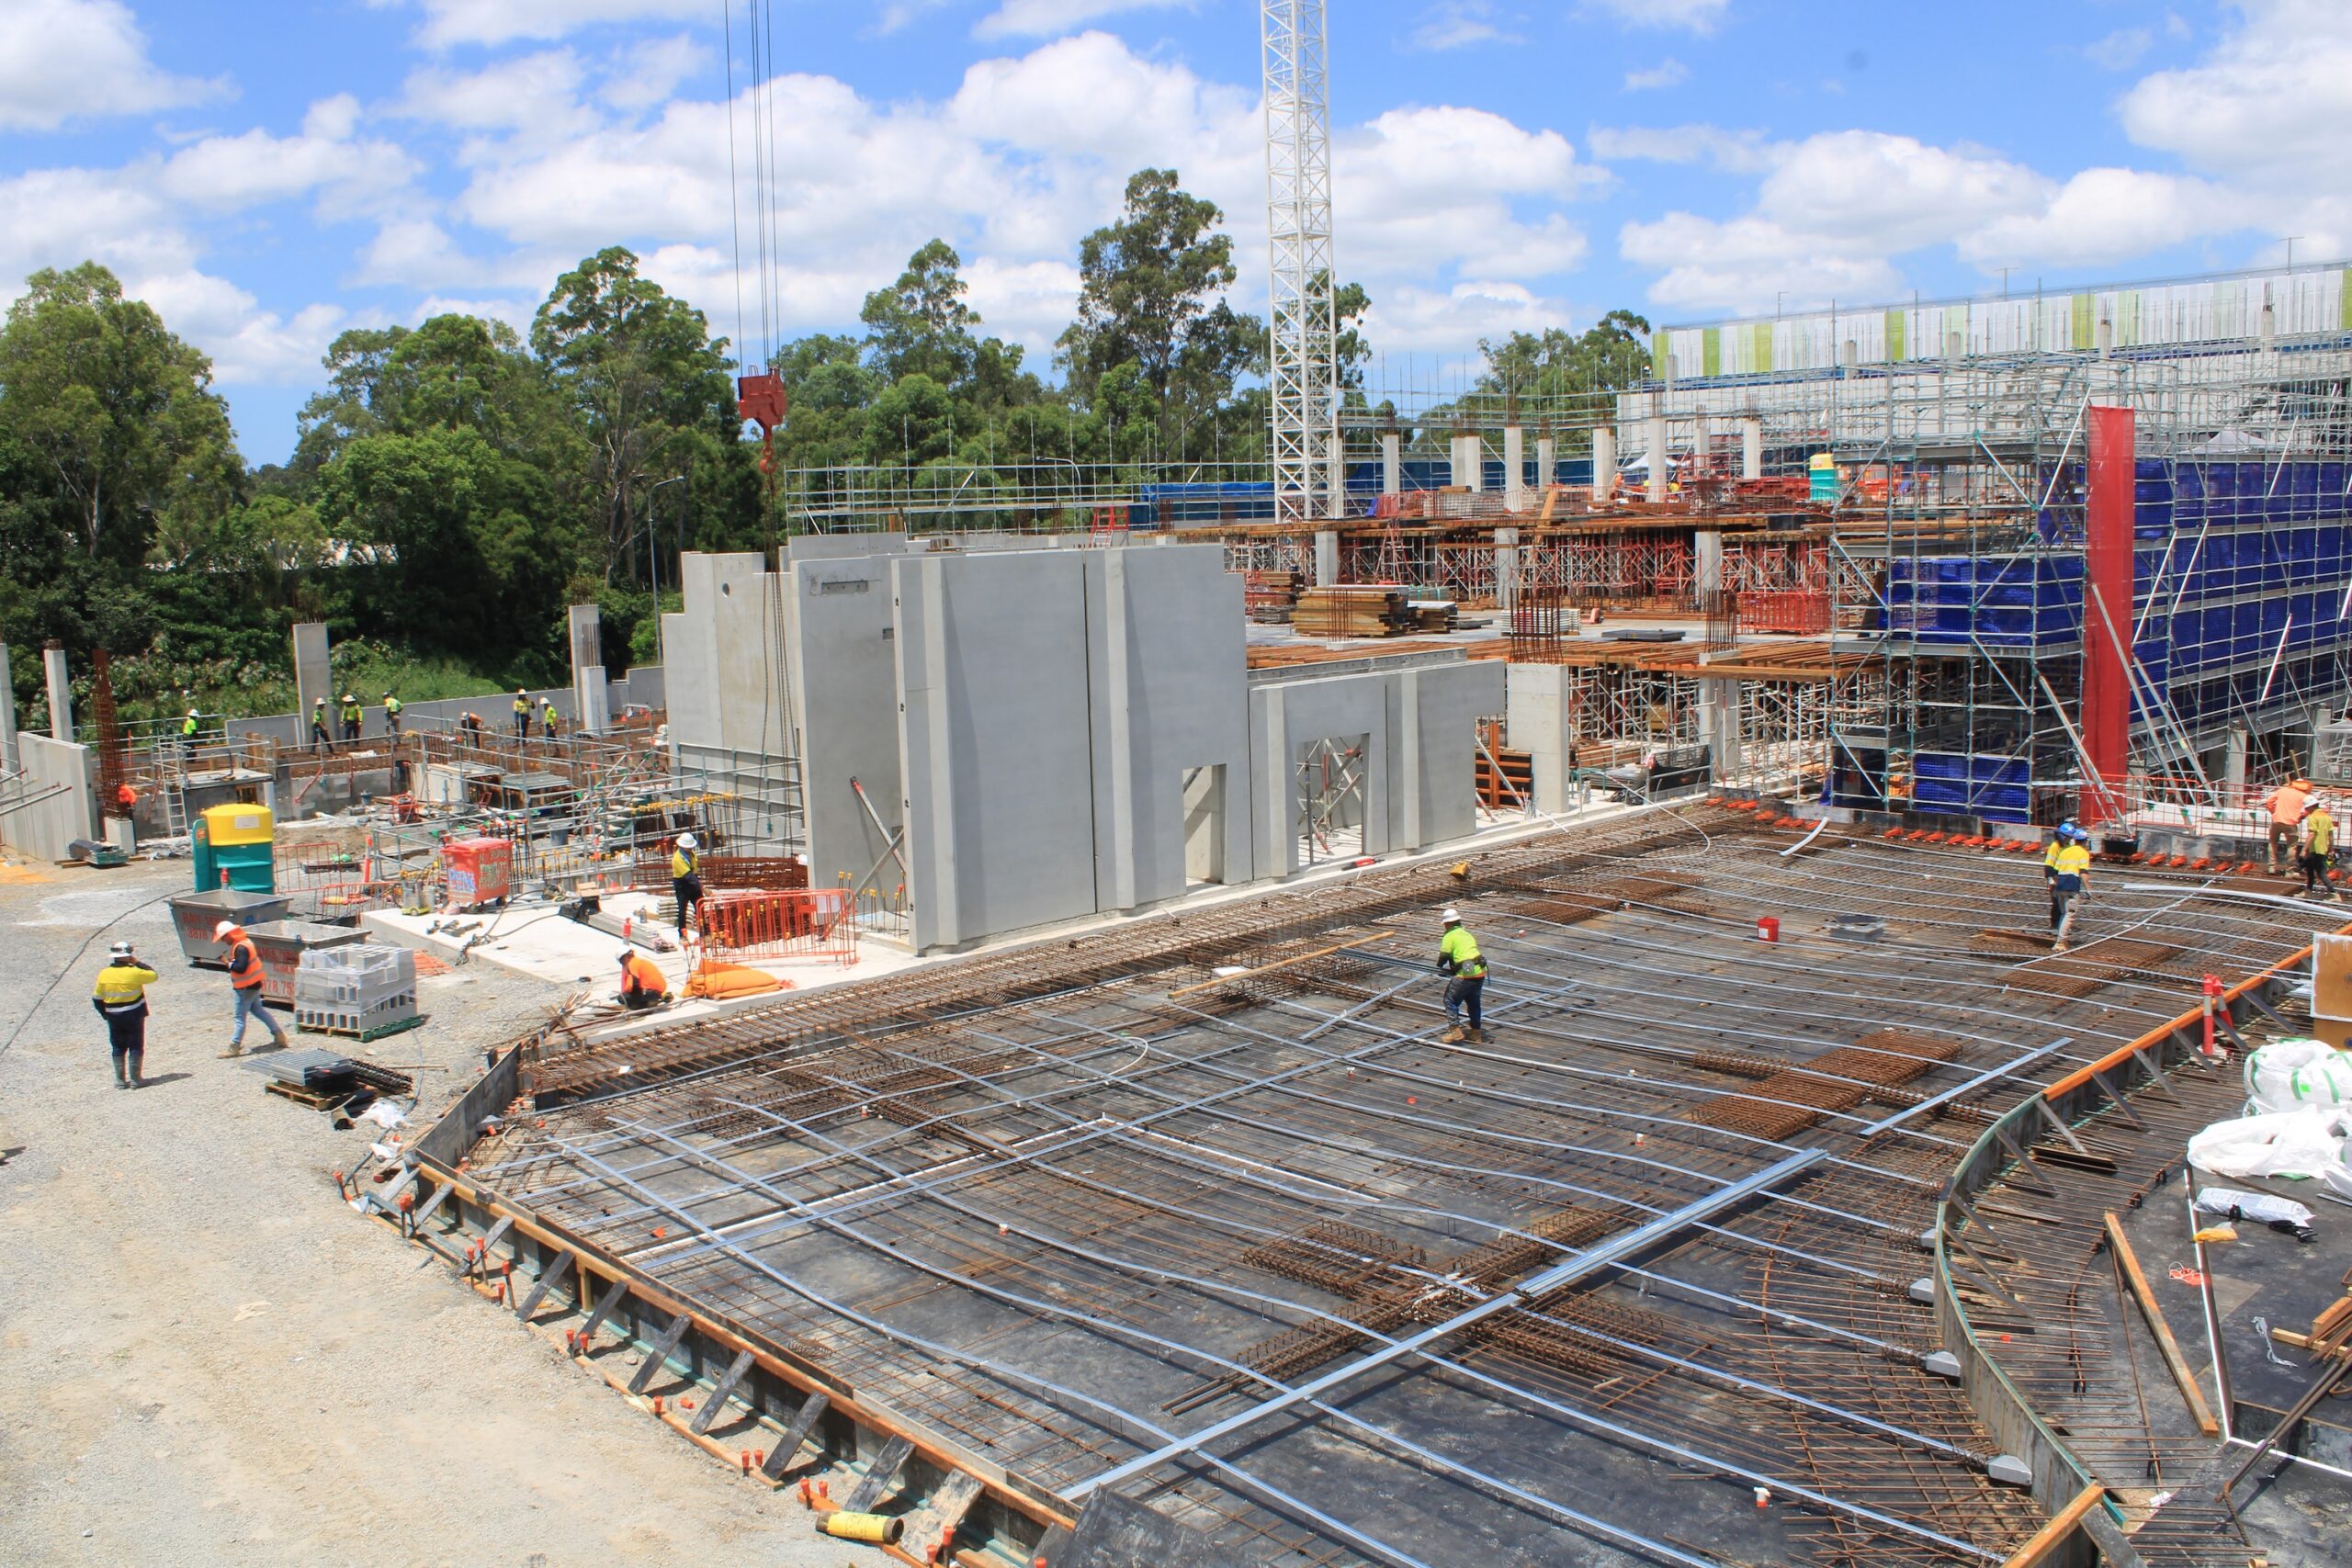
Construction projects often require unattended capture over months or years, with a fixed viewpoint that makes each stage easy to compare. Events tend to use shorter deployments and more immediate editing, while commercial applications may combine a process, a workplace or a finished property with interviews and other footage.
The application affects permissions, staffing and the amount of post-production needed. For construction teams, a visual progress record can support communication and project oversight; a commercial client may care more about a concise, polished story that works in a presentation or campaign.
Set the project duration and update frequency
Duration and interval should be planned together. A short installation might capture every few seconds, whereas a long construction project may need a considered interval that records meaningful change without filling storage unnecessarily. The schedule should account for working hours, overnight activity and important periods when the site changes quickly.
Agree how often stakeholders need access to updates as well. Daily images, weekly highlights and milestone edits serve different purposes. A written schedule makes it easier to check whether the system is still delivering the required record rather than simply collecting images.
Determine the final video format and distribution channels
Decide early whether the final asset is intended for a website, social platform, investor presentation, tender document, internal report or large display. Aspect ratio, duration, captions, resolution and file size can all change depending on that destination. It is usually more efficient to plan a small family of outputs than to crop a finished film as an afterthought.
Consider accessibility too. Titles, dates and clear milestone labels can help viewers understand a fast sequence without someone narrating every stage. The brief should identify who approves the edit and whether the original high-resolution images must be retained for future use.
Choose the right camera and production approach
The right setup is not necessarily the largest one. It is the arrangement that gives the project a useful viewpoint, dependable coverage and enough image quality for the intended edit. Commercial, civil and infrastructure sites often benefit from a combination of time lapse cameras, aerial imagery and high-resolution photography, provided each element has a defined purpose.
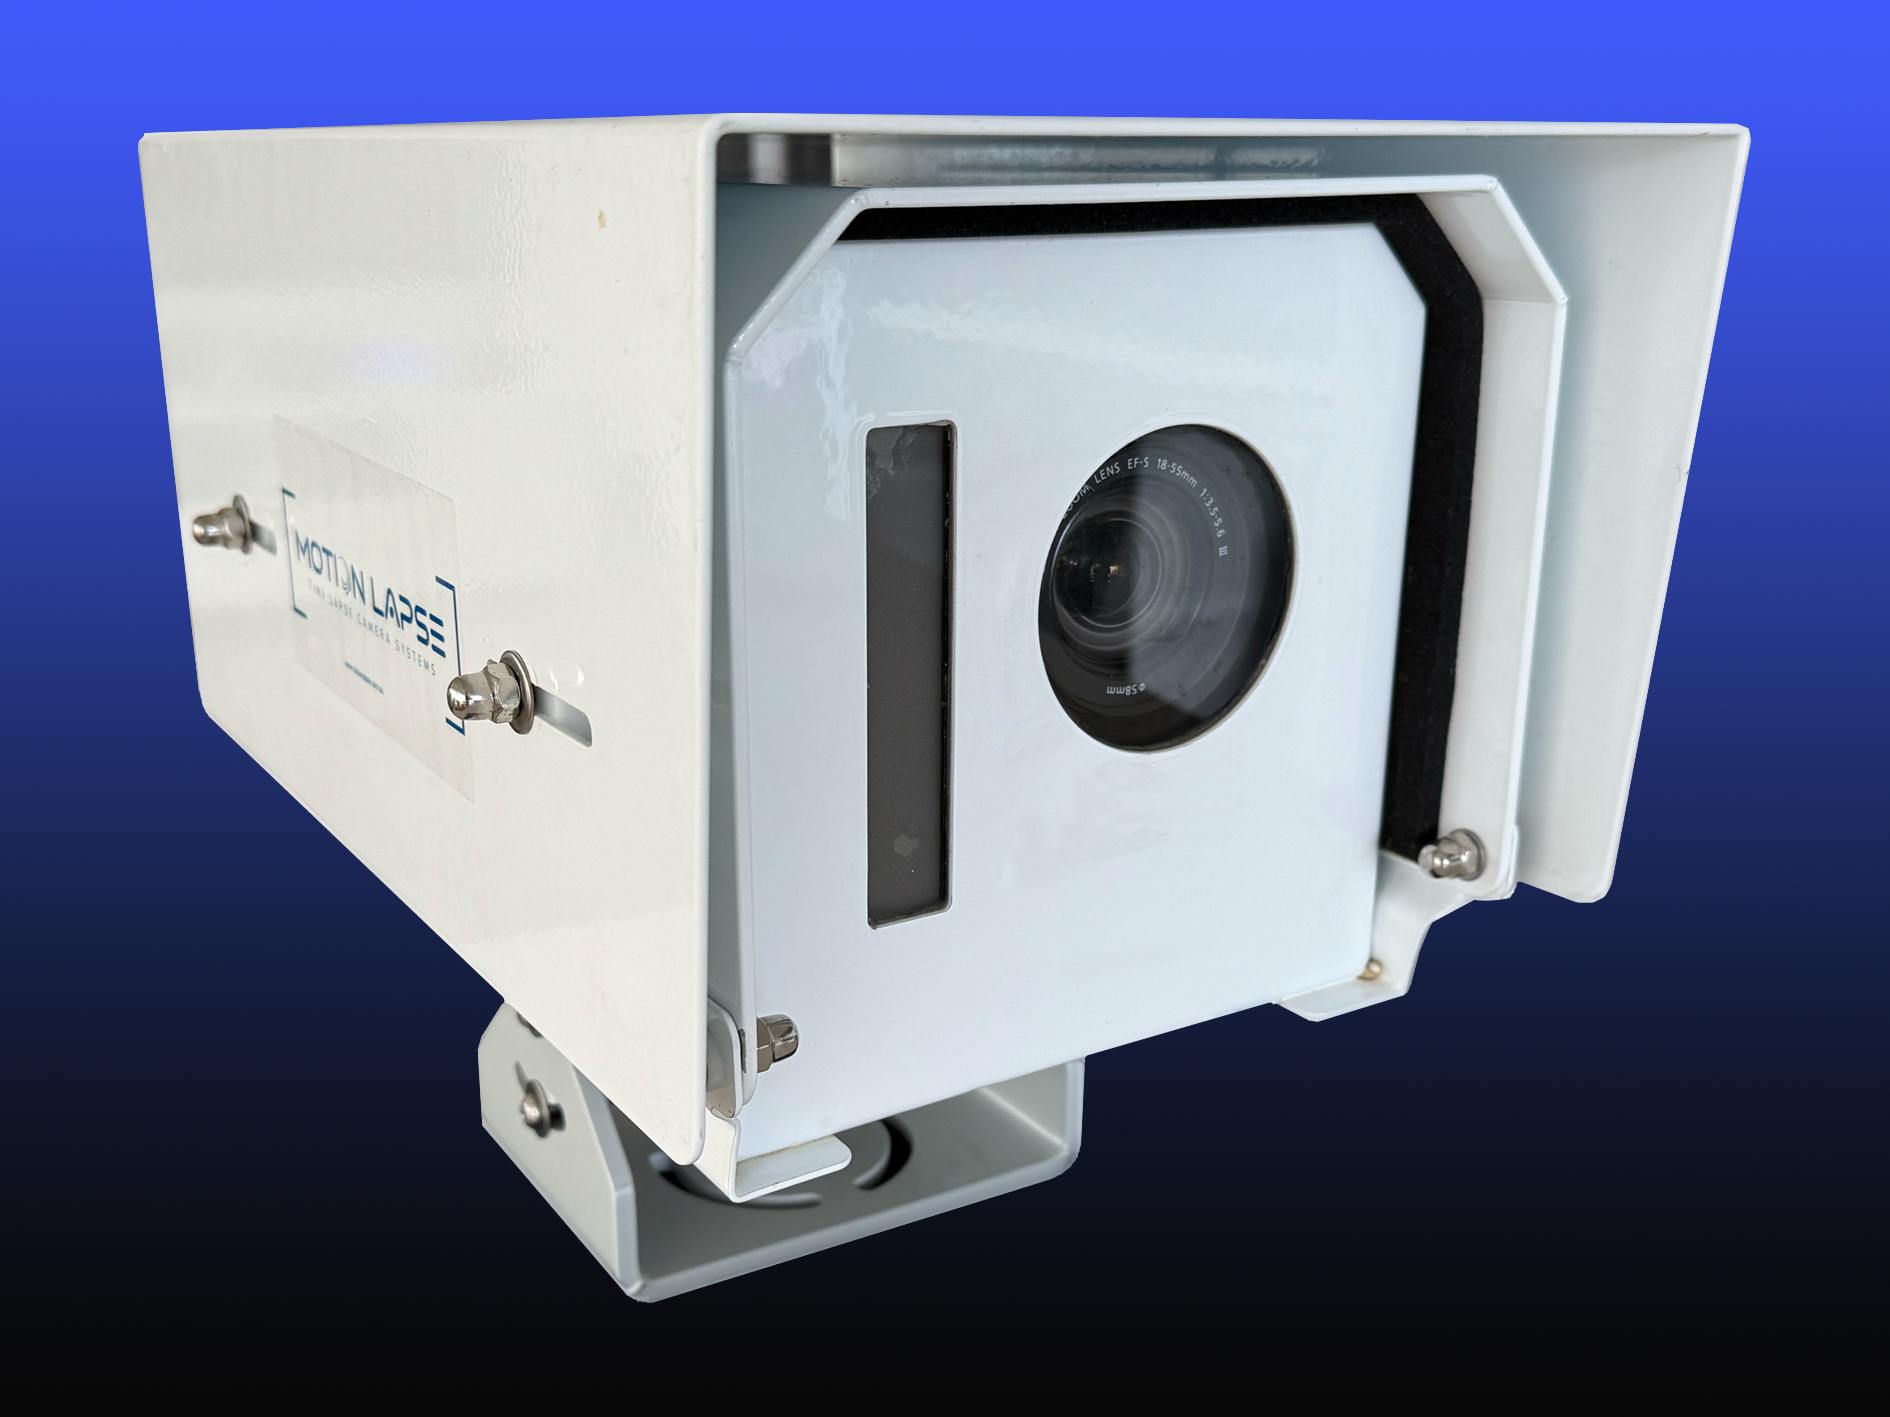
Discuss the site rather than choosing from a catalogue. Access, distance, movement, lighting and the risk of obstruction all matter. MotionLapse describes advanced time-lapse camera systems with Australian-designed, rugged IP66-rated cameras, up to 24MP DSLR image quality, 4G/5G connectivity, smart control and a secure online portal; those documented capabilities illustrate the level of detail to check when comparing a system.
Compare fixed-camera and multi-camera setups
A fixed camera provides continuity. When the framing remains stable, the viewer can see foundations, structure, cladding and surrounding activity develop in one coherent view. It can be a sensible choice where one elevated position covers the principal work face.
Multiple cameras become useful when the site is wide, changes direction or contains several significant work zones. They can reduce blind spots and provide alternative perspectives, although each extra unit adds installation, power, data and maintenance considerations. The decision should follow the story and the site plan, not a desire for more angles alone.
Assess image quality, resolution and low-light performance
Resolution matters when footage will be cropped, displayed on a large screen or reused for detailed reporting. It is also worth asking how images are exposed and processed across bright skies, shaded work areas and changing seasons. Manual consistency is generally more valuable than a sequence in which brightness shifts from frame to frame.
Low-light performance should be judged against the actual schedule. If the project needs overnight activity, specify whether the camera is expected to record it and what visual detail is required. Ask to see comparable examples rather than relying only on a headline resolution number.
Understand the role of weatherproof housing and power systems
An outdoor installation needs protection from rain, dust, heat and accidental knocks, along with a power plan that suits its location. Mains power may be practical on an established site, while solar or other self-contained arrangements can be considered where cabling is difficult. Backup planning matters because one interruption can leave a visible gap in a long sequence.
Power, housing and data should be treated as one system. A weatherproof enclosure cannot compensate for poor cable routing, and a capable camera is of little use if its batteries or connection cannot be checked. The installation proposal should explain how faults will be identified and what support is available.
Decide when drone footage can add visual context
A drone shot can show the relationship between a construction site, its access routes and the surrounding Brisbane area in a way a fixed camera cannot. It is particularly useful for opening and closing context, milestone overviews or a deliberate change of perspective. It should complement the continuous record rather than be used to disguise gaps in it.
For property-focused work, certified operators and the correct permissions remain essential. Aerial Photography is positioned around professional drone aerial photos and video for Brisbane property marketing, as well as drone asset inspections including roof inspections. That is a different brief from routine progress capture, so define the intended use before adding aerial work to the scope.
Plan a reliable Brisbane installation
Brisbane conditions can change the practical performance of an outdoor camera. Sun direction, summer storms, heat, dust, construction vibration and vegetation growth all influence what the lens sees over time. A good installation plan deals with these factors before equipment arrives on site.
The viewpoint should be chosen with both the finished video and day-to-day operations in mind. It must be safe to access, stable enough for consistent framing and high enough to remain useful as the building rises. Site planning is not a minor technical detail; it is part of the visual design.
Select a secure location with a meaningful viewpoint
Scout from the likely height and consider what will happen at each major stage. A position that shows excavation clearly may later be blocked by temporary structures, cranes or the building itself. Conversely, a distant viewpoint can preserve the whole project but lose useful detail.
Record the proposed position, lens direction and nearby reference points. This creates a baseline for future checks and helps the team recognise unwanted movement. Avoid placing the camera where routine maintenance will require entry into a hazardous work zone.
Account for Brisbane weather, sun direction and seasonal changes
The sun will move across the frame differently as seasons change, and shadows can alter the apparent pace and colour of a sequence. Glare, wet surfaces and cloud cover also affect exposure. A test frame at different times of day can reveal problems that are not obvious during a single site visit.
Weather planning should include severe conditions and periods when access may be restricted. The system, mount and enclosure should be suitable for an exposed position, while the production plan should allow for a check after significant weather events. Local knowledge helps, but it does not replace a site-specific assessment.
Arrange power, internet connectivity and site access
Confirm the power source, cable route, network coverage and access procedure in writing. Construction sites change quickly, so a cable that is safe during installation may later conflict with temporary fencing or plant movement. Internet connectivity should be tested from the camera position rather than assumed from a nearby office.
Site access also includes inductions, permits, working hours and the person who can escort a technician. Build these requirements into the schedule. A system that can be checked remotely is useful, but it still needs an agreed process for physical service when a fault cannot be resolved online.
Protect equipment from theft, dust and environmental damage
Security is both physical and procedural. Use an appropriate mount, tamper-resistant fixings and a location that is difficult to reach without authorisation. Keep a record of equipment, installation dates and inspection activity so responsibility is clear across the project team.
Dust and debris deserve equal attention, particularly during demolition, excavation and concrete work. A protective enclosure, sensible lens orientation and planned cleaning can preserve image quality. The Brisbane camera planning guide is a useful reminder to consider location, equipment, storage and scheduling as parts of the same decision.
Manage long-term construction time lapse
Long-term capture is a project management task as much as a photography task. The camera must remain relevant while the site, contractors, access arrangements and priorities change around it. A dependable process creates a record that can be reviewed, shared and edited without unexplained gaps.
Set expectations for who owns the schedule, who receives alerts and who signs off on changes. Regular reviews are especially valuable when a project pauses, accelerates or moves into a new phase. This is where specialist support can prevent small issues becoming permanent omissions.
Establish milestones and capture schedules
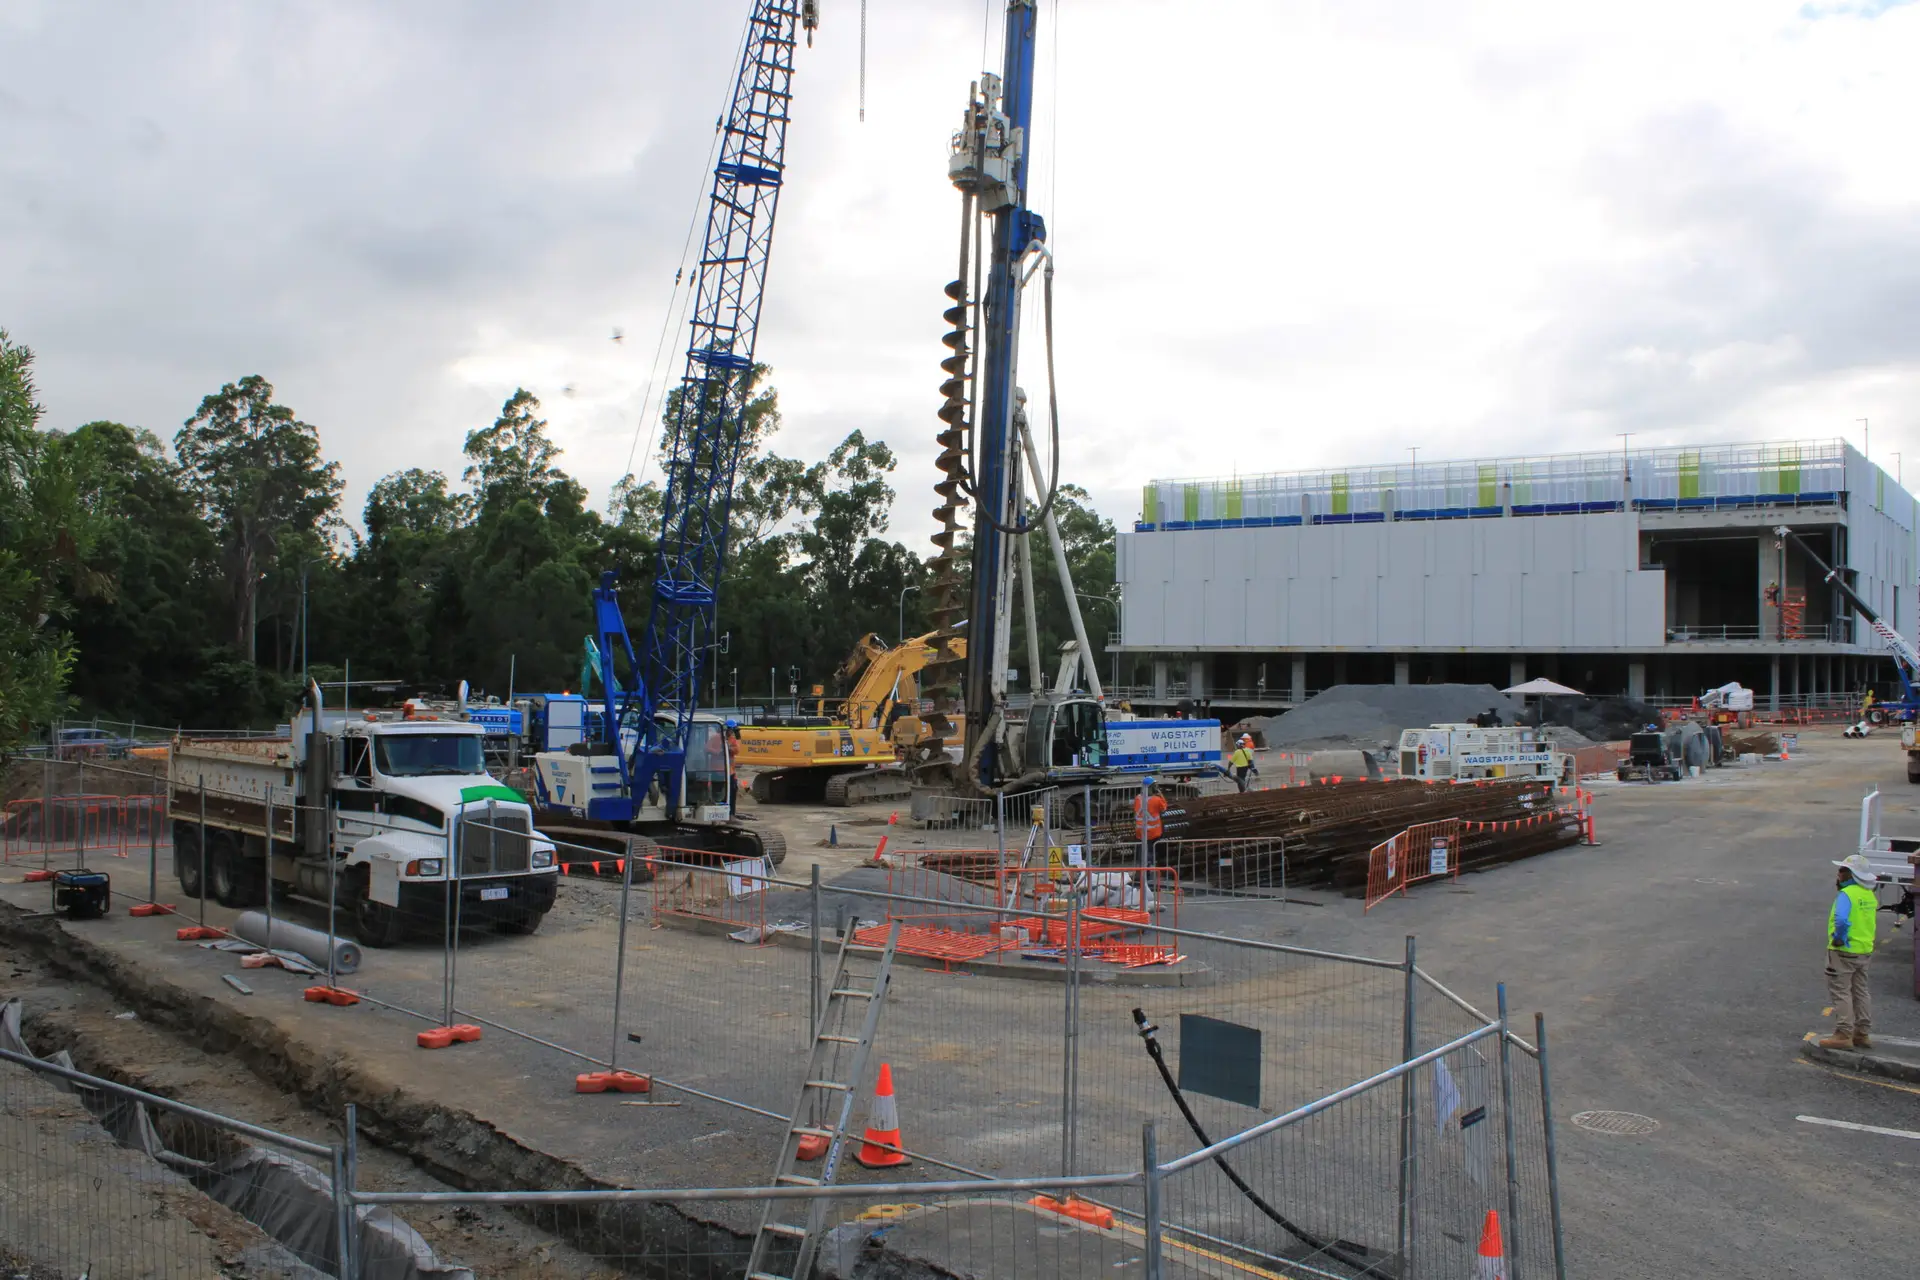
Translate the construction programme into visual milestones. Groundworks, structure, enclosure, services, fit-out and completion each provide different editorial moments, but the exact sequence will depend on the project. Mark dates provisionally and update them when the programme changes.
The interval should remain suitable for the current phase. Fast-moving work may need more frequent capture, while quieter periods can be handled differently if the visual record allows it. Keep a note of any schedule changes so the final edit has context rather than appearing to jump unexpectedly.
Coordinate access with builders, contractors and site managers
The installer needs a clear contact on site and advance notice of cranes, scaffolding, demolition, shutdowns or relocations. Site managers can also identify safer maintenance windows and warn when a viewpoint is about to become obstructed. This coordination protects both the equipment and the continuity of the footage.
Include the camera in project communications where appropriate. It should not be treated as an isolated piece of media equipment. When the team understands its purpose, they are more likely to report damage, access issues or changes that could affect the frame.
Monitor equipment remotely and resolve faults quickly
Remote access can reduce unnecessary visits, but it is only effective when someone reviews the system and acts on alerts. Check recent images, connection status, power levels and available storage according to the agreed service level. A fault log makes recurring problems easier to diagnose.
Construction Time Lapse Specialists provides construction time lapse camera solutions with 4K cameras, drone imaging and high-resolution photography, alongside durable systems and secure remote portal access for viewing site progress. For teams that need remote site monitoring, the key question is how those functions will fit into the project’s reporting routine, rather than whether remote access sounds convenient in isolation.
Maintain consistent framing throughout the project
A moved camera can undermine months of otherwise useful images. Establish reference points in the initial documentation and inspect the horizon, verticals, lens cleanliness and visible work area after each service visit. If relocation is unavoidable, record the change and plan a transition rather than pretending the two views are identical.
Consistency also includes exposure, colour and interval settings. Keep a change log for adjustments and retain representative images before and after any intervention. The camera capture checklist can help teams review placement, intervals, power and data management systematically.
Understand pricing and project deliverables
Time lapse pricing depends on the work required before, during and after capture. A short event shoot and a multi-year construction installation may both produce a video, but their equipment, monitoring and support needs are very different. A useful quotation separates those components instead of presenting one unexplained total.
Ask what is included at each stage: site assessment, installation, servicing, data hosting, image processing, editing and delivery. The time lapse pricing guide outlines common variables such as duration, camera numbers, on-site support and deliverables. Use that context to compare like with like.
Identify the main factors that influence time lapse costs
The main cost drivers are usually project length, number of viewpoints, access difficulty, power and connectivity, monitoring frequency and the amount of post-production. A remote site may require more travel or a different power arrangement. A complex build may justify multiple cameras, but only if those views add useful information.
Editing requirements can change the budget substantially. A short milestone reel is a different job from a series of stakeholder updates, a branded campaign film or a high-resolution archive. Ask for assumptions in writing, including how weather delays, site pauses and camera relocation are handled.
Compare one-off shoots with ongoing production packages
A one-off shoot suits a defined event, launch or short construction phase. An ongoing package is more appropriate when the project needs unattended capture, regular checks and a final edit assembled over time. The latter can provide a clearer service structure, but the agreement should still specify response times and review points.
Compare the total workflow, not just the hire line. A lower initial figure may exclude installation, data management or editing that someone on the project team will then need to arrange. Good proposals make the division of responsibilities easy to understand.
Confirm editing, branding and music inclusions
Editing should be described in practical terms: duration, resolution, aspect ratios, number of revision rounds, titles, logos, captions and music licensing. Confirm whether milestone selects or highlight clips are included alongside the main film. If interviews or aerial material are planned, clarify how they will be shot and integrated.
A simple deliverables table can prevent misunderstandings. It should show what the client receives, when it is supplied and which party approves it.
| Deliverable | Useful question | Timing to confirm |
|---|---|---|
| Progress images | How often are images available for review? | During capture |
| Milestone clips | Which stages receive an interim edit? | At agreed milestones |
| Final video | What resolution, duration and aspect ratios are supplied? | At project completion |
| Image archive | How are originals stored and accessed? | Before installation |
Once these details are agreed, the quotation becomes much easier to assess. It also gives the editor a clear brief and reduces last-minute requests that can affect both schedule and cost.
Check ownership, licensing and usage rights
Clarify who owns the original images, edited videos and project files. Usage may differ between internal reporting, public marketing, paid advertising, tender submissions and third-party publication. Music, aerial imagery and footage containing identifiable people may have separate permissions.
Ask how long the online archive remains available and whether a local copy is supplied. A construction record can become valuable well after handover, particularly for reporting, claims, training or future communications. These rights and retention arrangements belong in the contract, not in an assumption.
Evaluate a time lapse photographer in Brisbane
Choosing a time lapse photographer in Brisbane is about more than viewing attractive finished videos. The provider needs to understand construction environments, long-term capture, safe access and the administrative needs of project stakeholders. Look for evidence that the underlying process is as considered as the final reel.
A strong discussion should cover the proposed viewpoint, equipment, monitoring, storage, editing and contingencies. It should also leave room for the photographer to explain what will not work and why. That honesty is often more useful than a promise to capture everything from everywhere.
Review relevant portfolios and completed projects
Ask to see projects with a similar duration, scale and environment. A polished thirty-second sequence does not necessarily demonstrate experience with a camera installed for eighteen months. Look for stable framing, consistent exposure, readable milestones and evidence that the story develops across the whole build.
Request examples of both the raw progression and the finished edit where possible. This shows how the provider handles gaps, changing light, obstructions and repetitive stages. It also helps your team judge whether the visual style suits its audience.
Check technical experience and local site knowledge
Discuss camera intervals, resolution, power, connectivity, weather protection and data handling in plain terms. The provider should be able to explain the trade-offs rather than recommend one configuration for every site. Brisbane experience is useful when it translates into practical planning for heat, storms, sun and access.
Construction Time Lapse Specialists is positioned around commercial, civil and infrastructure projects and combines 4K cameras, drone imaging and high-resolution photography for visual monitoring. Those documented services are relevant when a project needs more than a single finished sequence, but the proposed scope should still be tailored to the site.
Ask about insurance, safety procedures and permissions
Any installation on a construction site should fit the site’s safety system. Ask about public liability insurance, inductions, permits, working-at-height requirements and responsibility for securing equipment. Drone work introduces additional operational and permission questions, so it should be scoped separately when included.
Do not overlook privacy and neighbouring properties. A camera position may record roads, workers or adjacent sites, and the project should establish an appropriate approach to access, notices and storage. Clear procedures protect the client, the crew and the integrity of the record.
Compare communication, reporting and backup processes
Agree who receives updates, how faults are reported and how quickly urgent issues are escalated. A monthly report may be adequate for one project, while a complex build may require more frequent image checks or milestone reviews. Ask whether the provider keeps backups and how images are recovered if equipment fails.
The best arrangement is easy for a busy project team to use. It should provide a predictable contact path, clear records of service activity and a practical explanation of what happens when weather, access or construction changes interrupt the plan.
Turn captured footage into an effective final video
The final video should make the project understandable, not merely prove that a camera was running. Months of images need selection, pacing and structure so viewers can see cause and effect. Good post-production preserves the factual value of the record while giving it enough shape to hold attention.
Plan the edit around the audience identified at the start. A board presentation may favour a concise overview, while a stakeholder update may need dates and phase labels. Keep the visual language consistent so the project remains the subject rather than the editing effects.
Edit months of footage into a clear visual narrative
Begin with the agreed milestones and remove technical failures, blank frames and distracting interruptions. Establish the site early, then let the sequence build through recognisable stages. A restrained pace usually communicates construction better than constant speed changes.
Retain enough duration at key transitions for viewers to understand what has changed. Where a pause or gap is unavoidable, a date card or short explanation can preserve continuity. The edit should be reviewed by someone who knows the project so visual assumptions are checked against what actually happened.
Combine time lapse sequences with interviews and drone shots
Interviews can explain decisions, challenges or outcomes that images alone cannot show. Drone shots can establish scale and context, while ground photography can provide detail at selected milestones. Each addition should answer a question or strengthen the story rather than interrupting the progression.
For projects requiring a wider visual record, the documented combination of 4K cameras, drone imaging and high-resolution photography can support different perspectives. Keep transitions purposeful and check that aerial material is clearly licensed and approved for the intended audience.
Add titles, dates, logos and milestone graphics
Titles orient the viewer quickly. Include the project name, location where appropriate, capture period and meaningful stage labels. Logos should be visible without overwhelming the footage, and graphics should use a consistent typeface, colour treatment and position.
Dates are especially valuable in construction videos because they turn movement into evidence of sequence. Use them accurately and retain a clean version if the film may later be adapted for a tender, report or public presentation.
Optimise the finished video for websites, social media and presentations
Export versions for the channels that were agreed in the brief. A website may need a compressed landscape file, social media may require square or vertical framing, and a presentation may need a higher-bitrate master. Check captions, sound levels, safe margins and playback on the equipment the audience will use.
Supply sensible filenames and keep a master archive separate from compressed publishing copies. That small piece of discipline makes later updates much easier. If the video is intended to support a project video consultation, take the platform requirements and approval process into the initial production conversation.
Get Your Project Moving
If you are planning a commercial, civil or infrastructure installation, speak with Construction Time Lapse Specialists about a camera and visual monitoring approach suited to your site. A clear brief, practical viewpoint and agreed reporting process will give the project a stronger visual record from the first stage through to completion.
Conclusion
A well-planned time lapse project joins creative intent with dependable site practice: define the story, select equipment for the environment, protect continuity and agree exactly how the footage will be used. With those decisions made early, your Brisbane project can produce a clear visual record that supports communication, reporting and a polished final video.