

Key Takeaways
A reliable photo record comes from a repeatable process, not simply taking more pictures. Plan what to capture, keep images organised and make each update clear to its audience.
- Set documentation goals and agree who needs access to the images.
- Repeat useful viewpoints and photograph significant milestones, including work before it is covered.
- Add dates, locations and concise notes so images remain meaningful later.
- Follow site safety and privacy requirements, and keep original images intact.
- Choose a capture approach that suits the project’s scale, duration and reporting needs.
Why construction progress photography matters
Construction progress photography gives project teams a visual record that can be revisited as work changes. It can help people who are not on site understand what has happened and what remains, while supporting routine reporting. A consistent record is especially useful when several trades or stakeholders need to discuss the same area. Construction Time Lapse Specialists provides time lapse camera solutions for commercial, civil and infrastructure projects, supporting visual monitoring over a project’s lifecycle.
Create a reliable visual record of site conditions
A photograph can preserve details that are easy to overlook in a written note, such as the condition of a work area or the sequence in which visible changes occurred. Capture a useful baseline before work begins, then revisit the same areas as the site develops. Keep the original files and record when and where each image was taken. For practical guidance on construction photo documentation, use a consistent approach to planning, capturing and organising images.
Track progress against the programme
A dated series of images can help the team compare visible work with planned milestones. Photos do not replace programme reviews or site inspections, but they can give context to a discussion about what has changed since the previous update. Choose a regular rhythm for capture, with additional photographs at milestones that matter to the project. This makes it easier to distinguish a genuine change from differences in viewpoint or timing.
Support communication with clients and project teams
Not every stakeholder can visit the site as often as they would like. A small selection of clear, well-captioned images can make a progress conversation more concrete, especially when the audience needs a quick overview rather than a full image archive. Match the level of detail to the reader: a broad site view may suit a client update, while a close view can help a delivery team discuss a specific area. For a wider perspective on how photographs and video can keep stakeholders informed, see construction project visual records.
Help resolve disputes and verify completed work
A dated image record may help establish what was visible at a particular point in the project, especially when accompanied by location and work-package details. It is not a substitute for contractual records, inspections or formal approvals, but it can provide useful context when questions arise about sequence or site condition. Take photographs before work is concealed where later verification may be difficult. Accurate records are most useful when they are captured routinely, rather than assembled after a concern has already surfaced.
Plan a consistent photo documentation system
Before taking photographs, decide what the record needs to show and how people will use it. A simple system helps different staff members produce images that can be compared over time. It also reduces uncertainty about which areas, milestones and viewpoints are expected. For an ongoing project, agree the process early and revisit it when site conditions or reporting needs change.
Set objectives and agree on who needs the images
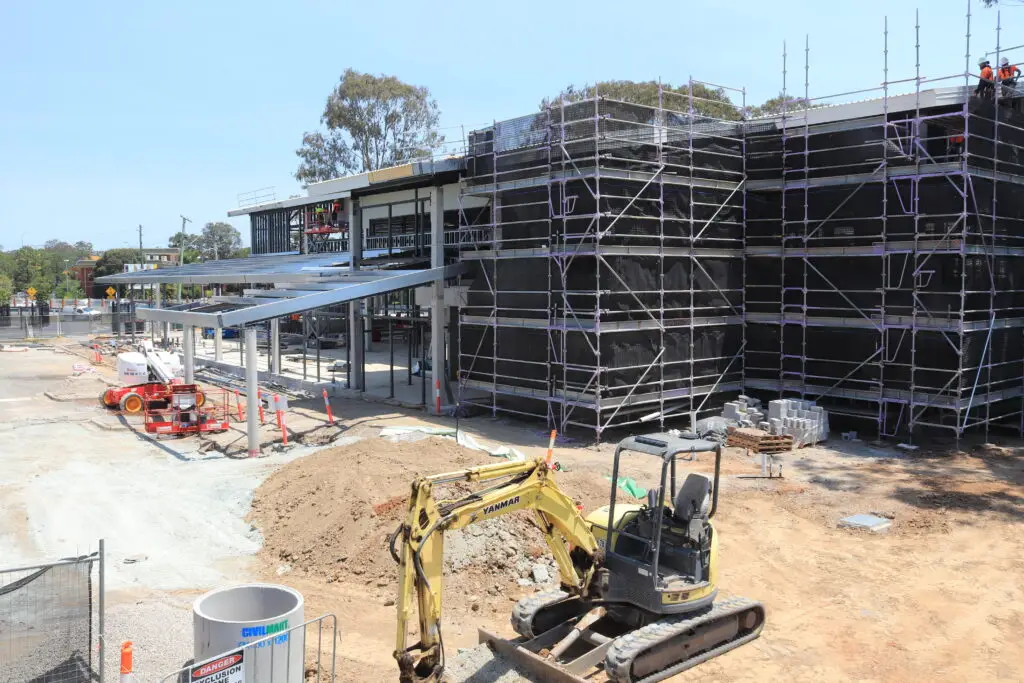
Start by identifying the purpose of the photographs: progress reporting, internal coordination, project records or another agreed need. Then confirm who will review them, how often they need updates and what level of detail is useful. The same image set may serve several audiences, but the selection and captions should still make sense to each. Similar care goes into presenting a property accurately in Airbnb listing photography, where useful images help viewers understand what they are seeing.
Build a shot list around project milestones
A shot list turns broad objectives into a practical capture plan. Rather than relying on memory, list the views and details that are important at each stage, and allow room for unexpected site changes. The table below is one way to connect a milestone with a useful photographic record.
| Project moment | Useful image focus | Record alongside it |
|---|---|---|
| Before work starts | Existing site and surrounding conditions | Date and location |
| Early works | Access, excavation or initial installation | Work package |
| Before concealment | Relevant services or components | Area and milestone |
| Handover stage | Completed spaces and visible finishes | Status and date |
Treat this as a starting point, not a universal specification: project requirements and approved inspection processes determine what must be documented. Review the list with the people who will use the images, then update it when the sequence of work changes.
Choose viewpoints that can be repeated over time
A repeatable viewpoint makes comparisons more meaningful because the framing stays broadly consistent. Select locations that provide a clear view of the relevant work without obstructing site activity, and note the position and direction for later visits. Where practical, include a recognisable feature in the frame to help orient the viewer. If fixed-camera coverage is under consideration, plan the position around the project’s objectives and the changes expected on site.
Schedule photography around site activity and weather
The best capture time is one that balances a clear view with safe access and minimal disruption. Coordinate with the site team, check for changing work zones and avoid asking people to enter an active area just to obtain a picture. Weather, light and temporary obstructions can all affect what the image shows, so note conditions when they materially affect the view. Plan a regular schedule, but keep flexibility for key milestones that fall between routine visits.
Capture clear and useful progress photos
Good site images make the subject easy to understand without losing the context needed to interpret it. Consistent framing helps viewers compare progress, while a mix of wide and close views can show both the overall work and a particular detail. The person taking the photographs should work within site rules and choose a safe position before thinking about composition. A few deliberate images are usually more useful than a large set of near-duplicates.
Use consistent framing, distance and orientation
When revisiting a location, try to keep the camera height, distance and orientation similar to earlier photographs. That consistency makes visible changes easier to spot and reduces confusion caused by a shifted angle. Record a brief note about the viewpoint if it may be difficult to reproduce. A repeatable camera position is a practical reference, not a reason to stand somewhere unsafe or interfere with site operations.
Include context as well as close-up detail
A close-up can show a particular finish or component, but without a wider view the reader may not know where it is. Pair detail shots with an establishing image that shows the area in relation to the rest of the site. This is particularly useful when an update will be read by people unfamiliar with the layout. In each case, frame the image so the intended subject is clear and avoid including irrelevant background where possible.
Photograph key work before it is covered up
Some work becomes difficult to see once the next construction stage begins. Identify those points in the shot list and coordinate capture with the relevant supervisor or trade, so photographs do not interrupt the sequence of work. Include enough surrounding context to locate the subject, then add a closer view if a detail needs to be legible. These images support a visual record; they do not replace required inspections, approvals or project documentation.
Check image quality, focus and exposure on site
A quick review while still in the area can prevent a return visit for a blurred or poorly exposed image. Check that the main subject is in focus, the frame is level enough to read and important details are not lost in shadow or glare. If the image is unclear, adjust your position or wait for safer, more suitable conditions. In-house capture also calls for a clear standard; that consideration is shared with professional listing photography, where image quality and accurate representation both matter.
Organise and manage construction photos
A photograph only remains useful if the team can find and interpret it later. Agree on a straightforward filing system before image volume grows, and apply it consistently across staff and capture methods. Keep original files separate from any copies prepared for reports, and ensure access is limited to authorised people. Clear organisation supports day-to-day communication as well as longer-term project records.
Use a consistent naming and tagging system
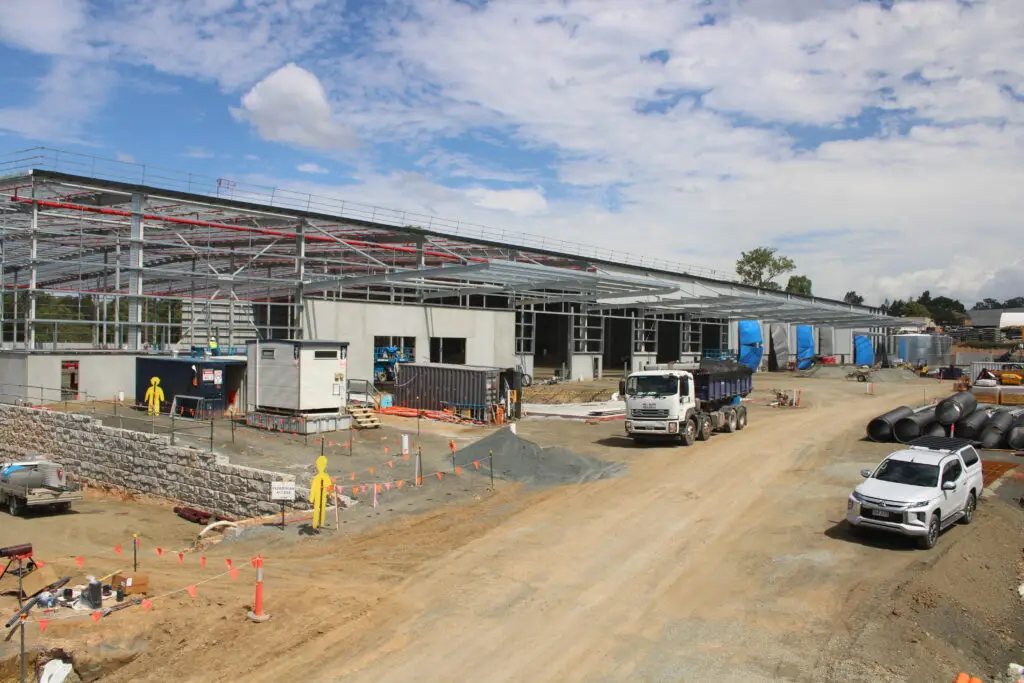
Choose a naming pattern that is easy to understand and repeat, such as date, area and work package, subject to the project’s information-management rules. Use agreed tags for common locations or milestones so teams do not create several labels for the same place. A system should be simple enough for people to follow during a busy site day. Consistency matters more than a complicated structure that only one person understands.
Record dates, locations and relevant work packages
An image with no context can be hard to interpret months later. Record the capture date and location, then add the relevant work package or milestone when it helps explain why the photograph was taken. This is similar in principle to GMP document control, where revision and record links help maintain traceability. Apply the project’s own documentation procedures rather than assuming a photo naming scheme meets formal record requirements.
Store original files securely with backups
Keep originals in an approved storage location and maintain backups according to the project’s information-management policy. Set access permissions so that teams can use the images without making the source files easy to overwrite or lose. For any edited copies used in a presentation, retain the original separately. A clear record of changes to files can also help distinguish an untouched site image from a version prepared for a particular report.
Make images easy for authorised teams to find
A well-organised archive should make it possible to search by date, location or work package without relying on the memory of the person who took the photo. Construction Time Lapse Specialists provides secure remote portal access for viewing site progress, giving authorised stakeholders a way to review visual material remotely. Agree who can access the record and how images should be shared, and keep that process consistent as team members change. Good records are easier to use when the route to them is clear.
Turn photos into effective project updates
A project update should help the reader understand what has changed and why it matters. A small set of well-chosen photographs, with concise context, can do that more clearly than an unfiltered upload. Select images according to the update’s purpose and the audience’s familiarity with the site. Then make comparisons fair by using dates and, wherever possible, the same viewpoints.
Select images that show meaningful changes
Choose photographs that illustrate a milestone, a change in a work area or a condition the team needs to review. Avoid including several images that make the same point unless the sequence itself is useful. A report for senior stakeholders may need a broad view of progress, while a delivery discussion may require a closer image of a particular location. The image set should be selective, but not so sparse that readers lose the context.
Pair photos with dates, locations and concise notes
A short caption can tell readers when and where an image was taken, and what they should notice. Keep notes factual and avoid treating an image as proof of a conclusion it cannot establish on its own. When a photo shows an issue or change, identify the relevant area and, if known, the related work package. This helps readers understand the image without adding lengthy commentary.
Compare current images with earlier viewpoints
Side-by-side comparisons can make progress easier to follow when the earlier and current images have similar framing. Label both dates clearly and explain any material change in viewpoint, lighting or access. If an earlier image is unavailable, do not imply that a comparison is exact. The purpose is to clarify what has changed, not to make a visual difference look more certain than the record supports.
Share updates through reports or project platforms
Use the project’s agreed reporting channel, whether that is a regular report or an authorised project platform. Consider the intended audience, file size and access arrangements before sharing, particularly when images include people or sensitive areas. Construction Time Lapse Specialists offers 4K cameras, drone imaging and high-resolution photography for construction projects; select a service only where its documented scope fits the project’s visual requirements. For wider visual coverage, teams can also review construction photography and video as part of planning what to share.
Address site safety, privacy and image integrity
Photographs should be taken in a way that respects site controls and the people working there. A useful record is not worth an unsafe position, an unauthorised entry or the exposure of sensitive information. Set clear expectations for staff and any photography provider before capture begins. The same care should continue through storage, editing and distribution.
Follow site induction and personal protective equipment requirements
Anyone taking photographs on site must follow the relevant induction, access and personal protective equipment requirements. Confirm where photography is permitted and coordinate with the site supervisor if the work area or conditions have changed. Do not step into an exclusion zone or distract workers to improve a composition. A safe, slightly less dramatic image is preferable to a photograph taken in breach of site controls.
Avoid capturing restricted areas or sensitive information
Before taking or sharing an image, check the frame for restricted work zones, security details, plans, screens or other information that should not be visible. Site rules may specify areas where photography is prohibited or require approval before images leave the project. When in doubt, check with the responsible project contact rather than assuming the image is harmless. A controlled capture process helps prevent avoidable disclosure.
Protect workers’ privacy and obtain consent where needed
Workers may appear in images incidentally, but that does not remove the need to follow project privacy rules and applicable consent requirements. Frame images around the work where practical, and avoid identifying individuals unless there is a clear, approved reason. Explain how photographs will be used and who may see them when the project process calls for it. The project’s privacy and communications policies should guide decisions about publication.
Keep an accurate record without altering images misleadingly
Basic adjustments for a report should not change what the image represents. Preserve the original, and label any crop or other presentation copy where the change could affect how a reader interprets the scene. Do not remove relevant context or combine images in a way that suggests events occurred together when they did not. Clear terms and permissions matter across many kinds of records, including website use terms; for project images, follow the project’s own approved requirements.
Choose an approach that fits the project
The right photography approach depends on what needs to be documented, how often updates are required and who will use them. Some projects can manage routine capture internally, while others may benefit from dedicated equipment or specialist photography. Consider site access, duration, safety controls and the expected deliverables before deciding. Construction Time Lapse Specialists provides construction time-lapse cameras and photography services, with expert support; the suitable option depends on the project’s needs.
Compare in-house photography with professional services
In-house capture can work when the team has time, clear procedures and reliable access to the relevant areas. A professional service may be worth considering when the project needs planned coverage or consistent imagery over a longer period. Compare the expected scope and deliverables, rather than assuming one approach suits every site. A contracting business may also weigh up a contracting website builder to present its work, but that is a separate decision from how project images are captured and managed.
Consider site size, duration and reporting needs
A compact, short-duration project may have different coverage requirements from a large or long-running site with multiple work fronts. Think about how often stakeholders need updates, what milestones must be shown and whether visual coverage is needed from more than one perspective. Set these needs out before comparing options. For projects with a defined capture schedule, construction time-lapse planning can help teams consider camera positions, milestones and ongoing equipment care.
Assess equipment, access and staff time
Check what equipment is already available, whether it is suitable for the intended views and who will be responsible for capture and file handling. Account for site access approvals, changing work zones and staff time for naming, reviewing and sharing images. A fixed camera, ground photography or aerial imagery may each suit different project objectives, subject to access and safety requirements. Make the practical workload part of the decision, not an afterthought.
Review sample work and agree on deliverables before starting
Before work begins, review examples that are relevant to the project type and agree what will be provided, how often and in what format. Confirm who will arrange access, review images and receive them, along with any requirements for storage or use. A clear scope helps prevent gaps between what stakeholders expect and what the capture plan actually covers. If regular updates are needed, set a review point to check whether the agreed approach remains suitable as the site changes.
Explore time-lapse options
For a project that needs ongoing visual coverage, contact the team to discuss time-lapse camera solutions and photography services for your site.
Conclusion
A dependable construction photo record comes from clear objectives, repeatable capture, useful context and careful management of the resulting files. Plan around the project’s milestones, work safely and choose a coverage approach that fits the site and its reporting needs. Done consistently, construction progress photography gives teams a clearer visual reference as work moves from early stages through to completion.


