
Key Takeaways
A successful time lapse begins with a clear idea of what should change on screen and how long that change will take. Plan the capture, camera setup and edit as parts of the same process.
- Choose a subject whose change will read clearly when compressed into a short sequence.
- Set the interval according to the subject’s pace and the final clip length you need.
- Use stable framing and consistent exposure, focus and white balance to reduce distracting variation.
- Test the camera, power and storage before committing to a long shoot.
- Review and edit the sequence as a whole, then export at a suitable resolution and playback speed.
What time lapse photography is and when to use it
Time lapse photography records a series of still images at set intervals and plays them back as a video. The approach can reveal gradual movement that is hard to notice in real time, from a changing sky to the stages of a building project. It works best when you can plan for the change, keep the viewpoint steady and give the subject enough time to develop.
How time lapse turns slow changes into motion
A camera captures individual frames less frequently than a video camera would during ordinary recording. When those frames are played back at a standard video rate, the elapsed time appears compressed and slow change becomes visible as movement. For a concise explanation of the principle, see this time lapse overview.
The effect depends on the relationship between capture interval and playback rate. A short interval can make a moving subject appear fluid, while a longer interval compresses more time into the same clip. Think of the interval as a storytelling choice: it determines not only how quickly the scene moves, but also which details remain legible.
Subjects that work well, from clouds to construction
Look for change that is gradual, visible and meaningful in a fixed frame. Clouds gathering, shadows crossing a landscape, a flower opening or a construction project advancing can all make compelling subjects. Construction Time Lapse Specialists provides construction time-lapse photography and camera installations, with 4K clarity, remote monitoring and expert support described for its services.
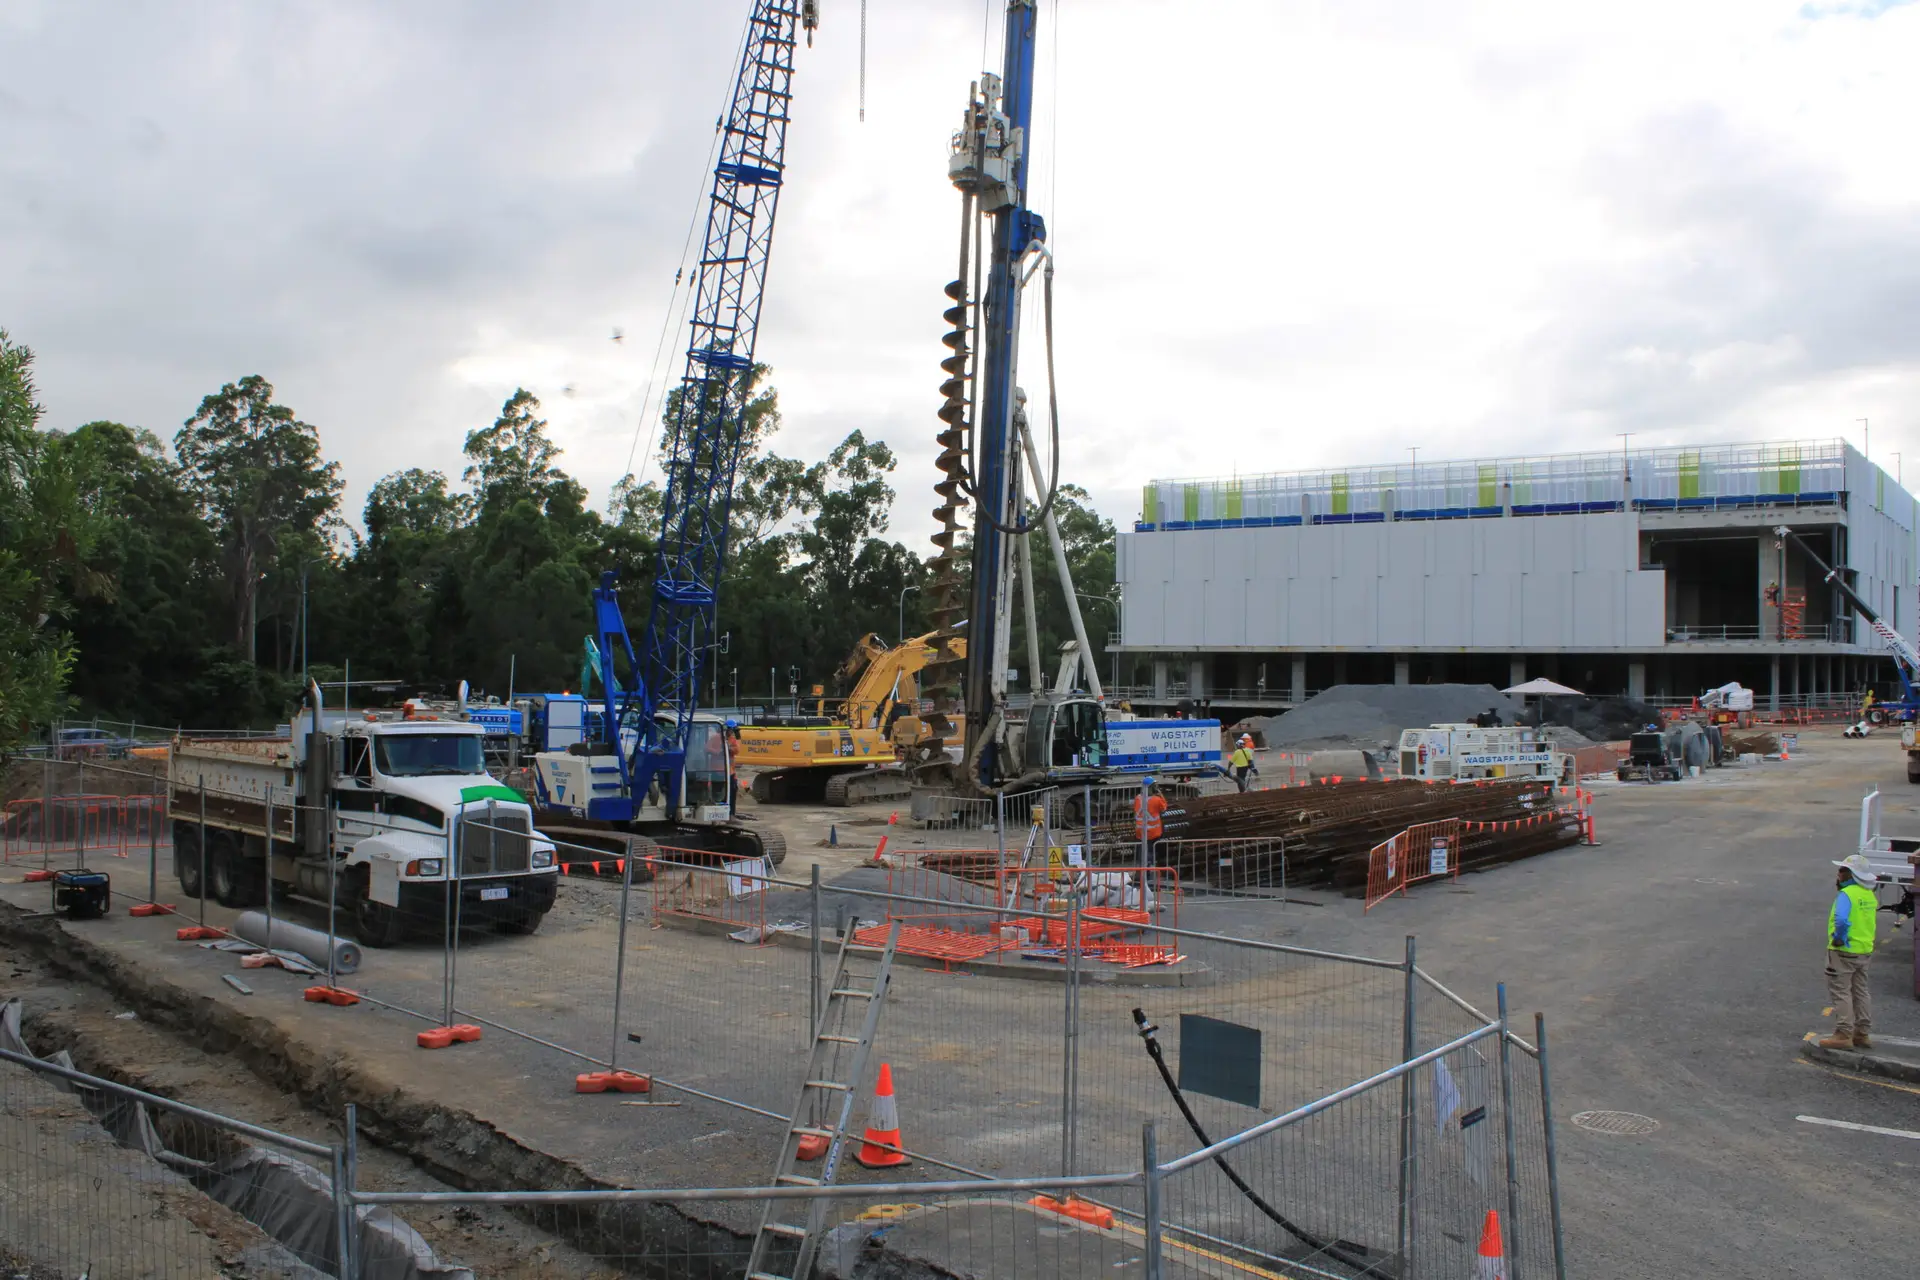
For a project site, a consistent view can make stages of work easier to review over time. The construction camera setup guide covers planning intervals and clip length alongside stable framing, power, storage and changing conditions. For a different kind of time-based planning, homeowners can consult this guide to bat exclusion timing; the subject differs, but it also depends on choosing a suitable seasonal window.
How it differs from stop motion and slow motion
Time lapse records a scene as it changes on its own, with the camera taking images at intervals. Stop motion instead relies on manually moving a subject between photographs, while slow motion captures action at a higher rate and plays it back more slowly. The distinction matters when you choose a technique: time lapse suits long processes, stop motion suits deliberately staged movement, and slow motion reveals detail in fast action.
The iPhone time-lapse and long exposure guide also distinguishes time lapse from long exposure, which renders movement within a single still image rather than compressing a series of moments into video. Keeping these methods separate helps you choose the right tool for the visual idea.
Choose the right camera and equipment
The best setup is the one that can record the subject for the required duration without shifting or running out of power or storage. A short outdoor clip and a months-long construction record have very different demands. Start with the project length, location and desired output, then choose equipment that suits those conditions rather than buying features you may not use.
Using a DSLR, mirrorless camera or smartphone
A DSLR or mirrorless camera gives you direct control over exposure and image capture, which is useful when light or image quality needs careful management. A smartphone may be a straightforward option for a brief, accessible scene, particularly when its time-lapse mode provides the controls you need. Whichever camera you use, check the available settings, battery life and storage before the shoot begins.
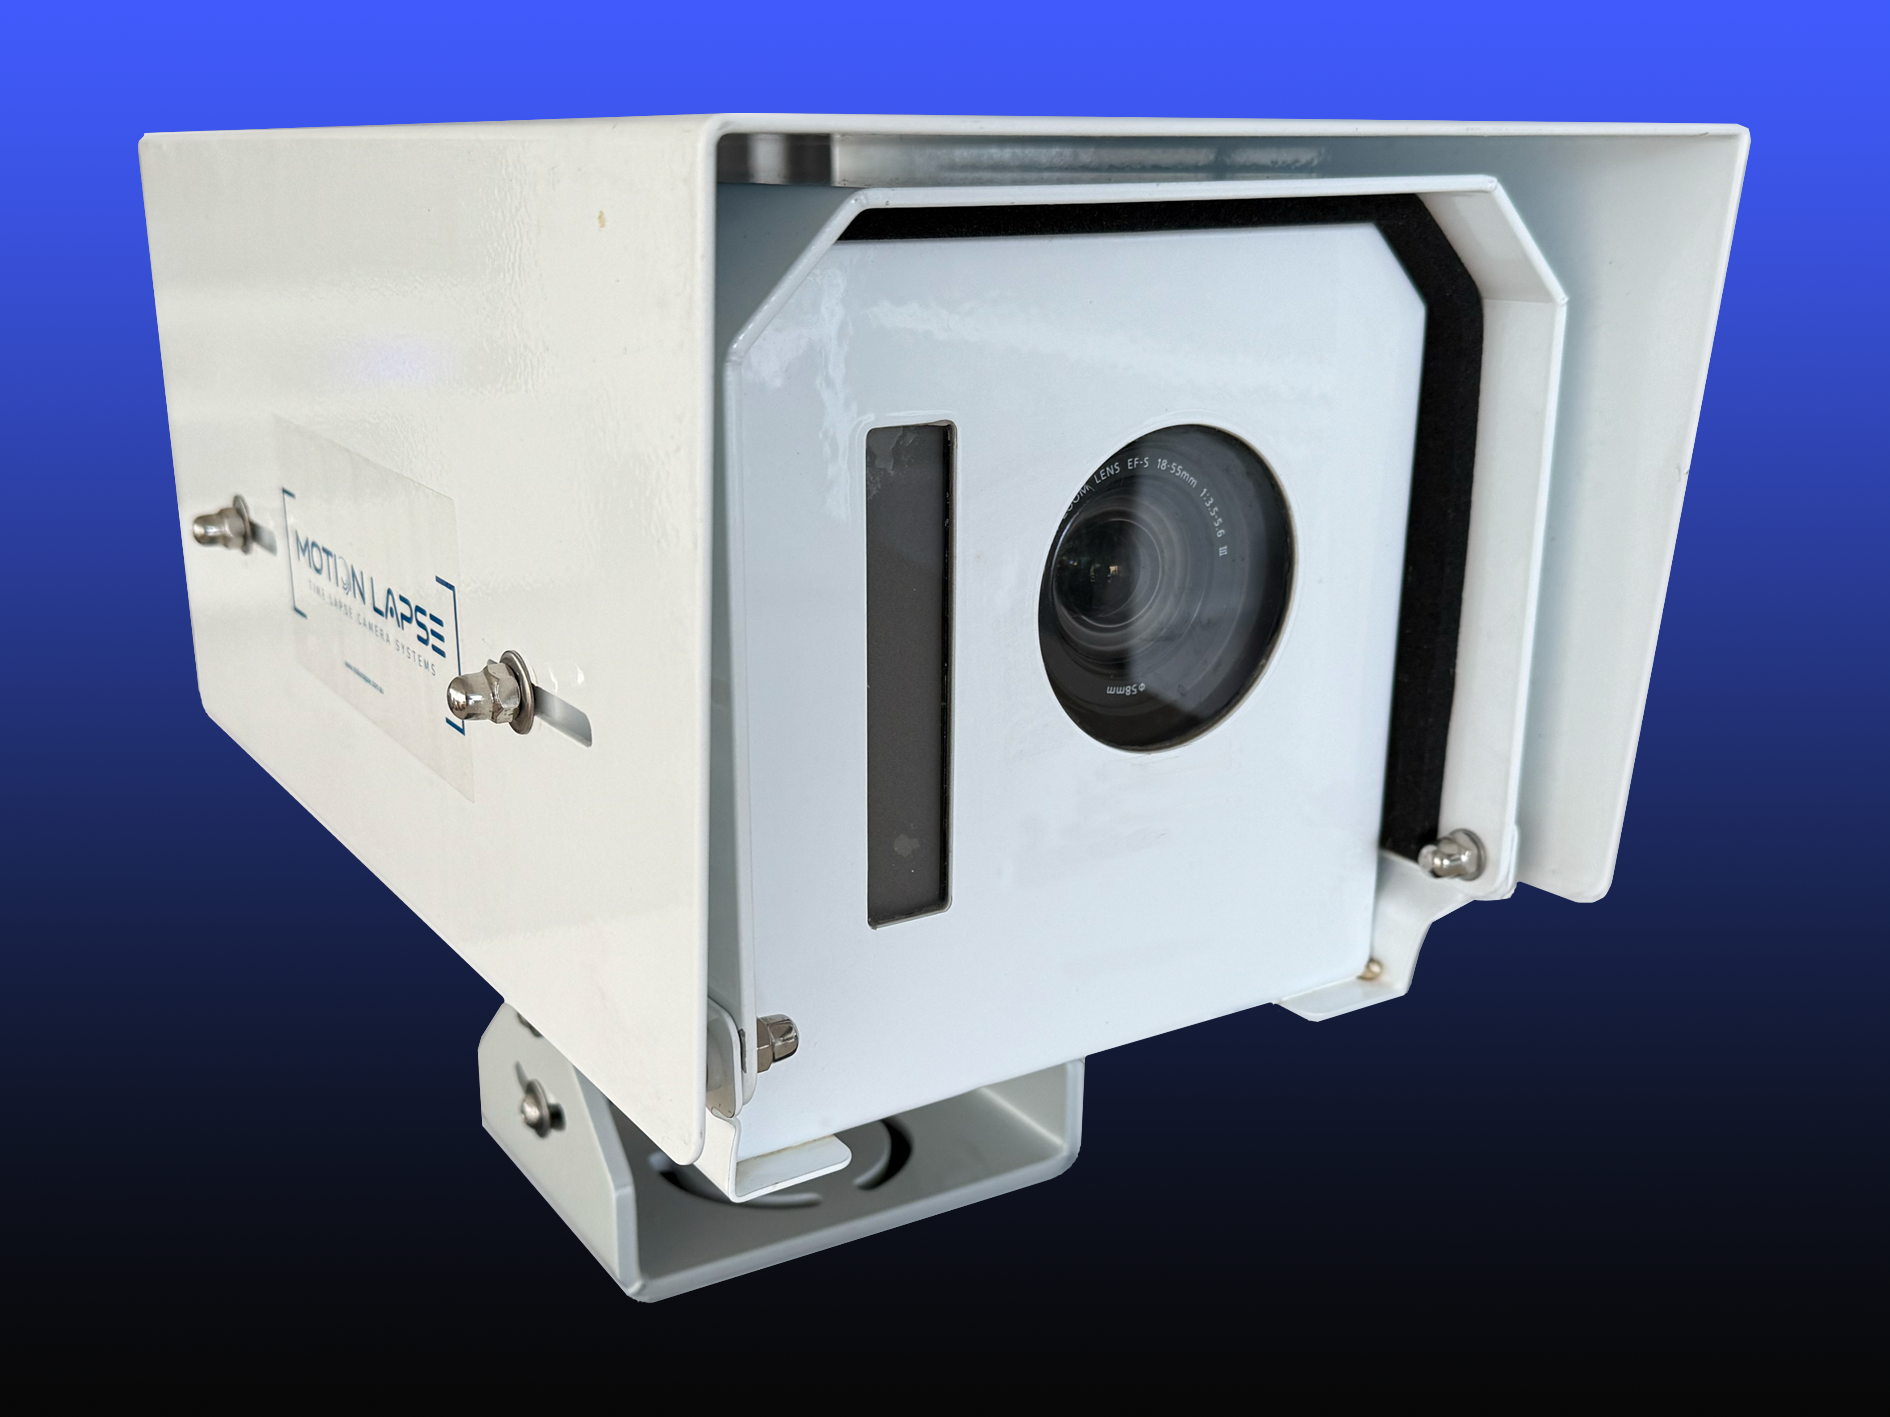
For long-term work, the camera must be suitable for continuous use in its location and for the interval and viewpoint you have planned. Construction Time Lapse Specialists lists Time Lapse Cameras among its services and equipment. When comparing options, this project camera selection guide offers a useful checklist of interval, power, storage, weather protection and mounting considerations.
When to use a tripod, intervalometer and external power
A tripod helps keep the framing consistent between exposures, while an intervalometer triggers the camera at a chosen interval. Some cameras include interval capture, so check the menu before adding a separate controller. For a long shoot, external power can reduce interruptions, but the connection and power source need to suit the site and camera.
A practical setup often combines only a few pieces of equipment. A tripod or secure mount supports framing; an intervalometer or built-in timer handles repeated capture; and suitable power and storage keep the sequence running. Construction Time Lapse Specialists also provides camera installations for construction projects, a service that can be relevant when a camera needs a planned site position.
Protecting your setup from weather and changing conditions
Outdoor equipment faces rain, dust, wind, heat and shifting light, so inspect the camera housing, mount and connections before the shoot. Choose a position that is secure and does not obstruct work or create a site hazard. A protective cover should not block the lens or cause heat to build up around the camera.
Consider the camera and the surface it is attached to as separate maintenance concerns. For example, exterior maintenance advice discusses dust, mould and humidity affecting homes in the Hunter Valley; it is not camera advice, but illustrates how local conditions can shape exterior upkeep. On a construction site, use protection appropriate to the equipment and conditions, and check it periodically rather than assuming the initial setup will remain unchanged.
Plan your shot and choose an interval
Planning connects the duration of the real-world event to the length and pace of the finished video. Before setting the camera, decide what change the viewer should notice and how much of the scene needs to be visible. A few minutes spent estimating the capture can prevent a sequence that ends too early or compresses the action beyond recognition.
Estimate how long the subject will take to change
Estimate the total recording period by considering the subject’s pace and any natural pauses. A sunset may take an hour or two to unfold, while a construction project can run for months. For a long project, identify milestones and decide whether the camera should record continuously across the entire period or focus on particular phases.
The required interval also depends on how quickly the subject moves within the frame. Clouds can change shape rapidly, whereas a building’s progress is gradual. If you are planning a broader video project alongside the time lapse, this video production planning guide covers goals, schedules, locations and post-production.
Calculate the capture interval and final video length
Work backwards from the final clip length. Multiply the number of playback frames per second by the desired video duration to estimate how many images you need; then divide the total recording time by that image count to estimate the interval. The table gives a simplified example at 25 frames per second, using continuous capture and no trimming.
| Desired clip | Playback rate | Images needed | Capture period | Approximate interval |
|---|---|---|---|---|
| 10 seconds | 25 fps | 250 | 1 hour | 14 seconds |
| 20 seconds | 25 fps | 500 | 2 hours | 14 seconds |
| 30 seconds | 25 fps | 750 | 3 hours | 14 seconds |
| 20 seconds | 25 fps | 500 | 10 hours | 72 seconds |
These are starting points, not fixed rules. Choose an interval that reflects how much the subject changes between frames, then review a short test before committing to the full capture. If the movement looks jumpy, shorten the interval; if the scene barely changes, you may be able to lengthen it.
Frame the scene and check how light may change
Compose the frame around the part of the scene that tells the story, leaving enough room for changes in scale or movement. Check for objects that might obscure the subject and avoid a position where routine activity could bump the camera. Construction Time Lapse Specialists also lists Aerial Photography, which can offer a different perspective when an aerial view suits the project.
Light can shift considerably during a sequence, especially from day to night or as clouds pass. Consider whether the camera will need to handle those changes, and whether a fixed exposure will preserve a consistent look. For projects involving artificial illumination, a resource on photometric lighting layouts can help with fixture placement and light levels; it addresses lighting design rather than time lapse exposure.
Set your camera for consistent results
Small differences between frames can become conspicuous when images play in quick succession. Consistent exposure, focus and colour help keep attention on the subject rather than on unwanted flicker or shifts in tone. The right choices depend on the camera and how much the scene’s lighting changes, so test the settings in conditions similar to the planned shoot.
Choose manual exposure, focus and white balance
Manual settings can prevent the camera from making a different decision for every frame as the composition changes slightly. Lock focus once the subject is sharp, and set white balance rather than letting automatic adjustments shift the colour from image to image. If the light is expected to change substantially, plan for that transition and check how your camera handles it.
These choices are not a reason to ignore the conditions on site. A fixed exposure may suit steady light, but a changing scene can require a considered compromise. The aim is a sequence that feels coherent while still recording the real progression of the scene.
Balance shutter speed, aperture and ISO
Shutter speed affects how much movement appears within each frame; aperture controls depth of field and the amount of light entering the lens; ISO influences the camera’s sensitivity and visible image noise. Treat them as a balance rather than three independent targets. A stable aperture and ISO can help maintain a consistent look, while the shutter speed should suit both the movement and available light.
The ideal combination depends on the subject, camera and conditions, so avoid copying settings from an unrelated scene. Make a few test images, review detail in bright and dark areas, and adjust before the full sequence. A reliable test is especially useful when the shoot is long or difficult to repeat.
Select image format, resolution and capture settings
Choose a file format that fits your editing workflow and available storage. Higher-quality image files allow more adjustment later but take up more space, so calculate the likely image count before you start. Confirm the camera’s image size, interval, focus mode and any built-in time-lapse settings, then make sure the cards are ready for the whole session.
For a construction record, the intended use may range from internal progress review to a finished video. Set capture quality with that use in mind, and keep the original sequence organised for later selection. The time lapse camera feature guide discusses considerations such as sensor quality, low-light performance, RAW support and storage.
Capture a time lapse in the field
Once the plan and settings are in place, the field work is mostly about protecting consistency. Confirm the framing, keep the camera accessible for checks and avoid unnecessary changes once the sequence begins. For construction projects, permissions, safe mounting and coordination with site activity also matter; the camera should document work without disrupting it.
Run a test sequence before the full shoot
A short test reveals practical problems that are easy to miss in a settings menu. Check that the camera triggers at the intended interval, the subject stays within frame and the exposure looks acceptable across several images. Review the files on a larger screen if possible, since small issues may be difficult to see on the camera display.
Use the test to confirm the whole chain, not just the camera. Check the mount, power connection, storage capacity and playback of the resulting images. This time delay photography checklist offers further practical prompts for interval choice, settings, location and power.
Keep the camera steady and avoid accidental changes
A slight shift in the camera’s position can make the final sequence wobble, so tighten the mount and keep cables secured. Avoid touching the camera during capture unless a check is necessary, and mark or record important settings so they can be restored if disturbed. For an extended project, note any maintenance visits or changes to the setup.
A simple field routine can prevent avoidable interruptions. Before leaving the camera, check the following:
- Confirm that the frame still covers the intended subject.
- Check that the mount and protective housing are secure.
- Verify that the interval and exposure settings remain as planned.
- Make sure power and storage are sufficient for the next check-in.
After the check, leave the camera alone and allow the sequence to run. This is particularly useful for fixed project viewpoints, where a steady frame makes changes between stages easier to interpret.
Manage batteries, storage and long shooting sessions
Estimate image storage from the file size and number of planned frames, then leave some capacity in reserve. Check batteries or external power against the expected duration, and consider how often the setup can be accessed safely. Longer recordings need a practical check schedule: too many visits can disrupt capture, but too few may leave a fault unnoticed.
For a construction project, record the camera position, settings and maintenance dates alongside the image files. Construction Time Lapse Specialists describes remote monitoring and secure portal access for viewing site progress; these capabilities may suit project stakeholders who need remote visibility. The construction project camera guide also covers milestones, power, storage and editing for project teams and stakeholders.
Edit and export your time lapse
Editing turns a collection of still frames into a clear sequence with a beginning, middle and end. Start by preserving the original files, then review the capture for gaps, accidental movement or frames that do not belong. A measured edit usually communicates progress more clearly than effects added simply because they are available.
Organise and select your image sequence
Keep the images in capture order and use a clear folder structure that records the date, location and camera position. Make a copy before editing so the source files remain untouched. Review the sequence as a whole, then remove corrupted frames or obvious interruptions without losing useful context.
For long projects, notes about milestones can help you find the stages that matter to the final story. In construction footage, that might mean showing the progression between major phases rather than every single day. Keep the selection faithful to the record and avoid edits that could give a misleading impression of project progress.
Adjust exposure and colour consistently across frames
If individual images need correction, apply the adjustment across the sequence where possible. Large frame-to-frame changes in brightness or colour can create distracting flicker, so check the result in motion rather than judging one still at a time. Make restrained corrections that improve visibility while preserving the appearance of the recorded scene.
A consistent grade also supports clear communication when footage is shared with project stakeholders. If the sequence will form part of a wider production, this video post-production guide covers refining footage as part of a project workflow. Keep an unaltered copy of the source sequence for reference.
Set playback speed, resolution and export format
Choose the playback rate and resolution to suit where the video will be viewed. A higher frame rate can make motion feel smoother, while a shorter clip can make a long project easier to review. Check the full export for dropped frames, changes in framing and an ending that feels deliberate rather than abrupt.
The final format should be agreed with whoever will use the file, especially when footage is intended for reporting, presentations or online viewing. Export a review version first if stakeholders need to comment, then save the approved file and retain the original sequence. That last bit of organisation makes future edits easier if the project record needs updating.
Discuss a Project
If a construction project needs a planned camera installation or visual record, contact Construction Time Lapse Specialists to discuss the project’s requirements and suitable options.
Conclusion
Time lapse photography works best when the subject, interval, camera setup and final use are considered together. Plan for the pace of change, test the equipment and keep capture consistent; then edit with care so the finished sequence shows the story clearly and remains a useful record.