
Key Takeaways
Good construction photography starts with a clear purpose and a safe, workable plan. A consistent approach helps project teams make better use of images from early works through handover.
- Decide who needs the images and what each set must show.
- Plan around meaningful milestones, locations and site access.
- Compose photos to make scale, detail and progress easy to understand.
- Follow site rules and confirm permissions before sharing images.
- Store, label and select images consistently for future use.
What construction photography can do for your business
Construction photography can make a complex project easier to understand for people who are not on site each day. A considered set of images shows what is changing, what has been completed and how the finished work fits together. It can also give project teams a useful visual record to draw on later.
Show project progress and completed work
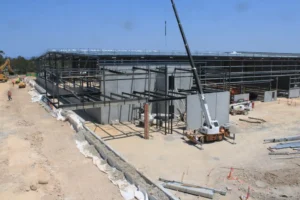
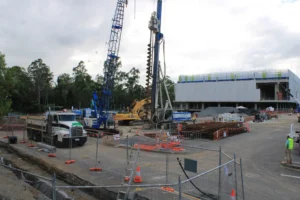
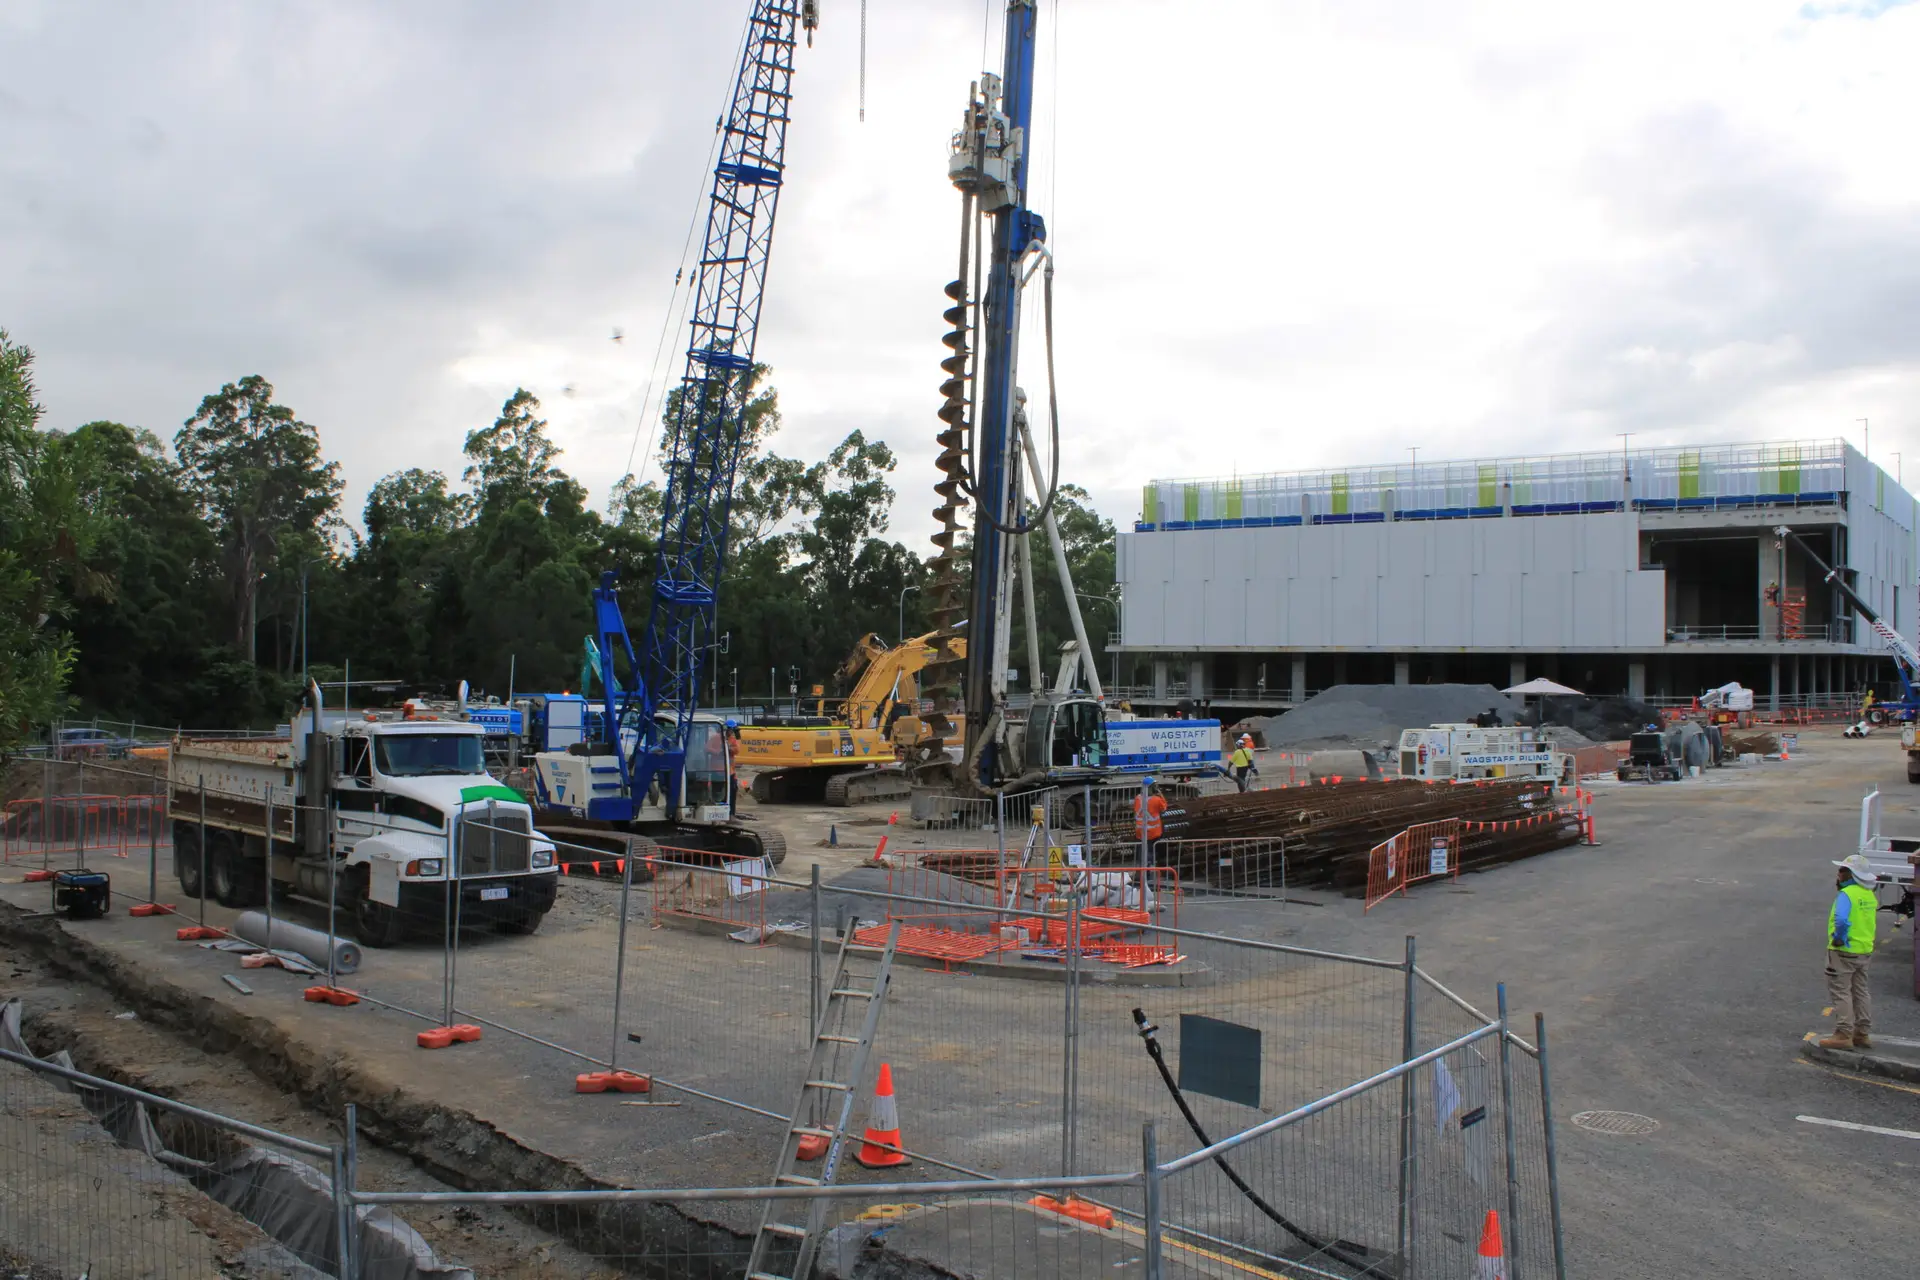
A sequence of photos can show the change from an empty site to completed work, with each image adding context to the last. Choose viewpoints that can be repeated at different stages, then include closer frames when an important detail deserves attention. Time Lapse Cameras can provide a consistent view of project progress; for still images from the ground, a separate set of site photographs can fill in details a fixed viewpoint may not show.
Build trust with clients and stakeholders
Images give clients and stakeholders something concrete to discuss, especially when they cannot visit the site regularly. A balanced selection should show both the broader site and the work that explains progress, rather than relying only on polished finished shots. For another perspective on planning site documentation, see this construction documentation guide.
Create useful records for marketing and reporting
A well-organised image record can support progress updates, project reviews and future marketing, provided the intended use is clear from the outset. Keep the context with each image: when it was taken, where, and what stage of work it represents. This helps the image remain useful after the person who took it has moved on.
How to plan a construction photography shoot
Planning turns a site visit into a purposeful collection of images instead of a folder of unrelated snapshots. Start with the decisions the images need to support, then work backwards to the locations, milestones and people involved. Allow for site conditions to change; the best plan has room to adjust without losing its purpose.
Set goals, audiences and image requirements
Decide whether the images are for a progress report, a project profile, internal review or more than one audience. A report may need clear comparisons and broad coverage, while a project profile might call for more attention to finishes and the people involved. Write down the required views, image formats and delivery timing so everyone understands what the shoot is meant to produce.
Choose milestones and locations to photograph
Pick stages when a visible change can be recorded, such as site establishment, structural work, key services or completion. Pair each milestone with a position that gives a clear view and can be accessed safely. A simple schedule helps the team see how the planned coverage builds a record over time.
| Milestone | Useful viewpoint | What it can show |
|---|---|---|
| Site establishment | Elevated or wide site view | Site layout and early conditions |
| Structural stage | Repeatable broad view | Changes to the main structure |
| Detailed work | Safe ground-level position | Materials, finishes or workmanship |
| Completion | Wide view and selected details | Finished work and key features |
Use the table as a starting point, not a fixed formula: the right view depends on the work underway and the safe access available. For projects where a wider perspective is useful, Aerial Photography is a distinct option to consider alongside ground-level images. Keep the chosen locations consistent where comparison across stages matters.
Coordinate access, timing and site contacts
Confirm the visit with the site manager and agree on where the photographer can go, when work activity makes access unsuitable, and who will meet them. Check induction requirements and allow time for sign-in, protective equipment and any changes to the day’s work. For a shoot involving ongoing capture, the time-lapse camera hire guide covers planning a consistent viewpoint and managing changes around the camera location.
How to capture strong construction photos
Strong construction photography makes the work legible without stripping away the real conditions of the site. A useful image gives the viewer a sense of place, scale and activity, with enough detail to understand why the frame matters. Good capture comes from observation and preparation more than from complicated equipment.
Compose clear images that show scale and detail
Include a recognisable reference point when the size of a structure or space is important. A wide frame can orient the viewer, while a closer image can explain a connection, finish or material choice. Clear visual context helps prevent an image from being mistaken for a different stage or part of the project.
Make the most of available light and weather
Before taking a frame, notice where the light falls and whether it reveals or obscures the work. Overcast conditions can soften harsh contrast, while a change in weather may make the site look different from one visit to the next. If visual comparisons matter, aim for similar angles and note unusual conditions rather than trying to make every visit look identical.
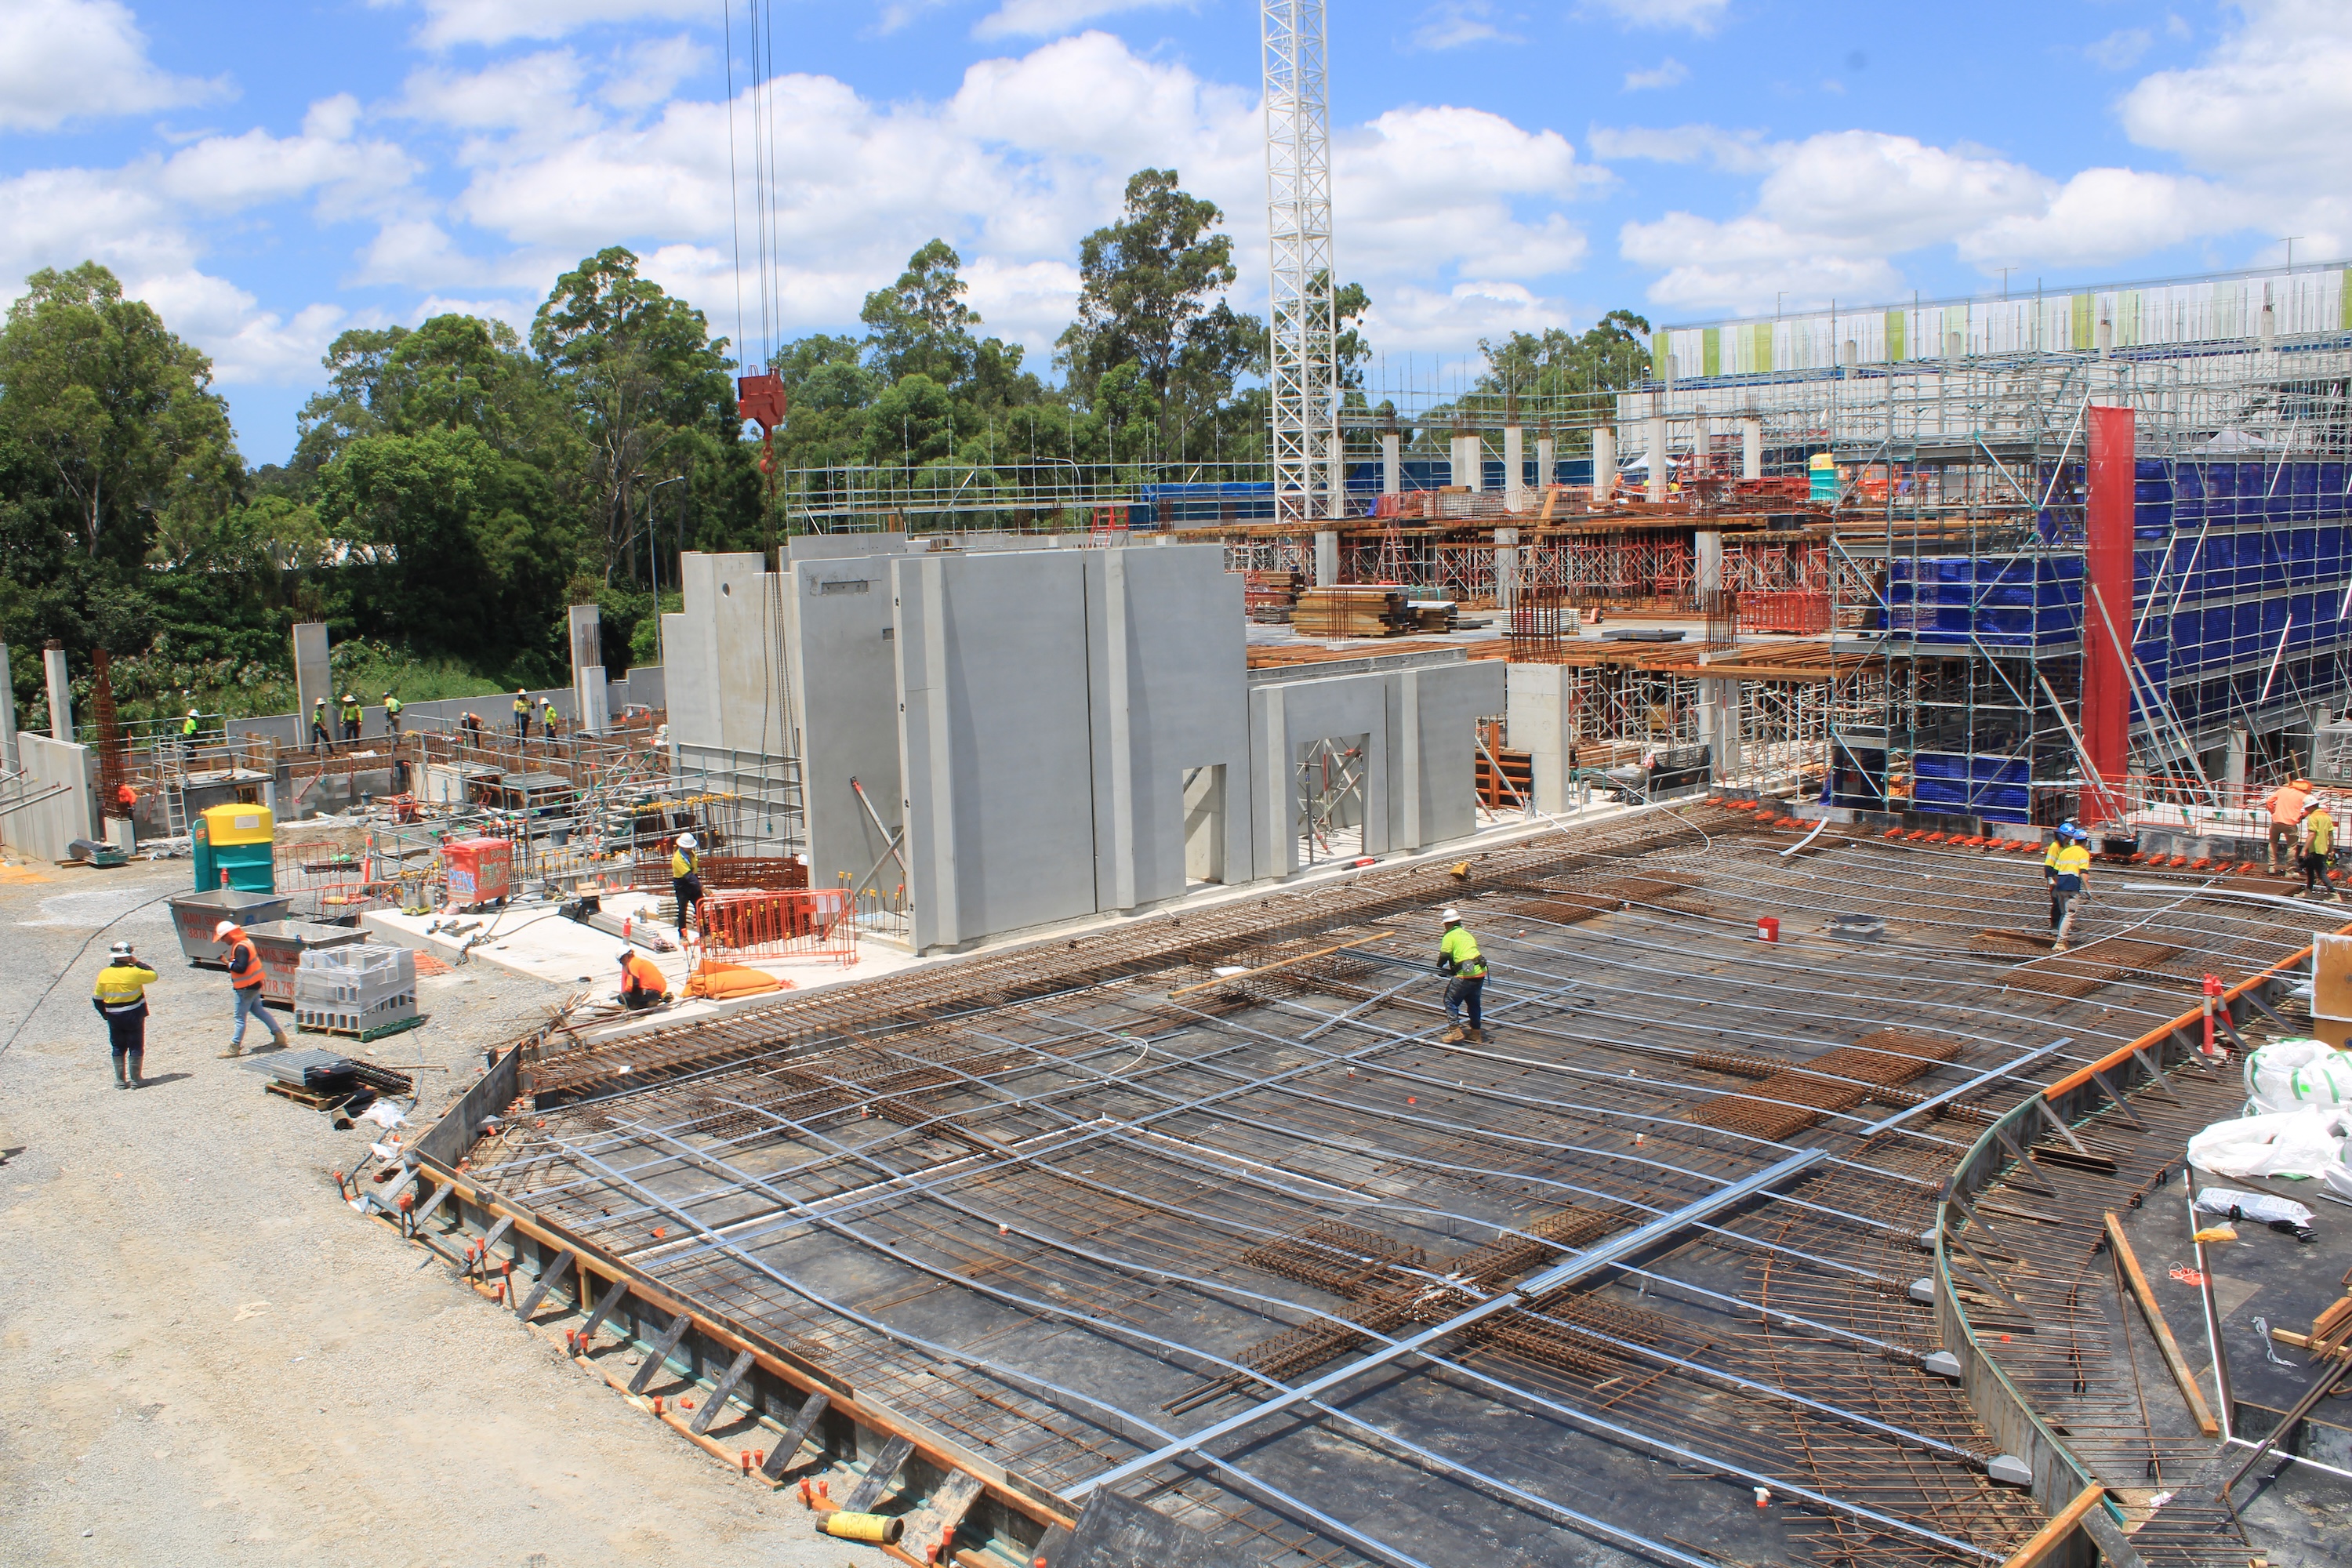
Photograph people, machinery and work in progress
Workers and machinery can show the scale and activity of a site, but they should be included with care and in line with site rules. A short set of planned frames can cover the main visual story without interrupting work:
- A wide view that establishes the area and activity.
- A mid-range view showing how people and equipment relate to the work.
- A close view of a relevant component or task, from a safe position.
- A final frame that gives context for the stage being recorded.
Choose only views that can be made without entering restricted areas or distracting workers. On a project where ground-level images and overhead views serve different purposes, this ground and drone photography guide outlines how the perspectives can complement one another.
How to manage safety and site permissions
A photography visit is still a site activity, so the project’s safety systems take priority over a preferred image. Confirm the arrangements before arriving and follow the instructions of the site team throughout the visit. Images should also be made and shared with proper regard for the people, property and information shown in them.
Follow site induction and personal protective equipment rules
Complete the required induction and wear the personal protective equipment specified for that site. Ask the site contact about any extra requirements for particular areas or activities, and do not assume that a previous visit covers a new site or changed conditions. A remote camera monitoring overview discusses camera access and operation in a separate security context; it does not replace site induction or project safety procedures.
Keep clear of hazards and active work zones
Use approved routes and remain outside exclusion zones, vehicle paths and areas where work is underway. If a safe position does not provide the ideal angle, accept the limitation and find another view rather than stepping into a hazardous area. In doubt, pause and ask the site contact before proceeding.
Confirm consent, privacy and image-use permissions
Before taking or circulating images, establish whether people can be identified and whether permission is needed for the intended use. Check for sensitive information in the frame, such as access details, site plans or screens, and agree on any restrictions with the project team. Keep a record of approvals and limits so that later users know what can be shared and where.
How to organise and maintain a photo library
A photo library is most useful when a colleague can find the right image without having to ask who took it or what it shows. Set up a small number of clear conventions and apply them across the project. Keep source files, descriptive information and approval records together so the archive remains usable over time.
Use consistent file names and project metadata
Choose a naming pattern that includes the project, date and location or milestone, then use it consistently. Add metadata such as the capture date, area, stage and photographer where possible. If one team manages content across several kinds of work, keeping unrelated collections distinct can help—for example, separating event photography, podcast production, managed IT services and credit rebuilding guidance materials from construction project records.
Store original files and create reliable backups
Retain original files separately from edited or resized copies, and use a backup process that is checked rather than simply assumed to be working. Agree who is responsible for the archive and how access is managed when team members change. For teams reviewing wider technology arrangements, this managed IT services guide discusses backups and continuity planning in a general business context.
Track releases, usage rights and approved images
Keep permissions and usage notes attached to the relevant files or recorded in a searchable register. Mark which images are approved for external use and note any conditions, such as a limited audience or required credit. Clear records reduce uncertainty when someone later selects a photograph for a report, website or presentation.
How to use construction photography effectively
Using images well means selecting them for a particular reader and purpose, not simply choosing the most dramatic frame. A compact, relevant set often communicates more clearly than a large gallery without explanation. Construction Time Lapse Specialists provides Time Lapse Service for visual recording over a project; still photography can sit alongside that work where individual moments or details need to be shown.
Select images for websites and project profiles
For a website or profile, choose images that show the project’s character as well as its finished work. A broad view can establish the setting, while a handful of detail images can give a closer sense of the materials and execution. This construction marketing photography resource explores how project images can support a company’s marketing story.
Share progress updates across social media and reports
For progress updates, select images that match the reporting period and explain what changed. A brief caption can identify the location, date and milestone without asking readers to infer context from the photograph alone. Keep social posts and formal reports aligned with the project’s approved information and image permissions.
Match image formats and captions to each channel
Different channels need different crops and levels of detail, so keep a high-quality original and prepare copies suited to each use. Check that the important part of the image remains visible after cropping, and make captions specific enough to stand on their own. To discuss visual monitoring or photography for a project, contact the team with the site, schedule and intended use in mind.
Conclusion
A practical construction photography approach brings planning, safe site access, thoughtful capture and consistent file management together. When images are recorded with clear context and selected for a defined audience, they can support project communication and remain useful well beyond the day they were taken. For a project-specific conversation, contact the team about visual monitoring and photography options.