Key Takeaways
A useful construction time-lapse record starts with a clear purpose and a realistic plan for the full project. A little care with location, power, access and file management can make the footage far more valuable later.
- Tie the recording schedule to project milestones and the pace of work.
- Choose a stable viewpoint that shows the areas where progress matters.
- Check site safety, permissions, weather protection, power and connectivity before installation.
- Keep footage organised, backed up and accessible only to appropriate people.
- Use selected clips and consistent viewpoints to support project updates and reviews.
Set goals and plan the recording
Before choosing a camera, decide what the visual record needs to show and who will use it. A record intended for progress reviews may need different views and capture timing from one prepared for stakeholder updates or project communications. Consider the full project lifecycle, not just the first few weeks. A clear brief helps keep the setup practical as the site changes.
Match the capture plan to project milestones
Start with the programme and identify the stages that will be useful to document, such as site establishment, structural work and handover. The right interval depends on how quickly visible changes occur: very frequent images may add little during slow periods, while widely spaced captures can miss short but important activities. Build in time to review the plan when the programme shifts. A construction camera setup guide can help you think through coverage, capture settings, power, storage and access as one connected plan.
Choose viewpoints that show meaningful progress
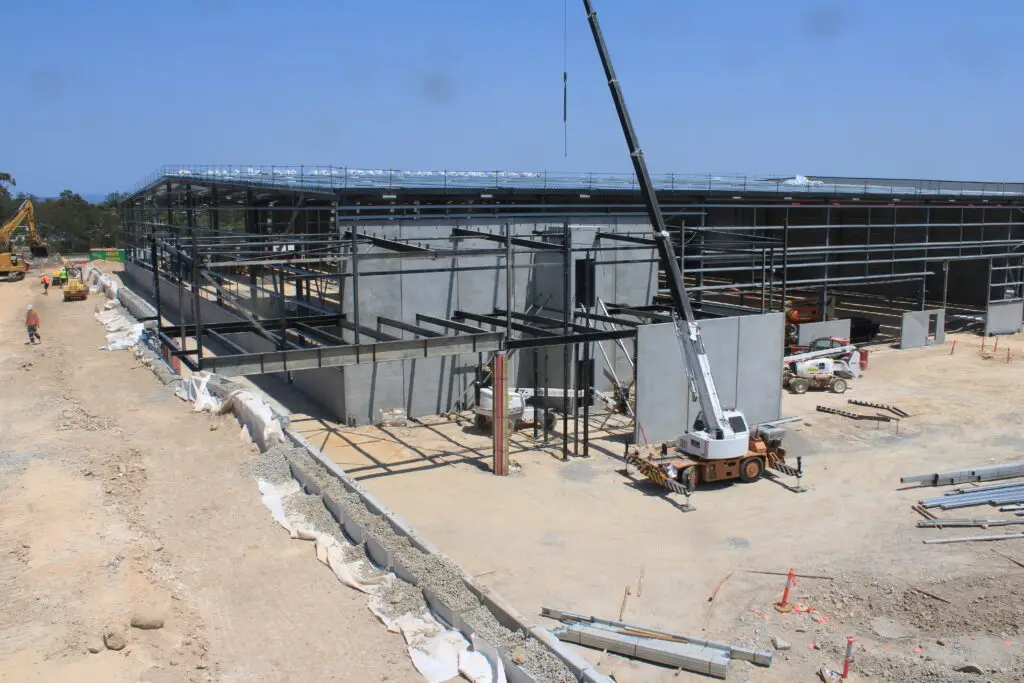
A camera should show the work that matters, rather than simply the largest possible area. Consider which parts of the site need to remain visible as cranes, hoardings, equipment and new structures change the scene. For a broad record, one view may be enough; complex sites may benefit from more than one perspective, provided each has a clear purpose. Write down what each view is meant to capture so the team can judge whether it remains useful.
Check site access, safety and permissions
Agree on access with the site team before equipment is taken to the proposed location. Confirm that installation and maintenance can be carried out safely, that the camera will not interfere with work, and that any required approvals are in place. If a raised position is being considered, follow site procedures for safe access and equipment handling; practical platform ladder guidance is a separate consideration from the camera plan itself. Clear permissions and responsibilities make later maintenance less disruptive.
Choose the right camera and setup
A suitable construction time lapse camera needs to match the site conditions, project duration and intended use of the footage. Compare the complete setup, including installation and ongoing access, rather than judging a camera by one specification alone. A site-exposed unit has different demands from equipment used in a protected location. The best choice is the one the project team can operate and maintain reliably.
Compare resolution, weatherproofing and field of view
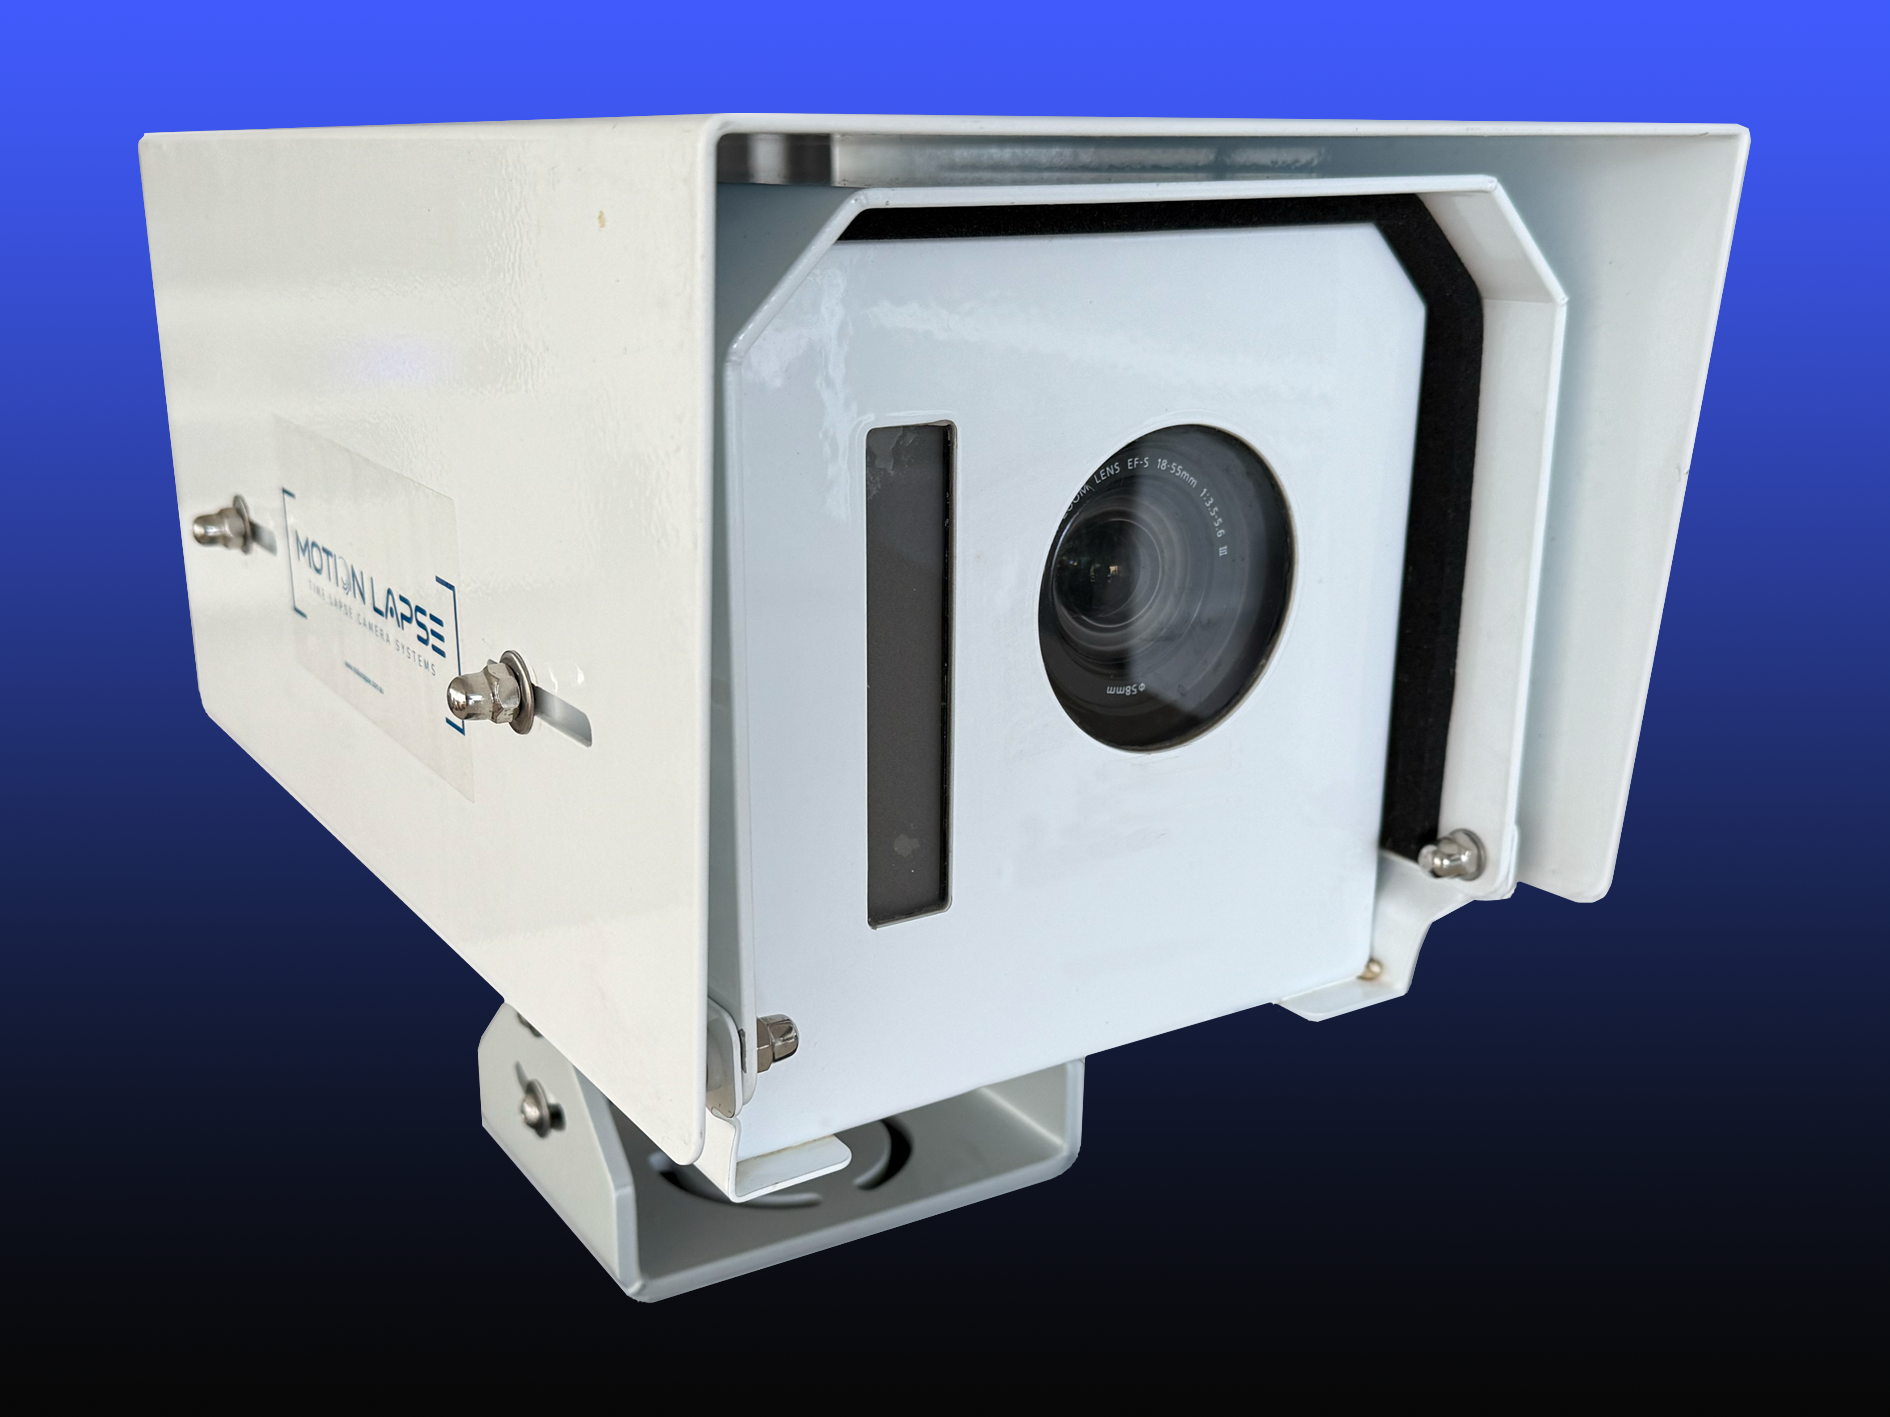
Image detail, field of view and protection from weather all affect the usefulness of a long-running record. Consider whether the chosen framing keeps key work legible without making important areas too small in the image. Check the manufacturer’s specifications for the conditions the equipment is intended to handle, and confirm that the housing and mounting arrangement suit the actual exposure at the site. For specialist visual monitoring, Construction Time Lapse Specialists provides 4K cameras alongside high-resolution photography, with the setup matched to project requirements.
Decide between a standalone camera and a managed service
A standalone camera may suit a team that can install equipment, check its operation and organise the resulting files. A managed service may be a better fit where installation support, remote viewing or help preparing project footage is needed. Compare what is included, how the team will access images and who is responsible for checking continuity. For a general comparison of standalone recording approaches, see this time-lapse camera overview.
Check mounting options and theft protection
Mounting should keep the camera steady and make it difficult to disturb, while allowing authorised staff to reach it for inspection. Look at the proposed mount in relation to site access, vibration, weather exposure and the likely movement of plant or materials nearby. Consider how equipment will be secured and who can adjust or remove it. A straightforward installation plan reduces the chance of hurried changes once work is under way.
Position and install the camera
A well-chosen camera can still produce a weak record if its position is unstable or its view is poorly planned. Walk the site and consider how the scene will change through excavation, structure, fit-out and completion. The installation should suit both the current layout and the likely later stages. Record the final position so the team can identify any changes in framing over time.
Select a stable mount with a clear view
Choose a mounting point that is firm and unlikely to shift as people, vehicles or equipment move nearby. Check the full view for the areas the project team wants to document, and consider whether future work could block the lens. A secure mount also makes it easier to compare images from one capture to the next. Document the position and orientation so that a replacement or adjustment can be made consistently if required.
Avoid obstructions, glare and changing shadows
Walk through the frame from edge to edge and note features that could obscure the work: temporary structures, vegetation, signage or stored materials. Sun angle changes across the day and season, so test for glare and strong shadows rather than relying on a single look at the site. A small shift in position can sometimes improve the view, but it should not compromise stability or safety. Recheck the composition when the site layout changes.
Test framing before the work begins
Take a test image and review it at the size stakeholders are likely to use, not only on the camera display. Confirm that the important parts of the site are visible and that the framing leaves room for expected changes in the work area. If the view is too wide or too narrow, adjust it before the recording schedule is established. This simple check helps avoid discovering a framing problem after a milestone has passed.
Configure capture, power and connectivity
Configuration affects whether a camera produces a continuous and accessible record over the planned duration. Set capture timing around the pace of construction, then verify how the system will be powered and how images will be retrieved. Conditions can differ across sites, so test coverage and access at the actual installation point. Make these decisions together rather than treating power, storage and connectivity as separate afterthoughts.
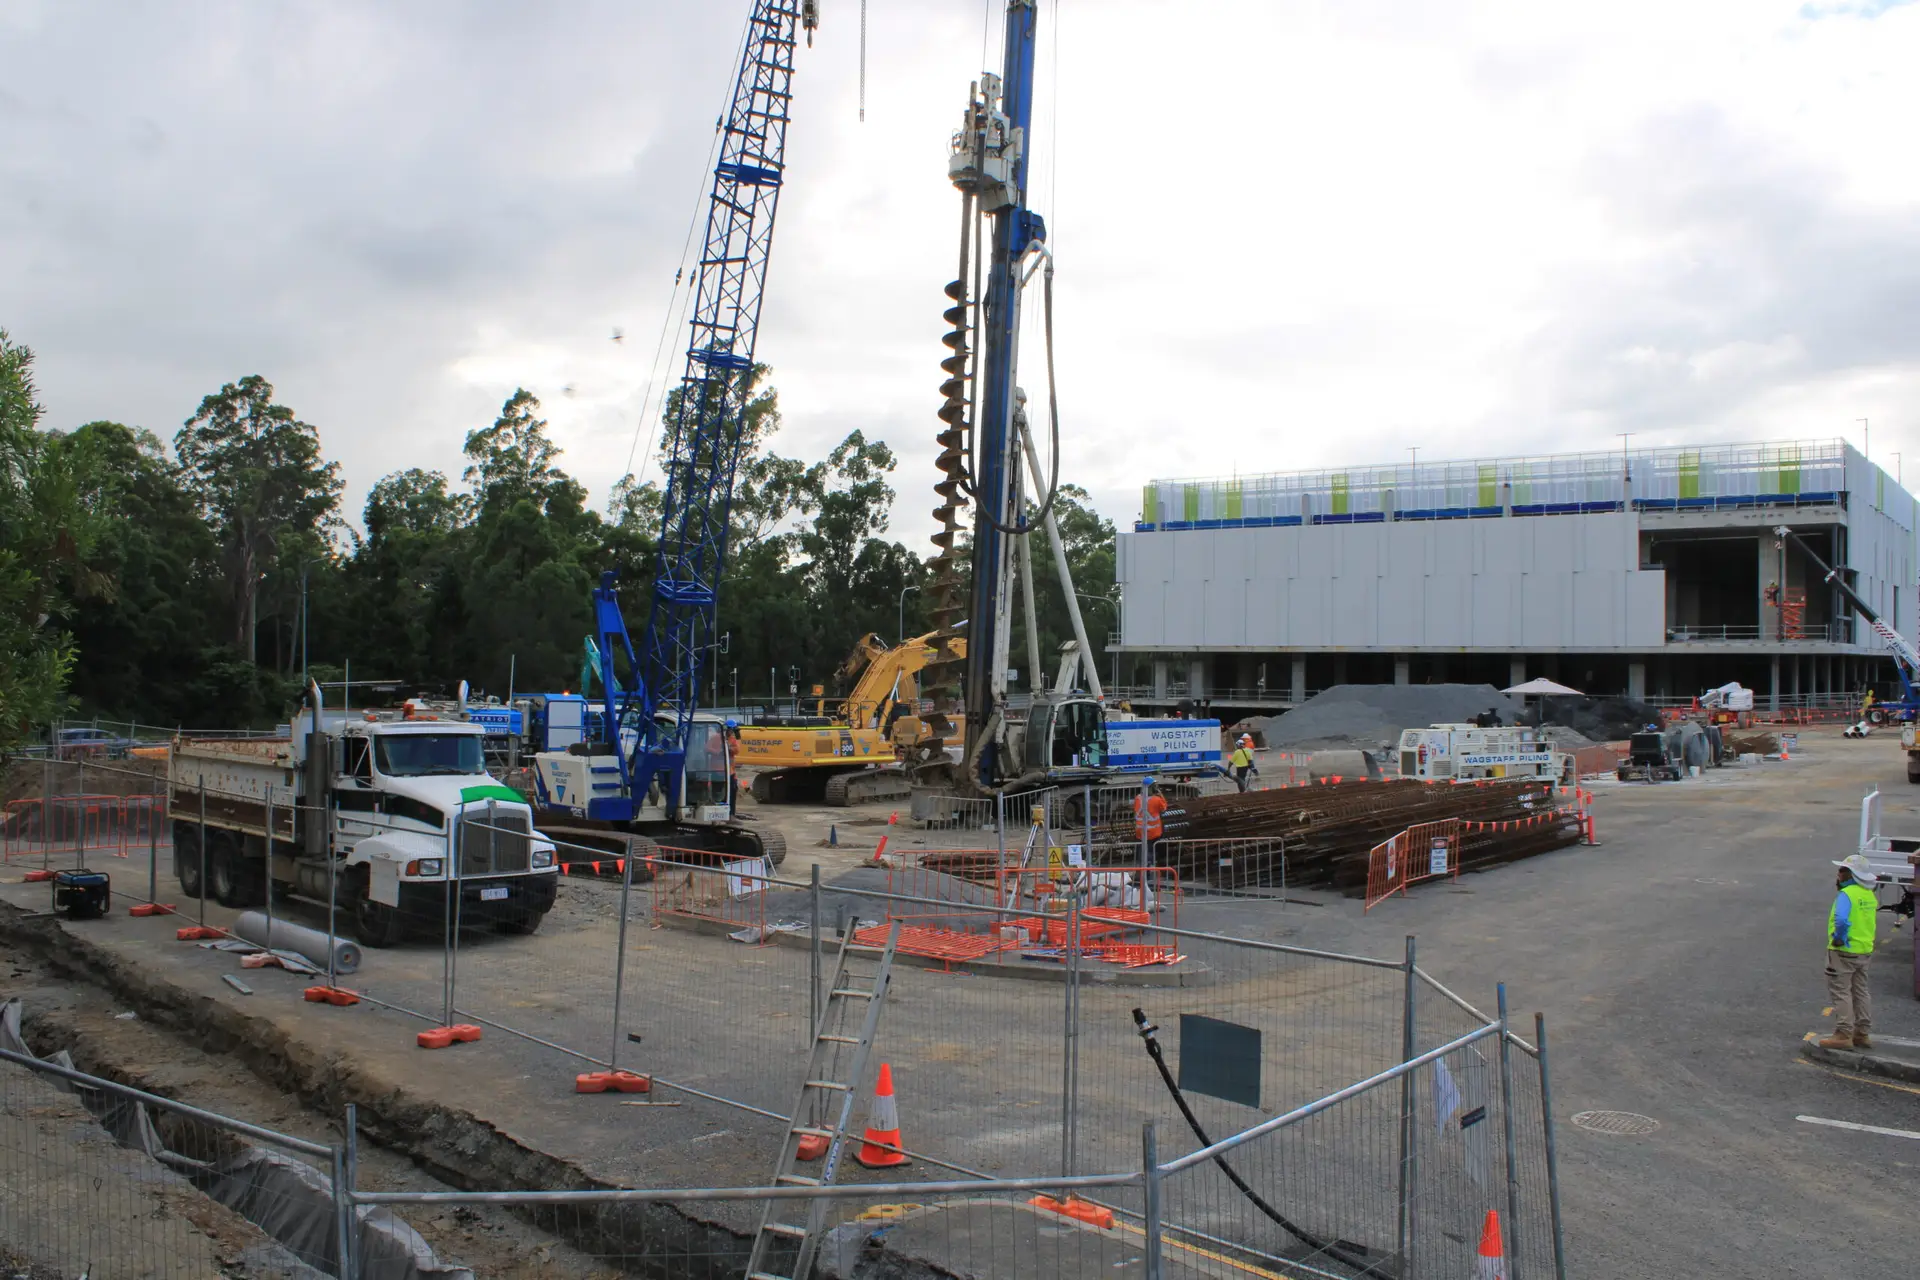
Set an interval that suits the pace of construction
Choose an interval that captures visible change without creating an unnecessarily large volume of images. The right balance will vary by project phase: active work may call for more frequent captures than a period when the scene changes slowly. Use a short trial to check how the chosen interval represents movement and progress, then adjust it if the sequence feels sparse or repetitive. Keep a note of setting changes so later reviews have context.
Plan power for the full project duration
Estimate how long the recording needs to continue and check that the power arrangement suits that period and the site conditions. Include practical access for inspection or servicing, and think through what happens if power is interrupted. The following checks help turn a rough estimate into a workable plan:
- Confirm the expected recording duration and any likely programme extensions.
- Check the chosen power source and access for routine inspection.
- Plan what staff should do if the camera stops capturing.
- Record who is responsible for checking the setup and arranging support.
These steps do not replace the equipment’s specifications, but they make responsibilities clearer. Revisit the plan when the project duration or installation conditions change.
Check storage, network coverage and remote access
Before relying on remote viewing, confirm that connectivity is available where the camera will be installed and that the intended users can access the footage. Check how images are stored, how much capacity is available and how files will be retrieved if a connection is unavailable. Construction Time Lapse Specialists offers secure remote portal access for viewing site progress, which can support stakeholders who need visibility beyond the site itself. Confirm access arrangements with the project team and keep permissions limited to the people who need them.
Manage footage throughout the project
The value of a visual record depends on continuity and on being able to find the right material later. Set a routine for checking the camera, reviewing capture status and keeping files in a consistent structure. Decide who owns these tasks before the project gets busy. A dependable archive is built through small, regular checks rather than a single end-of-project download.
Monitor camera health and capture continuity
Check that the camera is still in place, the view remains clear and images are being captured as expected. Establish a sensible review rhythm and assign someone to follow up when a gap or equipment issue appears. When site changes affect the frame, record the date and reason for any adjustment so later viewers can interpret the sequence accurately. For incident review, the broader practice of reconstructing incident timelines illustrates why preserving ordered records and context can matter, though a project time-lapse archive has its own purpose and scope.
Keep recordings organised and backed up
Use a consistent naming approach based on project, camera position and date, and keep a separate record of changes to the setup. Decide where the master files will be stored and who is responsible for maintaining access to them. Project footage is distinct from other kinds of professional records, such as estate planning guidance, which serves a different purpose; keeping records clearly separated helps avoid confusion. The archive should be easy to navigate without relying on one person’s memory.
Protect worker privacy and control access
Consider what the camera can see, who will view the images and how footage will be shared. Follow site policies and applicable requirements, and communicate the purpose of the recording to relevant people. Limit access to authorised users and review permissions when team roles change. A clear process supports legitimate project documentation while respecting privacy on site.
Turn recordings into useful project updates
Raw footage is most useful when it is selected and presented for a clear audience and purpose. Agree on the milestones or questions an update should address before preparing a clip or report. Keep the sequence grounded in what the images show, and explain any gaps or changes in viewpoint. Consistent presentation makes it easier for stakeholders to compare updates over time.
Create milestone clips and progress reports
Choose a date range or milestone that tells a coherent story, then check that the footage represents the work fairly. Keep the edit focused and label the period and viewpoint so viewers understand what they are seeing. For a concise clip, basic social video editing principles such as organising footage around a clear message can be useful, even when the audience is a project team rather than a public social channel. Construction Time Lapse Specialists also provides drone imaging, adding another documented perspective to its visual monitoring services where it suits the project.
Share footage with clients and stakeholders
Match the format and level of detail to the people receiving the update. A project team may need a view that supports discussion of sequencing, while a wider stakeholder group may benefit from a shorter, clearly labelled summary. Construction Time Lapse Specialists provides visual monitoring services for commercial, civil and infrastructure projects, with secure remote portal access for viewing site progress. If a project includes a public-facing display, planning an interactive timeline display is a distinct content and hardware task that may sit alongside the project record.
Use the archive to review sequencing and site changes
A consistent archive can help teams revisit the order of visible work, understand when a site condition changed and compare progress at different stages. Use the footage alongside project records rather than treating images as a substitute for formal documentation. Note where viewpoints, intervals or access changed, since those details affect comparisons. For guidance on camera selection, installation and ongoing recording, this construction time-lapse guide offers a related overview.
Conclusion
A construction time-lapse camera is most useful when its purpose, viewpoint, capture plan and ongoing management are considered together. With a stable installation, appropriate access controls and an organised archive, footage can support clearer progress communication throughout the project; to discuss a suitable setup, arrange a site consultation.