Key Takeaways
Reliable construction compliance photography starts with the project’s actual requirements, not a one-size-fits-all shot list. A consistent process makes visual evidence easier to capture, review and use.
- Confirm what the regulations, permits and contract require you to record.
- Plan photo checkpoints around work that will change or become concealed.
- Capture context and detail, and identify each image’s date, place and work stage.
- Keep records organised, traceable and available to the people who need them.
- Use photographs alongside inspection notes and other project documentation, not as a substitute for them.
What construction compliance photography is and why it matters
Construction compliance photography is the planned capture of site conditions and work so a project team can review relevant evidence later. It is most useful when photographs have a clear purpose and can be tied to a location, activity or requirement. Images do not prove every aspect of compliance on their own, but they can make a record easier to understand and discuss. A repeatable progress photography approach can help teams keep a visual record consistent as work changes.
How visual records support compliance checks
A photograph can show what was visible at a particular point in the works, such as the condition of an area before another trade begins. That context may help a reviewer ask better questions or compare the observed work with the relevant project documents. The image should be treated as supporting evidence: the inspection, specification or approval remains the reference for deciding whether requirements have been met.
The difference between compliance and progress photos
Progress photographs primarily show how a project is changing over time. Compliance photographs are captured with a particular check, obligation or decision in mind, so they may need a closer view, more precise location details or supporting notes. A single image can serve both purposes, but only if it contains enough information for each intended use. Decide what the photo needs to demonstrate before taking it.
Common uses across construction projects
Teams may use photographs to record site conditions, work before it is covered, inspection observations, defects and completed corrective actions. What matters is not the volume of images but whether they answer a useful project question. Construction compliance practices also depend on clear ownership and follow-up; an overview of compliance management practices can help teams think through how requirements and records fit together.
How clear evidence helps resolve disputes
A well-labelled image can help establish what was visible, where and at what stage, which may give project teams a sounder basis for discussing a disagreement. A photo without context can do the opposite: people may interpret it differently or struggle to connect it to the work in question. Keep the original image and relate it to contemporaneous notes and project records. That creates a clearer trail without implying that a photograph alone settles a dispute.
Plan your photography around project requirements
A useful photography plan begins with the documents and decisions that govern the work. Requirements vary by project, location, client and contract, so teams should confirm the applicable obligations rather than assume a standard set of images will cover them. Then translate those obligations into practical checkpoints, responsibilities and record-keeping steps. Construction Time Lapse Specialists provides construction time-lapse cameras and photography for projects across Brisbane and Queensland; the right visual approach still depends on the project’s purpose and requirements.
Identify the regulations, permits and contract obligations
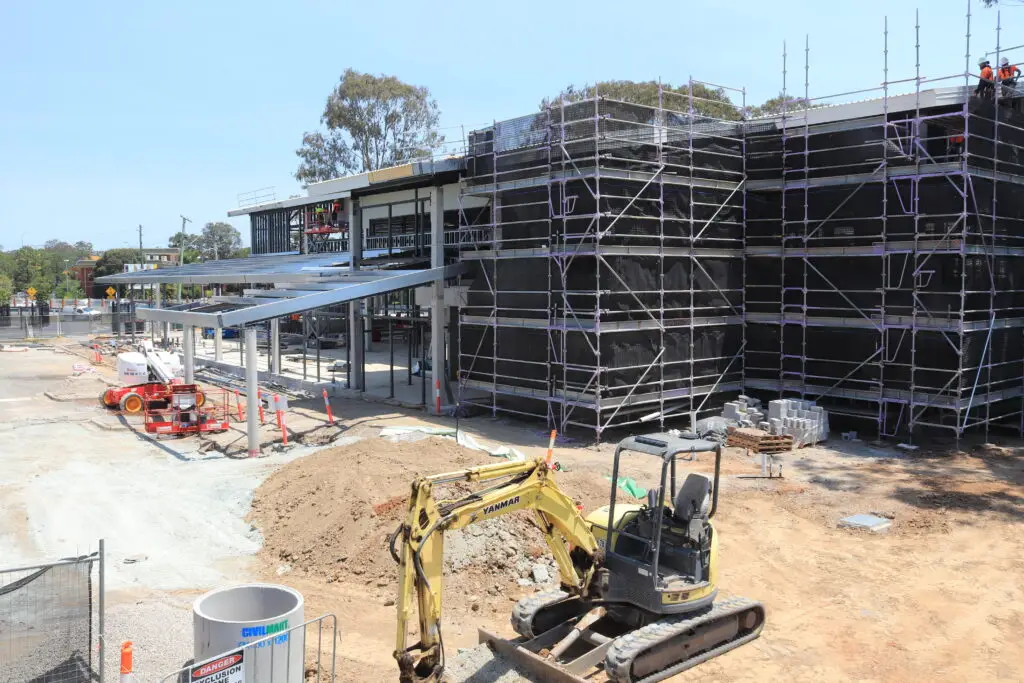
Start with the current project documents and identify which requirements call for visual records, inspections or evidence at specific stages. Confirm any relevant permit conditions and client or contract expectations with the people responsible for interpreting them. A compliance framework can support this review, but it should not replace project-specific advice or the governing documents. The aim is to make each photo request traceable to a real obligation.
Confirm what needs to be documented and when
Some details are easiest to record before following work conceals them, while other evidence is useful at a formal inspection or after a correction. Build the timing around the sequence of work and the point at which a reviewer needs to see the condition. A compact capture plan can make these decisions explicit:
- Identify the item, location or activity to photograph.
- Set the work stage or milestone when the image is needed.
- Note the required view, including context or close detail.
- Specify who reviews the image and where the record is stored.
This is a planning aid, not a replacement for the project’s inspection and approval process. Teams can adapt it as sequencing changes, while keeping the original requirement and any revisions visible. For a broader perspective on compliance reporting frameworks, consider how requirements, controls and reporting records relate to one another.
Assign responsibility for capturing and reviewing photos
A photo plan needs named owners, or important moments can pass without a record. Clarify who captures each image, who checks that it is legible and correctly identified, and who follows up if the evidence is missing. The people doing the work may be best placed to alert the team before a stage closes, while a designated reviewer can check that the record meets the agreed brief. Make responsibility clear across subcontractor and project-team interfaces.
Build photo checkpoints into site workflows
Photo capture is more dependable when it is tied to activities teams already plan and review. Include checkpoints in inspection schedules, look-ahead planning or work-package close-out, and allow time for safe access. Keep the sequence simple enough to use during busy site operations. A quick check against the agreed plan can reveal gaps early, while the relevant work is still accessible.
Capture clear and useful evidence on site
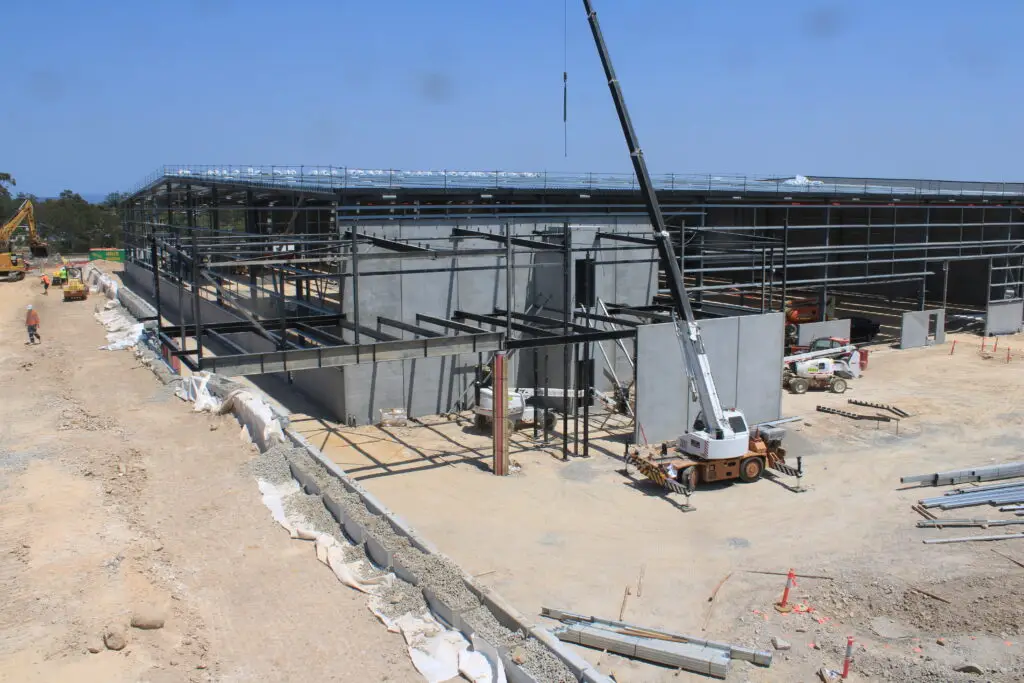
A useful image gives a reviewer enough information to understand what they are seeing, rather than relying on a guess about the scene. That usually means combining a wider view with a detail image and keeping the camera position safe and unobstructed. The work’s stage and surrounding conditions matter as much as sharpness. Construction Time Lapse Specialists also provides high-resolution photography, but the photographer or site team still needs to frame each image around its intended evidence purpose.
Show the full context as well as close-up details
A close-up may show a finish or component clearly but leave its location uncertain. A wider frame can establish the area and nearby references; a detail view can then show the feature that needs attention. When useful, capture both and make their relationship clear in the record. Avoid framing that hides the surrounding work or makes scale difficult to judge.
Record dates, locations and relevant work stages
Images become more useful when they can be connected to a time, place and activity. Use the project’s agreed metadata or record fields, and check that timestamps and location labels are consistent with site practice. The table below shows a simple way to think about the information a reviewer may need; the exact fields should follow project requirements.
| Record detail | What it helps clarify | Example |
|---|---|---|
| Date and time | When the condition was visible | Capture date and local time |
| Location | Where the work is on site | Level, zone or grid reference |
| Work stage | What was happening then | Before enclosure or after repair |
| Image purpose | Why the photo was taken | Inspection reference or follow-up |
These details give an image a useful place in the wider record. If the project uses a specific naming or metadata standard, apply it consistently rather than creating a parallel system for photographs.
Photograph defects, corrective actions and completed work
When recording a defect, show enough context to identify the affected area and add a closer view if it helps explain the observation. Follow-up images should make it possible to distinguish the original condition from the corrective work and subsequent review. Link them to the relevant inspection or action record, including the status and date where appropriate. This makes the sequence easier to follow without treating a photo as sign-off by itself.
Avoid common issues such as poor lighting and obstructed views
Before taking a picture, check that the subject is in focus, adequately lit and not blocked by equipment, stored materials or people. If conditions make a useful image unsafe or impractical, follow site procedures and return when access is appropriate. Do not alter an image in a way that changes what it appears to show; if annotation is needed, preserve the original and keep the marked-up version identifiable. Construction Time Lapse Specialists offers 4K clarity for its construction time-lapse photography, but image quality does not remove the need for clear framing and context.
Organise and manage photo records
A strong capture process can still produce a confusing archive if images are difficult to find or their history is unclear. Agree how files will be named, grouped, connected to project records and protected from unintended changes or loss. The method should be simple enough for site teams to follow and clear enough for someone else to review later. Regular checks help expose gaps before the records are needed for reporting or handover.
Use consistent naming and folder conventions
Choose a naming structure that makes images recognisable without opening every file. It might incorporate the date, location, work package or inspection reference, depending on the project’s system. Keep terms and abbreviations consistent across teams, and document any conventions so new users can follow them. Avoid relying on an individual’s memory or personal device folders as the only route to an image.
Link images to locations, tasks or inspection records
A photo record is more useful when it connects to the work it describes. Use consistent identifiers to link an image with a location, task, inspection or corrective-action entry. The project team can then review related evidence together instead of treating each photograph as an isolated file. This also helps make a handover or audit review more orderly.
Keep original files and maintain a clear audit trail
Retain original files and keep any annotated or resized copies distinguishable from them. Record who added notes or changed the file’s status, and use the project’s approved processes for updates and review. The goal is not to make a photo prove more than it can; it is to preserve a transparent account of how the image entered the record and how it was used. Clear version handling reduces ambiguity when several people contribute.
Control access, retention and backups
Set access according to project roles and the sensitivity of the material, and confirm how long records need to be retained under the relevant project rules. Establish a backup process and check that it works rather than assuming stored files are recoverable. Privacy and site-security considerations may affect what can be captured or shared, so communicate them to the team. A dependable process includes both access controls and a clear way to retrieve records when required.
Use photography to support inspections and reporting
Photographs can make an inspection or report easier to interpret when they are selected for a clear purpose and paired with the relevant project information. They should sit alongside inspection findings, measurements and approvals, rather than standing in for them. Agree what the recipient needs to see and how the evidence will be presented before sharing a large image set. That keeps reports focused and makes follow-up easier to manage.
Prepare evidence for regulatory or client inspections
Before an inspection, check that the requested images are available, correctly identified and linked to the right work areas or records. Confirm the scope with the inspection lead and avoid presenting unrelated photographs as if they answer the requirement. If a stage was not photographed, be transparent about the gap and use the project’s approved process to address it. A prepared, orderly record helps the discussion stay grounded in the evidence available.
Pair photos with notes, measurements and signatures
A photograph can show visible conditions, while notes and measurements provide information the image may not convey. Add concise observations, references and relevant sign-off in the designated project record, following the agreed review process. This distinction matters: a signature or measurement should not be inferred from a picture, and an image should not be presented as a substitute for required documentation. Clear links between the elements make them easier to assess together.
Track non-compliance through to resolution
If an image supports a finding, connect it to the issue record and the person or team responsible for the next step. Keep the initial observation and subsequent evidence together so reviewers can see the progression from identification to action and review. A follow-up photograph may show a changed condition, but closure should follow the project’s inspection and approval requirements. This separation helps prevent a visual update from being mistaken for formal acceptance.
Share records with the right project stakeholders
Different stakeholders may need different views of the same site record. Share only the material relevant to their role, use approved channels and provide enough context for the recipient to interpret each image. A short explanation can identify the location, stage and decision being discussed. Keep distribution and access aligned with project privacy and information-management practices.
Choose tools and processes that fit your project
The right setup depends on the volume of images, the site environment, the required review process and how stakeholders need to access records. A general photo library may suit a small, straightforward workflow, while a more structured process may be useful when images must be connected to tasks and inspections. Compare tools against actual project needs rather than a feature list alone. Construction Time Lapse Specialists provides construction time-lapse cameras, photography and remote monitoring for projects; its time-lapse services are designed to capture progress, not to replace project-specific compliance records.
Compare mobile apps with general photo storage
A mobile app may make capture and review convenient in the field, while general photo storage may be adequate for a simple archive. Compare how each option handles identification, search, sharing, file retention and connection to the records your team already uses. Before choosing, check whether the workflow is practical for the people capturing and reviewing images. For teams considering a dedicated visual monitoring setup, explore camera options and assess how they fit the project’s intended use.
Check offline access and secure cloud syncing
Site connectivity can vary, so confirm what happens when a user cannot reach a network. Understand whether files can be captured or reviewed offline and how syncing is handled when access returns. Check security and access settings against the project’s information requirements rather than assuming all storage options provide the same controls. A short trial in realistic site conditions can reveal practical limitations before the workflow is adopted.
Assess annotation, tagging and reporting features
Look for features that support the project’s actual record process, such as adding location details, linking an image to a task or preparing a report. Confirm how annotations are stored and whether original files remain available. The point is not to gather every possible feature, but to make the records easier to interpret and retrieve. A review with site users and the project team can help distinguish useful functions from unnecessary complexity.
Set training and privacy practices for site teams
Explain what should be photographed, how images should be identified and where they must be stored. Include safe access, privacy, appropriate sharing and preservation of original files in the guidance. Give new team members a brief demonstration and provide a simple reference they can consult on site. Consistent practice is more likely when expectations are clear and the process fits the working day.
Conclusion
Reliable construction compliance photography comes from matching each image to a real project need, capturing it with context and keeping it connected to the records that explain it. Plan the process with the people responsible for the work, review the evidence carefully and choose a visual approach suited to the project. For projects in Brisbane and Queensland, contact Construction Time Lapse Specialists to discuss construction time-lapse cameras and photography for project visibility and reporting.