Key Takeaways
A useful camera hire starts with the work the system needs to do, not just the equipment on a quote. Plan for the site’s changing layout, practical access and ongoing footage needs.
- Match the camera setup to the coverage and viewing needs of the project.
- Check what the hire price includes, including installation, connectivity and storage.
- Plan camera positions around entrances, boundaries, power and likely blind spots.
- Agree who can access footage and how long it will be retained.
- Review the setup as site conditions and project stages change.
How construction camera hire works
Construction camera hire gives a project team access to camera equipment for an agreed period, with the arrangement shaped around the site and intended use. A package may include equipment, installation or other services, but inclusions differ, so it pays to get the details in writing. Construction Time Lapse Specialists provides construction time-lapse cameras and installations, including 4K cameras for capturing project progress.
What a typical hire package includes
A hire arrangement can cover the camera and mounting equipment, plus some combination of installation, connectivity, footage access or storage. The right mix depends on whether the priority is a visual progress record, remote viewing or security oversight. For a broader view of the decisions involved, see this construction camera hire guide.
Before booking, ask the provider to describe the service in practical terms rather than relying on a package name. A camera may record footage without including a live view or ongoing monitoring, for example, so clarify what you will be able to see and when.
How hire periods and extensions are handled
Hire periods should reflect the stage of the build when the camera is useful, as well as the likely duration of the project. Confirm the minimum term, billing cycle, notice required to extend or end the arrangement, and what happens if site access is delayed. It is also worth checking whether equipment can remain in place through a project pause or a change in programme.
The hire term is only one part of the agreement. Ask whether an extension changes the rate, whether a move to a new position attracts another installation charge, and how much notice is needed to arrange either change.
What to confirm before booking
A short pre-booking check helps avoid surprises once the equipment is on site. In particular, make sure the written quote explains the equipment, service boundaries and arrangements for changes, rather than leaving those points to an informal conversation.
- Confirm the camera’s intended use and the areas it is expected to cover.
- Check what installation, connectivity and footage access are included.
- Ask about hire extensions, relocations and equipment faults.
- Agree who is authorised to access recordings and how long they are kept.
Those details give the project team a workable basis for comparing options. If the site or the intended use changes before installation, revisit the specification rather than assuming the original arrangement will still suit.
Choose the right camera setup for your site
The best setup depends on the view needed, the site’s available infrastructure and how often the equipment may need to move. A permanent position can suit a stable viewpoint, while other locations may call for a different mounting or power arrangement. Start by deciding what the footage must show, then consider the practical conditions at that position.
Fixed cameras for key access points
A fixed camera can be considered where the priority is a consistent view of a gate, materials area or another defined part of the site. Its usefulness depends on a clear line of sight and a stable mounting point, so check how vehicles, hoarding and temporary structures may affect the view. Where the project also needs a record of build progress, Construction Time Lapse Specialists provides 4K construction time-lapse cameras.
Avoid choosing a position solely because it is easy to install. A small shift in angle may improve the view of an entry point or preserve a useful view as work proceeds, while still respecting neighbouring properties and site rules.
Solar and 4G cameras for remote locations
Where mains power or a fixed network connection is unavailable, ask whether a proposed system can operate with another power source and cellular connectivity. Confirm the expected service conditions at the actual mounting point, along with any data limits, charging requirements or periods when a connection may be unavailable. A remote site still needs a practical plan for checking equipment and retrieving footage.
Power decisions are site-specific; a general off-grid solar systems comparison may help frame questions about remote power, but it does not determine which camera arrangement is suitable. Confirm the camera’s requirements with its provider and check that the proposed arrangement fits the site’s conditions.
Trailer-mounted systems for flexible coverage
A trailer-mounted camera can be useful when the best viewpoint may change as the work area shifts. Before choosing one, consider where it can be positioned safely, how it will be secured and whether it can be moved without disrupting the site. Ask what is included in its hire and whether any separate services or equipment are needed.
A mobile option is not automatically the best fit for every project. Compare its mobility with the value of a stable viewpoint, and make sure the proposed location can provide the coverage and access the team needs.
Compare hire costs and inclusions
A quote is only useful when its scope is clear. Rates can reflect the equipment, hire period, installation effort, connectivity, data and any ongoing services, so a lower headline figure may not represent the lower total cost. Compare each proposal against the same site needs and term.
Factors that affect the hire price
The equipment type and number of camera positions are obvious cost considerations, but site conditions can also affect the work needed to install and support a system. A remote location, difficult mounting point or changing site layout may involve additional planning. The table below is a practical prompt for clarifying what a quote covers; it is not a price list.
| Cost area | What to clarify | Why it matters |
|---|---|---|
| Equipment and term | Camera type, quantity and hire duration | Shows what is being supplied and for how long |
| Installation | Setup, mounting and any relocation | Helps identify one-off or repeat site work |
| Connectivity and data | Connection method and any usage charges | Clarifies whether ongoing access has a separate cost |
| Footage services | Viewing, storage or monitoring inclusions | Defines what the team receives during the hire |
Use these categories to ask focused questions rather than assuming that similarly named packages include the same service. For more context on possible rental cost considerations, see this jobsite camera rental costs overview; check any figures or assumptions against your own site and current quote.
Installation, monitoring and data charges
Installation and ongoing services may be priced separately from the camera hire, so ask for each charge to be itemised. Establish whether monitoring means a person actively reviews footage or simply that the system can be viewed remotely. Also check whether data, storage or access for additional users is limited or charged separately.
If installation requires access at height, include safe access arrangements in the site plan and confirm who is responsible for them. Guidance on industrial platform ladders can help frame a separate equipment-safety check, but the appropriate access method depends on the work and site procedures.
How to compare quotes on a like-for-like basis
Put quotes side by side only after you have aligned the hire period, number of camera positions, installation scope and footage services. A proposal that includes remote access may not be comparable with one that prices equipment alone. Record exclusions as carefully as inclusions, especially where a service depends on a separate connection or site provision.
When comparing rental terms, it can also be useful to review camera hire versus buying as a broader decision about flexibility, support and setup. Keep that comparison separate from the immediate quote review: the project’s duration and needs will shape which arrangement makes sense.
Plan coverage and installation
Coverage planning begins with the areas the project team needs to see and the points that could interrupt a clear view. Mark likely camera positions against a current site plan, then check them on site before installation. Construction Time Lapse Specialists combines construction time-lapse systems with drone imaging and high-resolution photography, giving project teams visual options from more than one perspective.
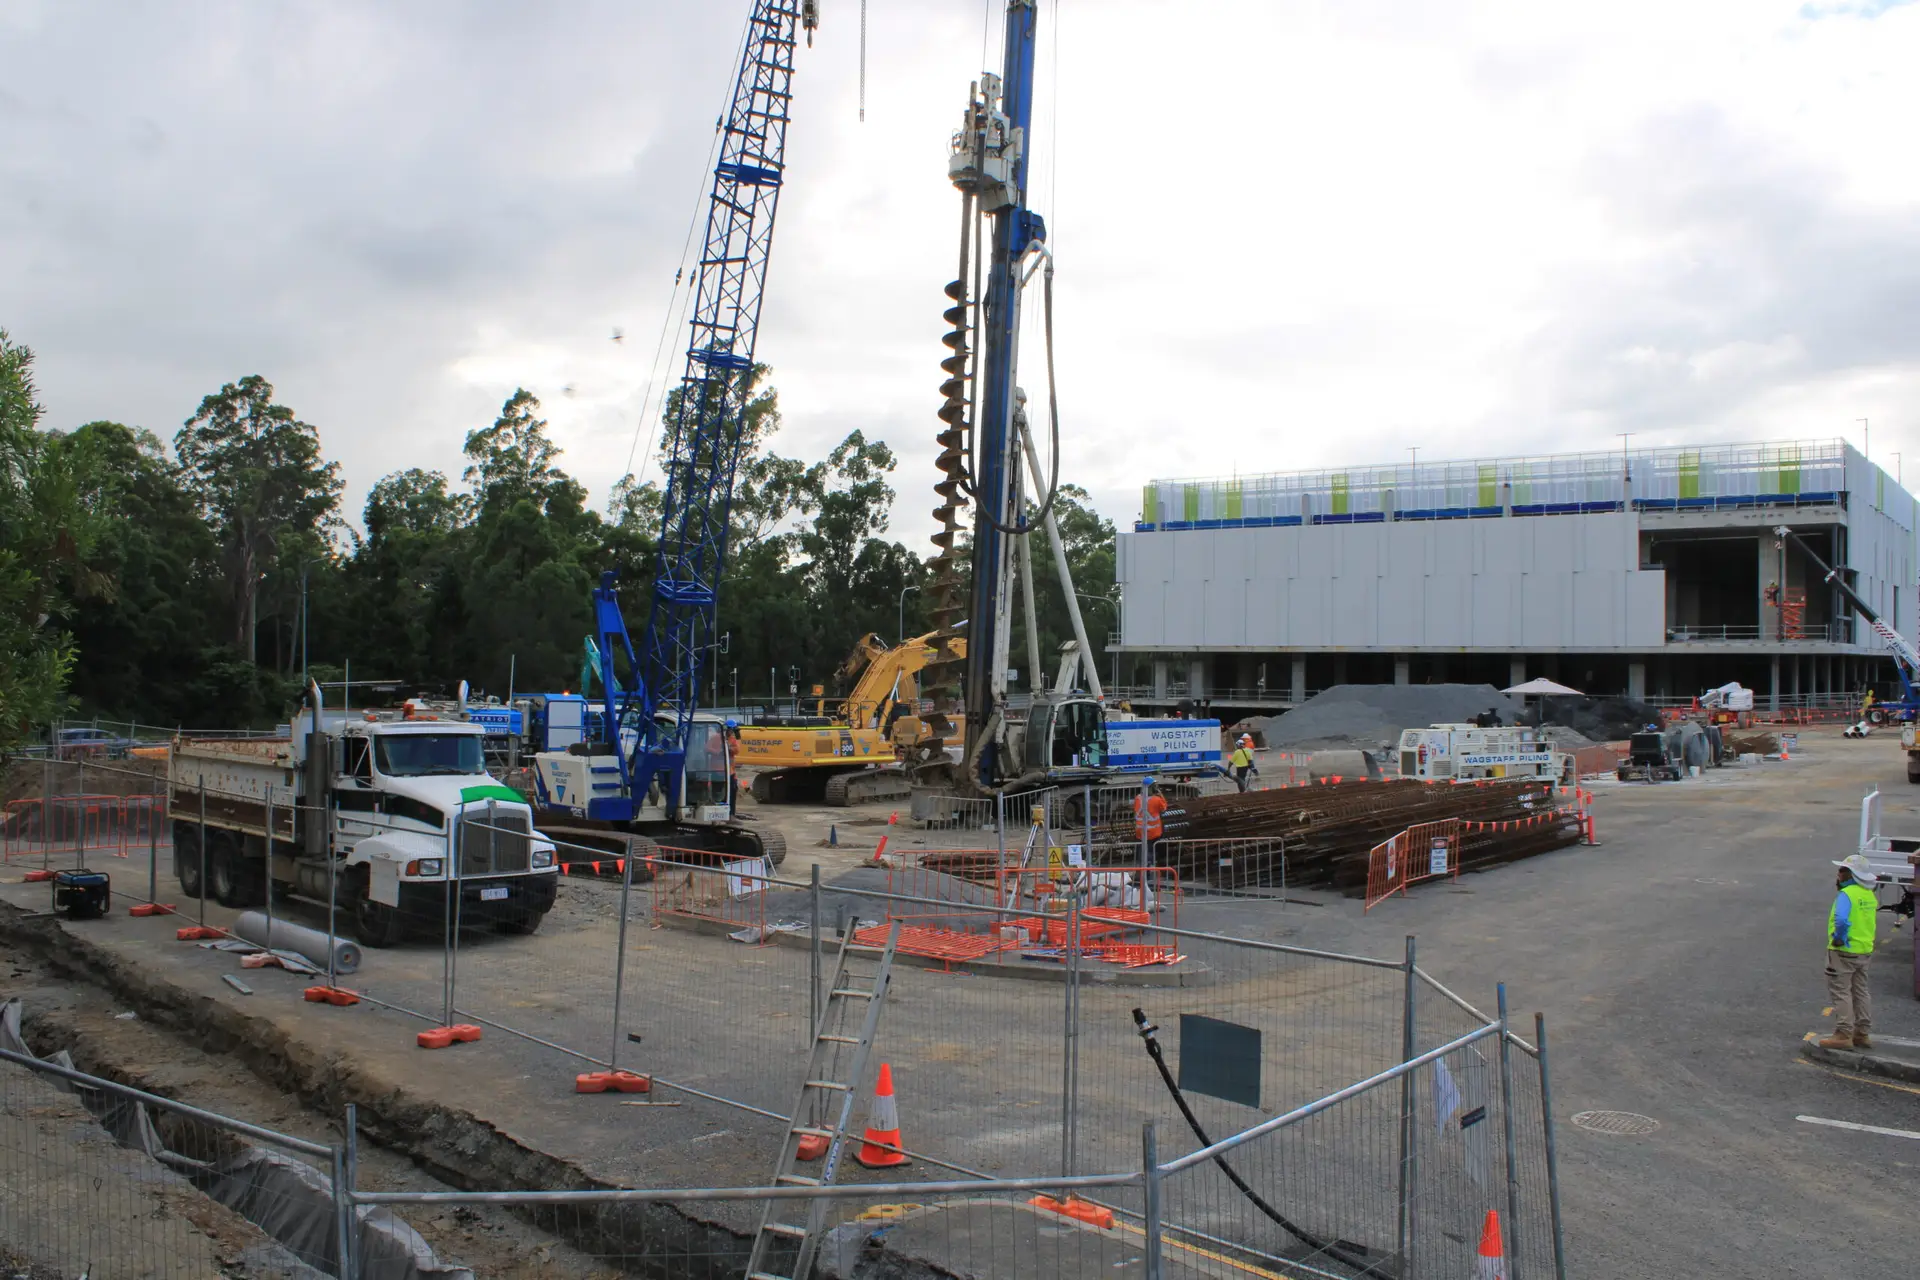
Identify site boundaries, entrances and blind spots
Walk the site and identify entrances, storage areas and active work zones that matter to the intended purpose. Note obstructions, changing work fronts and places where the camera’s view may be blocked as the build progresses. The plan should show both the intended coverage and the areas that will remain outside it.
A camera view is not a substitute for a complete site plan or a guarantee that every event will be captured. If the site is large or has several distinct work areas, ask whether separate viewpoints are needed and how those views will be managed.
Check power, connectivity and mounting options
Confirm the requirements at each proposed position: available power, connection quality, mounting surface and safe access for installation or maintenance. Conditions can vary across a single project, and temporary works may affect both the line of sight and connection. Discuss the actual positions with the installer rather than relying only on a general site description.
The home security options comparison raises related questions about camera coverage, connectivity, storage and outages, though a construction site has its own layout and operating conditions. For any installation work, coordinate access and equipment with site procedures and the responsible personnel.
Consider privacy, signage and local requirements
Decide which areas need to be recorded and avoid including neighbouring spaces or private areas where they are not required. Establish who is responsible for any signage and check applicable privacy, workplace and site requirements before recording begins. These arrangements should be discussed with the project’s relevant advisers; a camera hire provider cannot replace that review.
Privacy questions also arise in other settings, such as short-term accommodation; this guide to security camera costs discusses the importance of respecting guest privacy. Treat that as a separate context, but keep the same careful approach to limiting access and recording only what is needed on site.
Use cameras to improve site security and oversight
Cameras can support site oversight by making visual information available for review, but they are one part of a broader project and security process. Set expectations about what the system records, who checks it and how issues are escalated. Clear procedures help the team use footage purposefully rather than assuming the camera alone will prevent problems.
Deter theft, trespassing and vandalism
A visible camera may signal that a site is being observed, while recorded footage can provide material for later review. Its effect depends on placement, operation and the site’s wider security arrangements, so avoid treating a camera as a stand-alone safeguard. Coordinate the camera plan with access controls, lighting and the site’s established response procedures.
If the goal is to observe activity at a defined location, verify the camera’s view and any recording or alert features before relying on them. Ask the provider to state plainly what the chosen equipment does and what remains the responsibility of site staff.
Review footage after incidents
Before an incident occurs, decide who can request footage and how to preserve relevant recordings. Check the system’s time settings, access process and retention period, then document the steps for retrieving material. A prompt, consistent process is more useful than discovering after the fact that recordings have been overwritten or cannot be accessed.
Footage may support a review, but it should be considered alongside site records and the organisation’s incident procedures. Construction Time Lapse Specialists provides remote monitoring for its construction time-lapse camera solutions; confirm the specific access and service arrangements that apply to any proposed installation.
Share access with authorised project stakeholders
Project teams may need different levels of access, from viewing progress to managing users or retrieving recordings. Agree who is authorised, how access is issued and removed, and what the expected use of footage is. Keep the access list current when project roles change.
Visual records can also support project communication when they are selected and shared appropriately. A contractor marketing guide covers public-facing project content and lead generation, a different purpose from operational site access; distinguish those uses and apply the relevant permissions before sharing material.
Choose a provider and manage the hire
A suitable provider should be able to explain the equipment, installation requirements and ongoing arrangements in terms the project team can verify. Ask who handles support, what happens when conditions change and how footage access works throughout the hire. Construction Time Lapse Specialists offers expert support for its construction time-lapse camera solutions, alongside camera installations.
Check equipment support and response times
Ask how faults are reported, who responds and what support is available during the hire period. Confirm whether the provider can advise on site changes that affect the view or installation, and whether any call-out or replacement costs apply. A clear process helps the team understand what to do when the equipment or its connection needs attention.
Response expectations should be specific to the agreed service. Record contact details and escalation steps where the site team can find them, and make sure the people responsible for the system know how to use them.
Confirm footage access, storage and retention
Clarify whether footage is available through a remote portal, how users are authorised and what storage or retention period applies. Check how footage can be retrieved and whether access continues after the hire ends. If the footage is needed for project records, align the retention arrangement with the project’s documentation requirements.
Construction Time Lapse Specialists provides secure remote portal access for viewing site progress. Confirm the access and footage arrangements for the specific service being considered, including which users will be able to view material and for how long.
Plan for changes as the project progresses
A camera position that works during early works may become less useful as structures rise, temporary works move or access routes change. Review the setup at project milestones and after significant site changes, then ask whether the equipment or position should be adjusted. Include any relocation process and associated costs in the hire discussion.
For a next step, discuss your project with the provider and describe the site, intended coverage and project duration. That gives the conversation a practical starting point and helps identify what needs to be confirmed before installation.
Discuss Your Project Setup
Talk with Construction Time Lapse Specialists about construction time-lapse cameras, photography and camera installation for your project, with the site conditions and visual record you need in mind.
Conclusion
Construction camera hire works best when the equipment, installation, coverage and footage arrangements are chosen as one practical plan. Clarify inclusions before booking, check positions and site requirements in person, and revisit the setup as the project changes so the cameras remain useful to the people relying on the visual record.