Key Takeaways
A useful time-lapse begins with a clear purpose and a camera plan that suits the site. Agree on access, capture timing and intended outputs before installation.
- Define whether the priority is progress records, stakeholder updates or a final film.
- Choose camera views that show meaningful change across the project.
- Confirm power, connectivity, permissions and site safety arrangements early.
- Agree on monitoring, storage, support and deliverables with the provider.
- Plan how footage will be reviewed, shared and retained.
What construction time lapse services include
Construction time lapse services can cover equipment, installation, scheduled image capture and the preparation of footage for review or sharing. The right mix depends on the site, project duration and what the team needs to see. Before comparing providers, establish whether the aim is a record for project teams, material for stakeholders, or both.
How site cameras capture progress over time
A time-lapse camera takes images at set intervals, creating a sequence that shows how a site changes as work proceeds. The camera’s position and field of view matter as much as the interval: a useful view makes progress easy to interpret without losing important parts of the work. Construction Time Lapse Specialists provides construction time-lapse cameras and photography for commercial, civil and infrastructure projects.
The difference between time-lapse and live site monitoring
Time-lapse is a record assembled from images captured over time; live monitoring is intended to provide a current view of the site. They answer different questions. A sequence can show change across weeks or months, while a live view can help someone check what is visible at a particular moment. Some projects use both, but the scope and access arrangements should be confirmed rather than assumed.
Common project types and use cases
Commercial builds, civil works and infrastructure projects can all benefit from a visual record, particularly when teams or stakeholders cannot routinely visit the site. The subject, scale and duration of work will shape the camera plan. For a broader overview of service components and provider comparisons, see this guide to construction time lapse services.
Why use time-lapse on a construction project
A consistent visual record can make progress easier to communicate and review. It can also give a project team a shared reference when discussing stages of work or preparing updates. The value comes from planning what the footage should help people understand, not simply from accumulating images.
Create clear records of project milestones
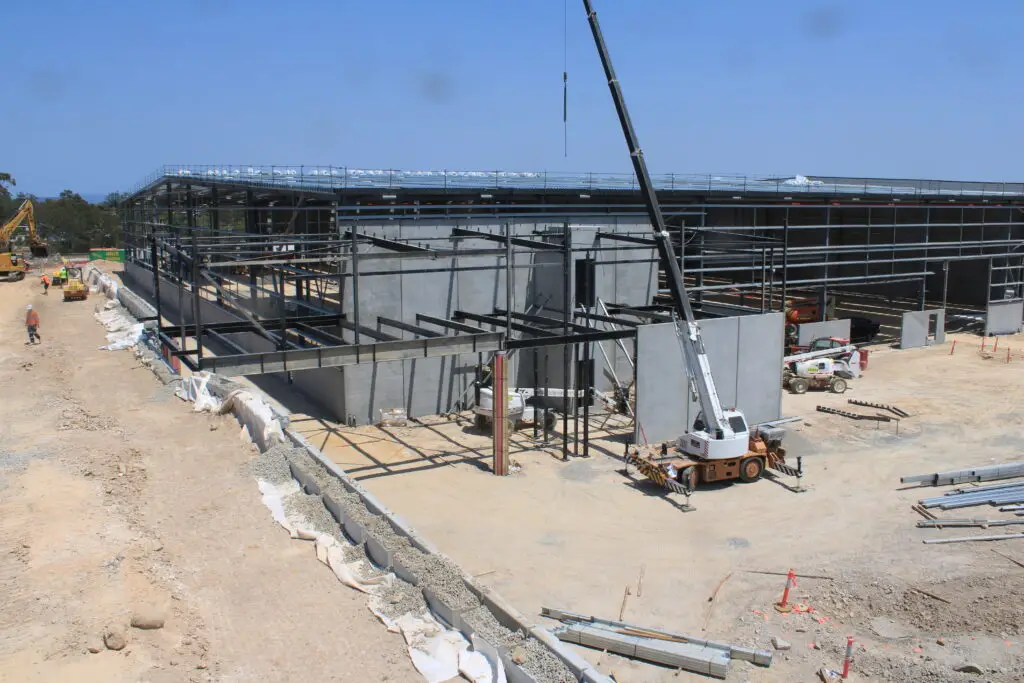
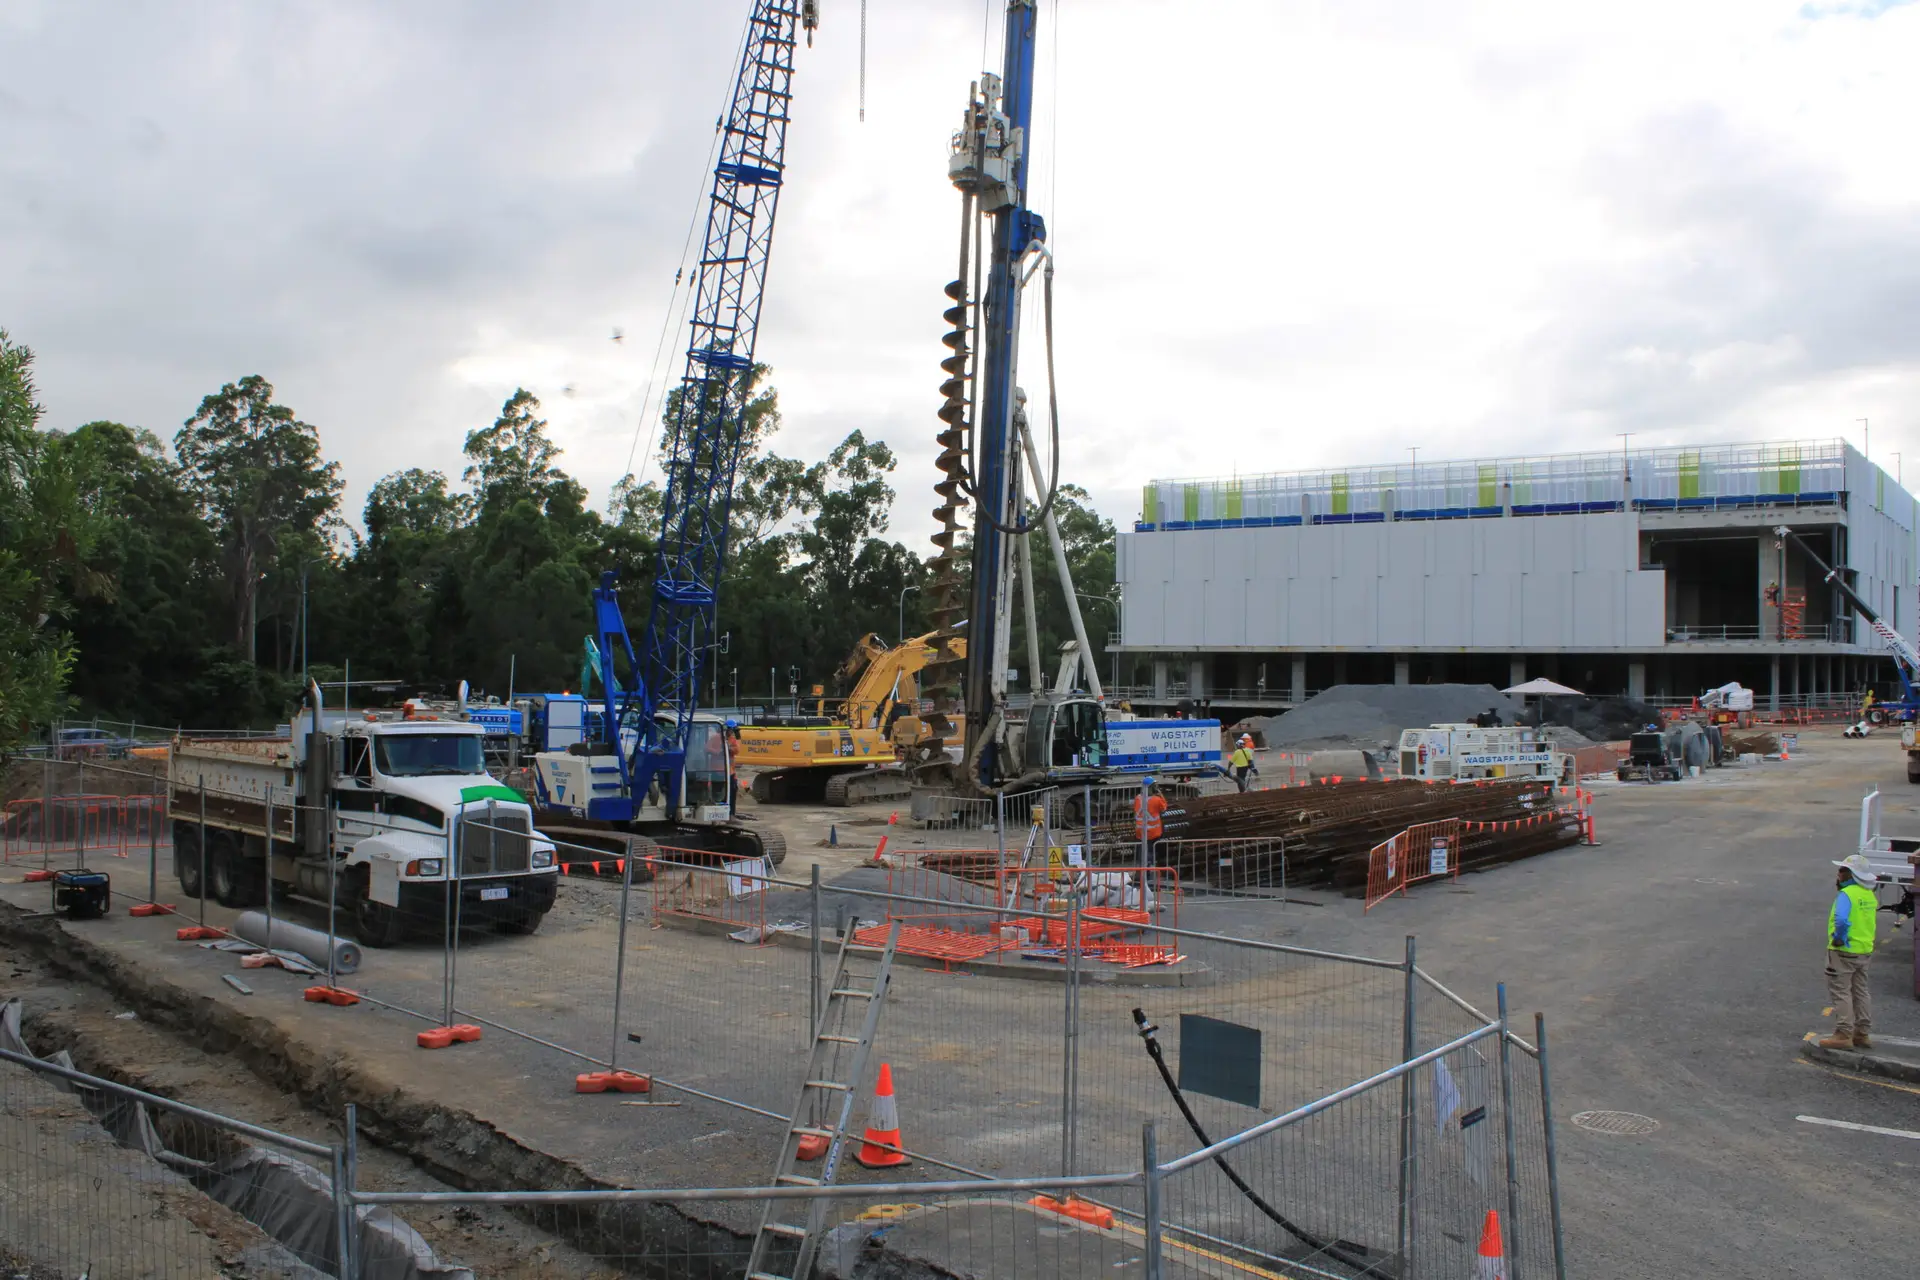
A sequence of images can show the transition between project stages and provide context for milestone reviews. Construction Time Lapse Specialists provides 4K cameras and high-resolution photography, which can support a clear visual record when the camera position and capture schedule suit the site. Treat the footage as one source of project documentation, and keep it organised alongside the records required for formal reporting or compliance.
Share progress with clients and stakeholders
A concise update can help clients and other stakeholders understand what has changed since the previous review. It is useful to settle the audience and purpose before selecting images or clips; a project team may need a different view from a public-facing update. The design of an interactive timeline display offers a related example of arranging events so viewers can follow a sequence, though a construction update may need only a simple, clearly labelled set of milestones.
Build marketing and handover content
Footage can become a project story as well as a record, particularly when it shows the work in context from early activity through to completion. Consider how the material might be used before capture begins, so the chosen viewpoint and duration are appropriate. For another perspective on the role of video in presenting building work, see these project-story examples.
Choosing the right service and camera setup
A provider comparison is more useful when it starts with the project’s requirements rather than a single equipment feature. Think about the site layout, the views that matter, the expected duration and who needs to access the images. A practical camera-hire planning guide can help frame those questions before you request proposals.
Match camera coverage to the site and project scope
List the areas and stages that need to be visible, then consider whether a single viewpoint can show them clearly. Nearby structures, changing work zones and access limitations may affect the view as the build progresses. When the project has several distinct areas, discuss whether additional views are necessary and how they will be managed over time.
Compare fixed, portable and multi-camera setups
Setup types suit different constraints: a fixed camera keeps a stable viewpoint, a portable option can be repositioned when needs change, and multiple cameras can cover separate areas. The table below is a starting point for a provider conversation, not a substitute for a site assessment.
| Setup | Useful when | Point to confirm |
|---|---|---|
| Fixed camera | One stable viewpoint covers the key work | Whether the view remains useful as the site changes |
| Portable camera | The project needs a viewpoint that can move | Who arranges and approves repositioning |
| Multiple cameras | Several work areas need separate coverage | How each view will be labelled and reviewed |
Use the project’s stages and site layout to decide which arrangement is appropriate. Ask the provider to explain the trade-offs in coverage and ongoing access, rather than selecting a setup based on the camera count alone.
Check image quality, connectivity and storage
Image quality should be judged in relation to the level of detail and viewing distance required. Connectivity affects how images can be accessed during the project, while storage arrangements determine how the record is retained. Construction Time Lapse Specialists offers secure remote portal access for viewing site progress; confirm with any provider what access is included and how footage is stored.
Clarify what support and maintenance are included
Long projects make ongoing support part of the setup decision. Ask how a provider handles equipment checks, interruptions and changes to site conditions, and who to contact when an issue appears. Also clarify any responsibilities assigned to the project team, including access for maintenance and notification of planned site changes.
Planning a time-lapse installation
Good planning makes installation less disruptive and improves the chances of capturing the work as intended. Discuss the programme, site access and the likely changes around the camera before fixing a position or schedule. Advice on planning a construction time lapse also covers camera selection, installation, capture and the use of finished footage.
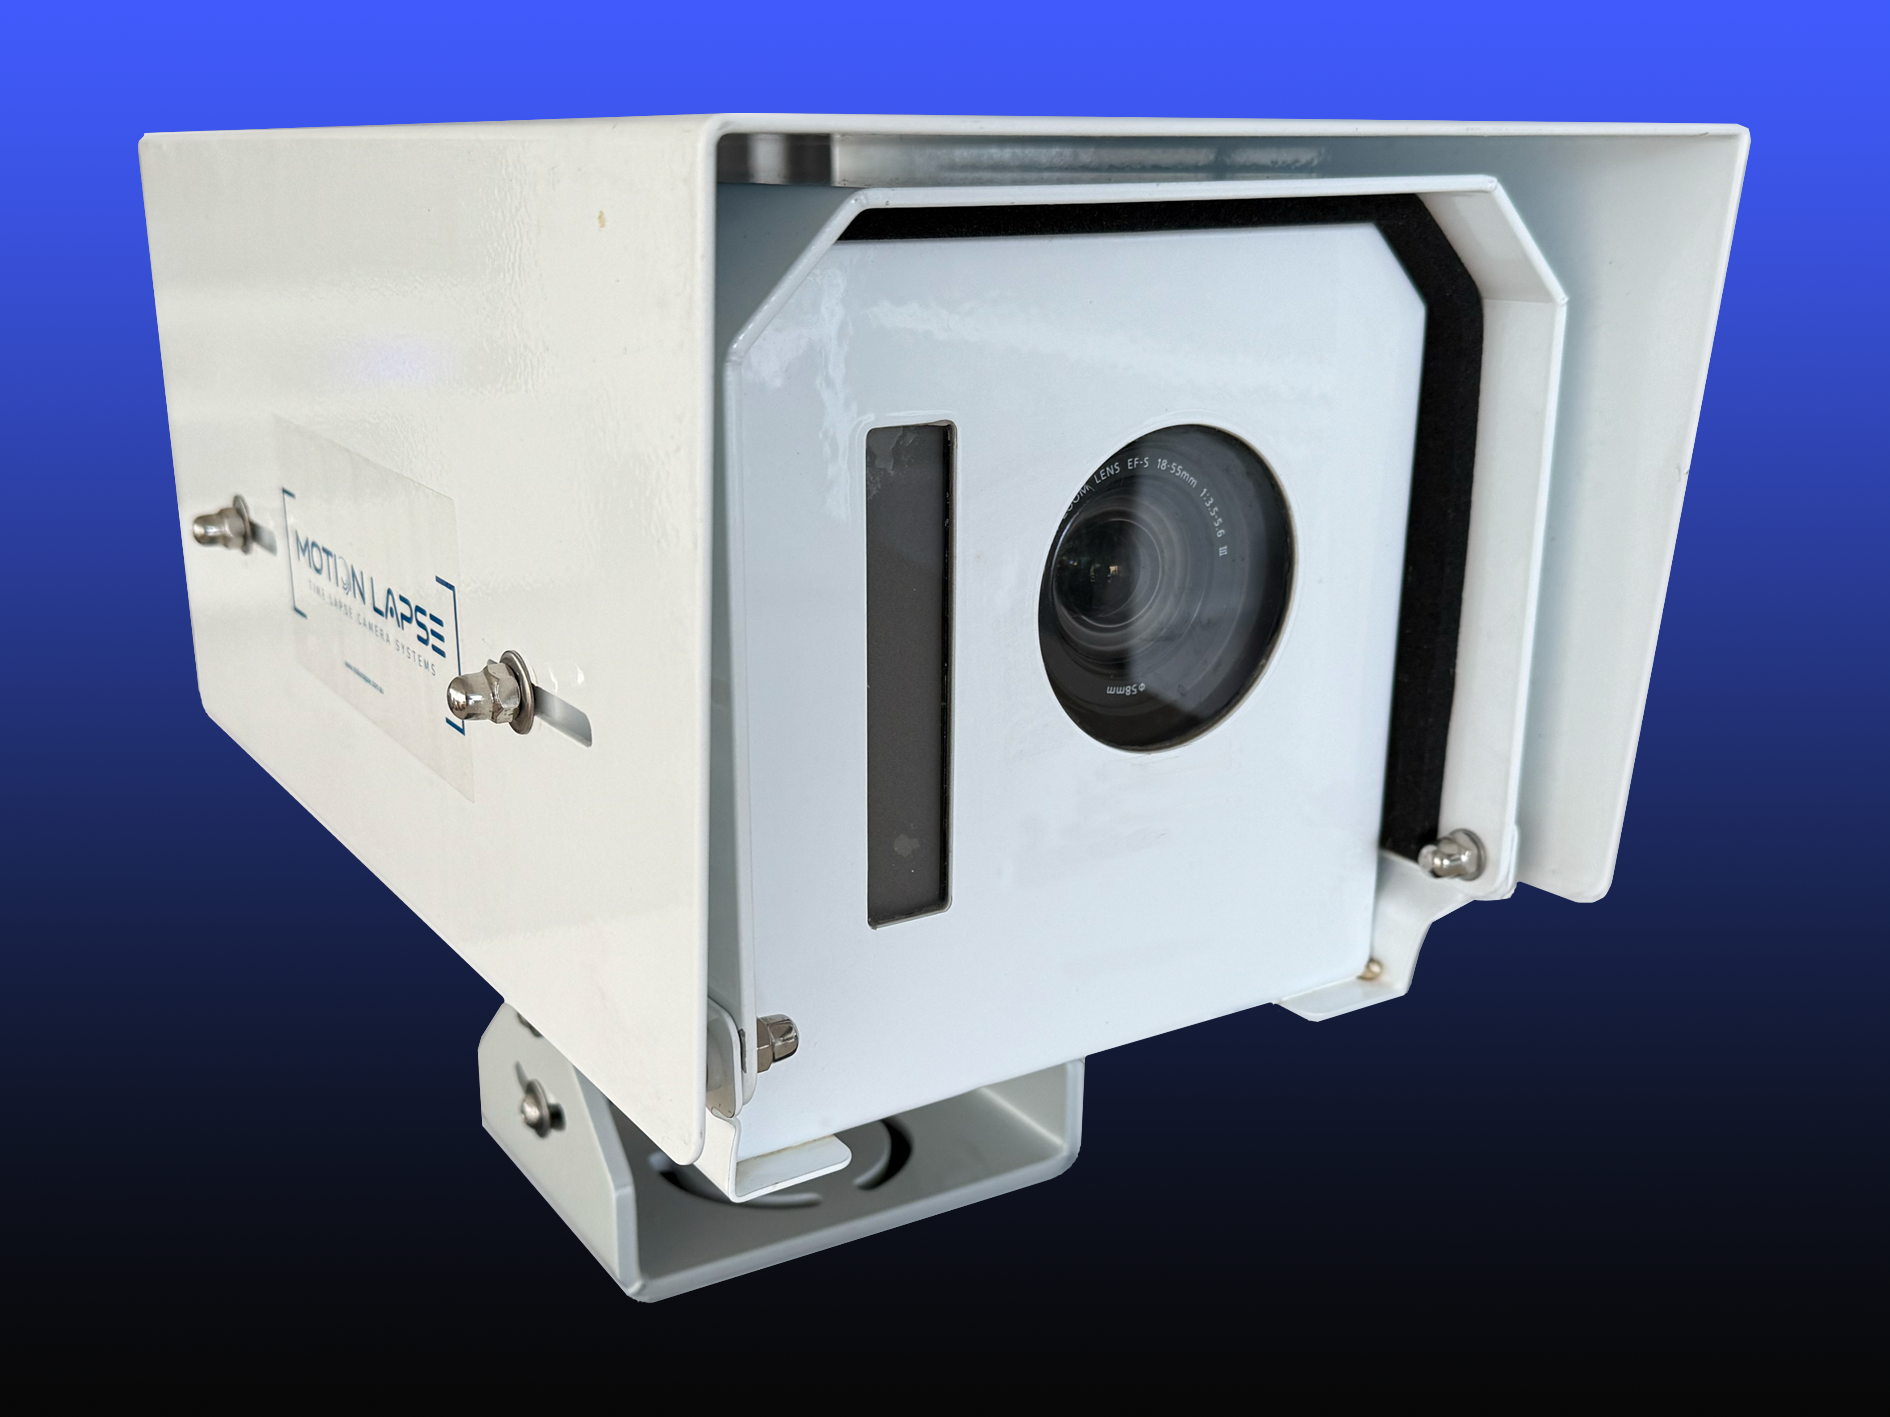
Choose camera locations and viewpoints
Start with the story the view should tell: which parts of the build need to be visible, and from what angle will change be easiest to understand? Check that the position has a clear view and can remain suitable as the site develops. A simple viewpoint review can keep the discussion focused:
- Identify the work areas and milestones the images should show.
- Check for obstructions that may appear as the site changes.
- Consider how the view will read in daylight and at different project stages.
- Confirm that installation and later access can be carried out safely.
Review the proposed angle with the site team before installation, as they will know which activities and access routes are likely to shift. If material choices are part of the project story, even details such as timber flooring options can illustrate why the relevant interior stage may need a different viewpoint from early structural work.
Arrange power, network access and site permissions
Power and connectivity should be discussed alongside camera placement, not after it. Check what the site can provide, whether network access is permitted and who can approve the installation location. The plan should also identify any permissions needed from the site owner or relevant parties before equipment is brought in.
Set capture intervals around the construction programme
Capture intervals influence how much detail appears in the resulting sequence. A shorter interval may be useful when activity changes quickly; a longer one can suit slower stages, depending on the intended record. Schedules also benefit from flexibility: the factors that shape stairlift installation timelines, such as preparation and availability, are a reminder that real programmes can shift, though the work itself is quite different. Agree how the camera schedule will be reviewed when construction dates move.
Account for weather, lighting and changing site conditions
Outdoor equipment and viewpoints must suit the conditions at the site, while light can change markedly across seasons and stages of a build. Ask how the proposed setup accounts for exposure and likely obstruction, and how changes to the work area will be communicated. Early engagement and flexible project scheduling can help teams make room for necessary adjustments rather than treating the initial plan as fixed.
How the time-lapse production process works
Production usually moves from installation and testing through capture, review and preparation of the final video. Agreeing on responsibilities at each stage helps avoid uncertainty later, particularly when the project programme changes. The precise process depends on the provider and the service agreed.
Install and test equipment before capture begins
Before capture starts, confirm the camera position, framing and the practical arrangements for power and access. A test gives the team an opportunity to check that the view covers the intended area and that the images are usable. Record the agreed start point and any relevant site conditions so later reviews have context.
Monitor cameras and resolve interruptions
Monitoring arrangements should make clear how interruptions are identified and who will respond. Construction sites change, and access to equipment may be affected by other work, so a contact process is useful. Confirm the provider’s support scope and the information the site team should supply when reporting a problem.
Review footage at key project milestones
Milestone reviews can reveal whether the camera view remains useful and whether the schedule still reflects the programme. They also give project teams a chance to identify material for updates while the build is under way. Keep review decisions recorded, particularly where a camera move or change in capture needs approval.
Edit and export the final video
Editing turns the captured sequence into a more accessible account of the project. Before work begins, agree on the intended audience, length, format and any project dates or milestones that should be shown. Review a draft for accuracy and context, so the finished film represents the work without implying that the sequence shows every activity.
Managing privacy, security and access
Camera planning should account for more than the construction area itself. Views, portal access and retention arrangements need to be considered with the site’s privacy and security requirements. Set out responsibilities early, including who can approve changes and who can access the resulting images.
Avoid capturing sensitive areas or neighbouring properties
Review the proposed field of view for sensitive work areas, neighbouring properties and spaces that do not need to appear in the record. If a view needs adjustment, arrange that before capture begins or when site conditions change. Clear boundaries help the team capture relevant progress without collecting unnecessary imagery.
Set user permissions for footage and dashboards
Decide who needs access, for what purpose and for how long. A project team may have different requirements from clients or external stakeholders, so access should follow agreed roles rather than being shared indiscriminately. Keep a record of who is authorised and how access changes will be handled.
Confirm data storage, retention and ownership
Ask where the footage is held, how long it will remain available and who owns the captured material under the service agreement. Those details matter when a project closes or staff roles change. For a different kind of visual record, reconstructing cybersecurity incident timelines also depends on preserving and organising evidence; construction footage has its own retention and access requirements, which should be agreed with the provider.
Coordinate installation with site safety requirements
Installation and maintenance must fit the site’s safety procedures and access controls. Confirm induction requirements, working-at-height arrangements where relevant, and any restrictions around plant or active work zones. The site team and provider should agree how work will be scheduled and communicated.
Deliverables and ways to use the footage
The intended output should guide decisions about editing and delivery from the outset. A project may need regular updates, a final film, or an organised archive for future reference. Set expectations for formats, timing, ownership and approvals before production begins.
Select formats for presentations, websites and social media
Different channels have different dimensions and viewing contexts, so confirm the formats required before export. A presentation may need a different version from a website or social channel. Specify who will review the material and whether any usage restrictions apply.
Create milestone updates as well as a final film
Milestone updates help stakeholders follow progress while the final film provides a broader view of the project. Decide which stages are worth highlighting and how often updates are needed. A consistent approach makes it easier to compare updates without overloading recipients with footage.
Keep an archive for project records and future reference
An archive is more useful when files are labelled clearly and organised around dates, locations or project stages. Confirm who is responsible for maintaining it, how it will be accessed after handover and how long it should be retained. That planning makes future reference more straightforward than relying on an unlabelled collection of exports.
Plan captions, branding and music before editing
Captions, branding and music can shape how an edited film is understood, so raise them before the edit is underway. Confirm any naming conventions, approval steps and intended distribution. These details help the editor prepare an output that suits the audience without changing the underlying visual record.
Conclusion
Choosing construction time lapse services is ultimately a matter of matching the camera plan, access arrangements and deliverables to the project’s real needs. Define the purpose, confirm practical requirements and agree how footage will be reviewed and retained; when you are ready to discuss a project, contact the time-lapse team about a suitable camera and photography setup.