Key Takeaways
Remote monitoring works best when it answers clear project questions and fits the risks, connectivity and working conditions on site. Treat images and sensor readings as evidence to review and act on—not as a replacement for site supervision.
- Decide what information will support project decisions before choosing equipment.
- Match cameras, imagery and sensors to specific site needs.
- Plan placement, connectivity, power and access before installation.
- Use consistent visual records to compare progress and communicate issues.
- Review coverage and responsibilities as the project changes.
Set clear goals for remote monitoring
Remote monitoring is most useful when the team knows what it needs to see and why. A clear purpose helps avoid collecting images or readings that no one has time to review. Start with the decisions that are difficult to make from a distance, then define what evidence would help. The aim is better visibility alongside, not instead of, on-site supervision.
Decide which project outcomes to track
Choose outcomes that can be observed and reviewed, such as progress against planned milestones, the location of work activity or the condition of a particular area. A camera view may help document visible change over time, while a site inspection may still be needed to verify workmanship. Keep the list short enough that someone can act on what the monitoring reveals.
For each outcome, ask what decision it informs and who will use the information. If a measure does not help the team resolve a question, report progress or keep a useful record, it may not need to be part of the setup.
Match monitoring methods to site risks
The right method depends on the site’s layout, work stages and exposure to risk. Fixed cameras offer a repeatable view from one position; aerial imagery can provide a different perspective; and sensors can record selected site conditions. A combination may suit a complex project, but adding equipment without a clear purpose can create more data than the team can use.
For example, a project with changing work areas may need a different visual plan from one where a single structure is the main focus. Where insurer reporting involves wider property or climate exposure, satellite risk analysis is a distinct source of information; it does not replace project-level observation. For construction monitoring methods and their role alongside site supervision, see this guide to remote site monitoring.
Set baselines, targets and reporting intervals
A baseline gives later observations something meaningful to compare against. Record the initial site condition and agree which milestones or changes matter, then select reporting intervals that suit the pace of work. Daily capture may be useful for some decisions, while a weekly review can be enough for broader progress updates.
Keep the comparison fair by using consistent viewpoints, capture timing and definitions. When a target or schedule changes, record the revision rather than silently comparing current images with an outdated expectation.
Agree who needs access to which information
Decide who can view live imagery, download records, share updates and respond to issues. Different users may need different levels of access: a project manager may review progress, while a wider stakeholder group may only need selected reports. Document those permissions and review them when roles change.
Keep project records separate from unrelated operational resources. A business might hold distinct information about portable mining dongas, dog training or supply terms, but none of those references should be treated as part of a construction monitoring record. Clear ownership helps people find the right information without confusing separate responsibilities.
Choose the right monitoring technology
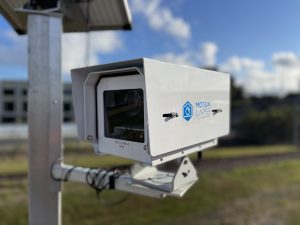
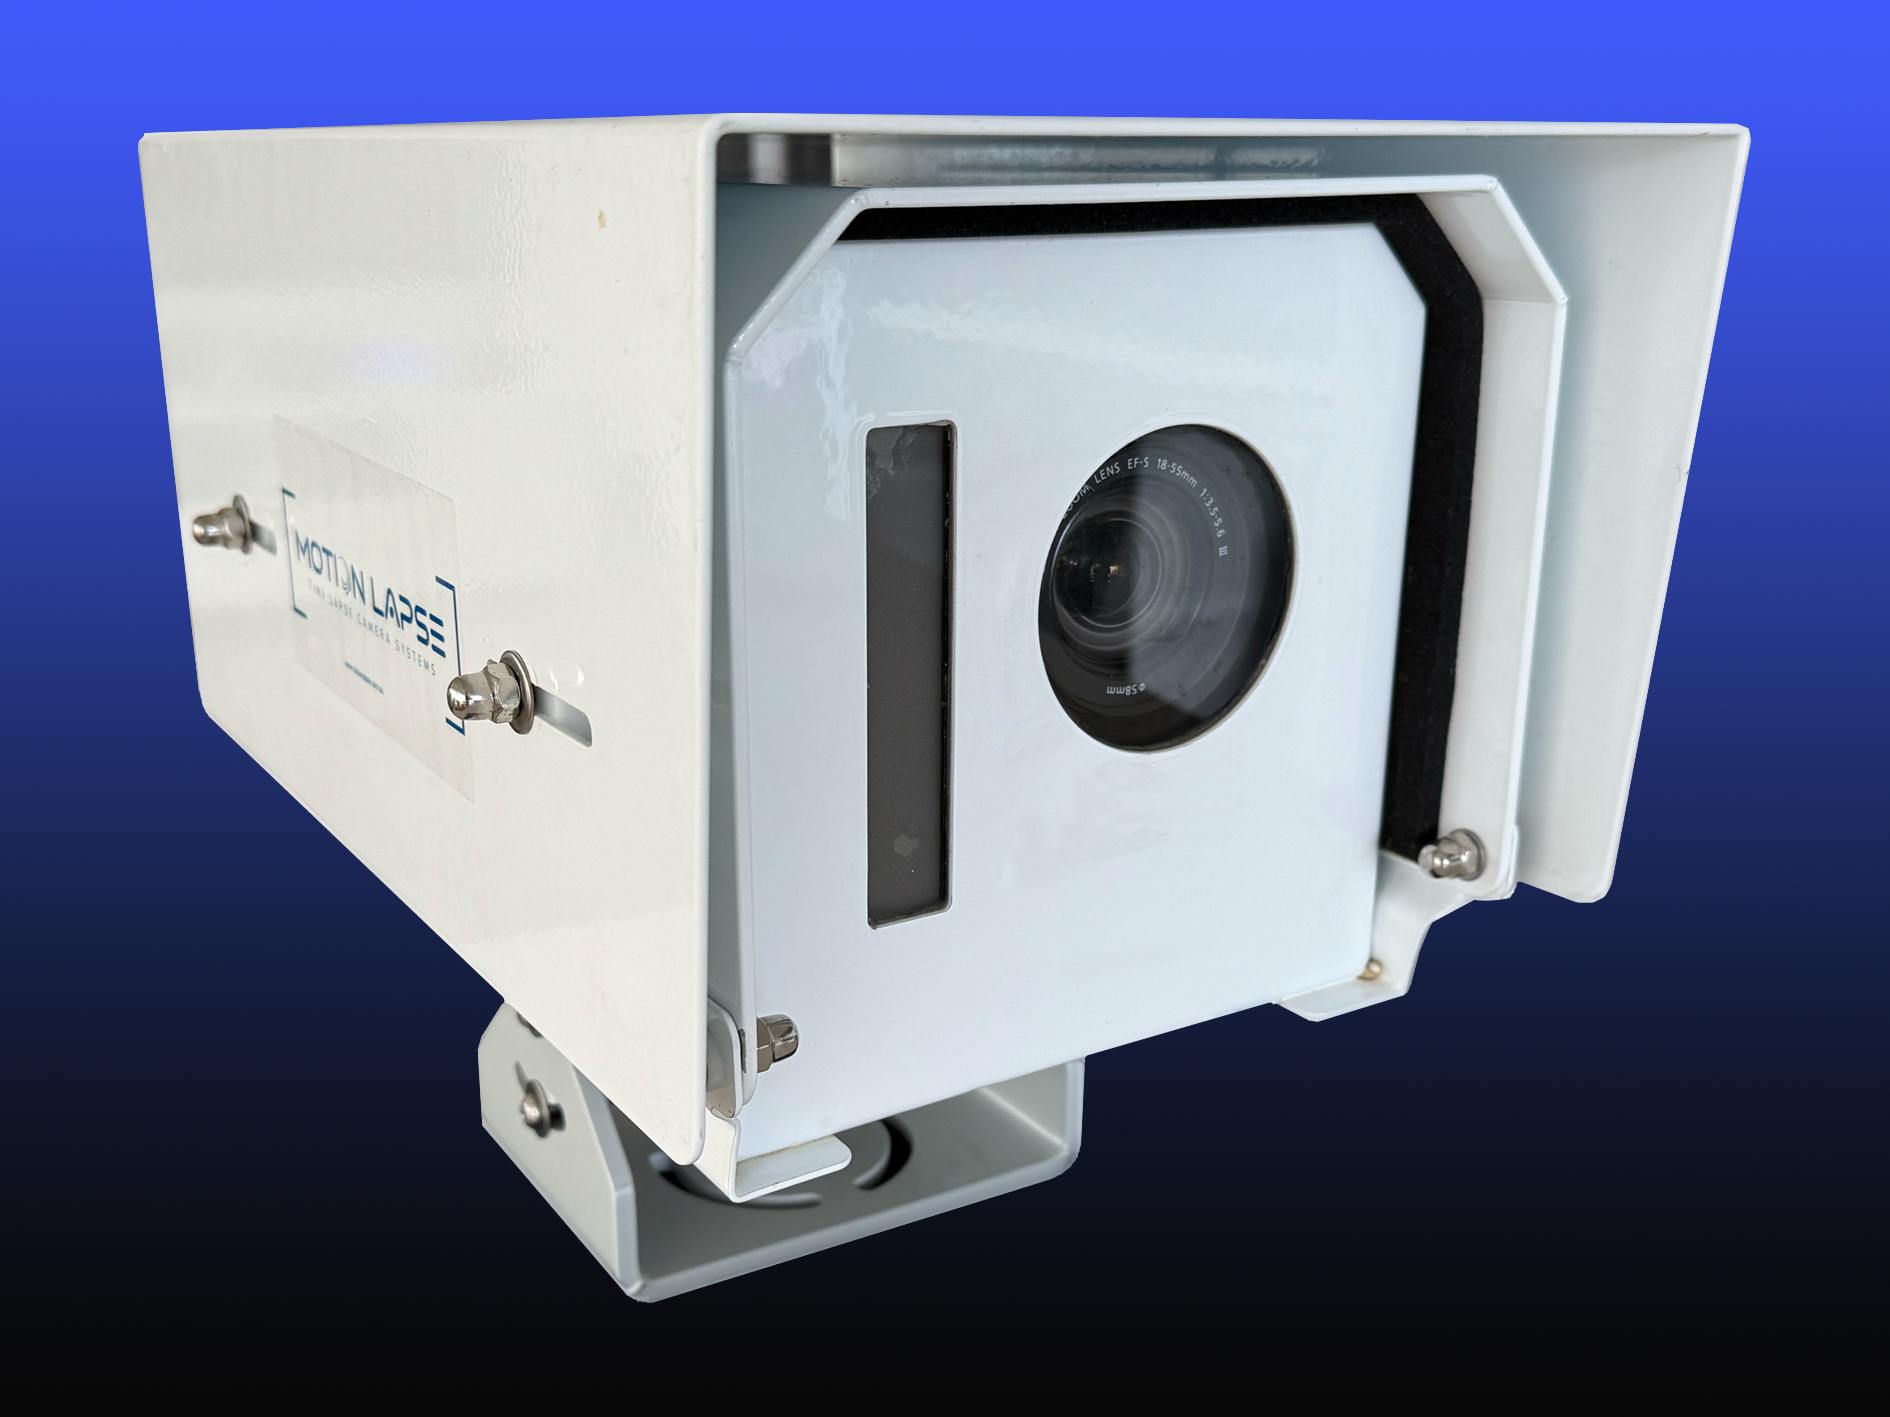
Technology should follow the monitoring goals, not the other way around. Consider what each tool can show, how often the information is needed and who will maintain the equipment. Construction Time Lapse Specialists provides construction time-lapse cameras, drone imaging and high-resolution photography, with secure remote portal access for viewing site progress. That range of visual methods can inform a plan, but the best fit still depends on the project.
Compare fixed cameras, 360-degree cameras and drones
Fixed cameras suit repeatable views from a stable position, while 360-degree cameras can capture a broader view from one location. Drone imagery offers an aerial perspective, subject to safe and suitable operation. These methods answer different questions, so compare them against the views and records your team actually needs.
A simple comparison can help narrow the options before you price equipment or plan installation.
| Method | Useful for | Planning consideration |
|---|---|---|
| Fixed camera | A consistent view over time | Mounting position and obstructions |
| 360-degree camera | A broader view from one point | Whether the whole view remains useful |
| Drone imagery | Aerial views of site areas | Capture planning and safe operation |
| Site photography | Detailed visual records | Repeatable locations and timing |
The table is a starting point rather than a ranking. Construction Time Lapse Specialists offers 4K cameras, drone imaging and high-resolution photography; select a method based on the required view and reporting purpose, not on a resolution figure alone.
Use sensors to track equipment and site conditions
Sensors can provide readings about selected equipment or site conditions, but the right choice depends on what the project needs to know. Before installing one, define the reading, its purpose and what someone should do when it changes. Also check whether the equipment and site conditions suit the sensor’s operating requirements.
If the team cannot interpret or act on a reading, it is unlikely to improve monitoring. Keep sensor information alongside the relevant site context so that a number is not mistaken for a complete explanation of what is happening.
Check connectivity, power and weather resistance
A camera or sensor is only useful if it can operate reliably where it is installed. Check mobile or network coverage at the proposed location, access to power, expected weather exposure and any practical restrictions on mounting. If connectivity is intermittent, agree how information will be captured and reviewed when a live connection is unavailable.
Allow for construction changes, too. Temporary structures, plant movement and new buildings can affect reception or block a view, so a setup that works at the start may need attention later.
Assess integrations, storage and ongoing costs
Before committing, establish how images or readings will be accessed, stored and shared. Check who manages accounts, how long records are retained and whether the chosen approach suits project reporting requirements. Include installation, maintenance and any recurring service costs in the decision, rather than looking only at initial equipment costs.
A clear process matters as much as the storage location: name files consistently, restrict access appropriately and make it easy to find records by date or milestone. That way, a collection of images can become a usable project record rather than an unstructured archive.
Plan and install your monitoring setup
Good installation starts with the site plan and the questions the team needs to answer. Walk through the proposed locations with people who understand the work sequence, access constraints and likely changes. Remote monitoring should support existing site processes rather than give the impression that a camera sees everything. A considered setup reduces avoidable gaps and makes later reviews more useful.
Map camera and sensor locations across the site
Mark proposed positions on a site plan and note what each device is intended to observe. Consider the main work areas, access points and any changing phases that may affect the view. A location schedule makes it easier to explain why equipment is there and to revisit the decision when site conditions change.
A short location checklist can keep the planning practical:
- Identify the work area or condition each device will monitor.
- Note mounting points, access constraints and potential obstructions.
- Record power and connectivity options at each location.
- Assign an owner to check the position as work progresses.
This map should remain a working document, not just an installation record. Refer back to it when the site changes or the team needs to explain a gap in the visual record.
Check coverage, blind spots and viewing angles
Test whether the planned view captures the intended area without being blocked by plant, temporary works or stored materials. Consider changes in light and the angle needed to distinguish useful activity from an indistinct scene. A camera position that looks adequate on a plan may produce a poor image in practice.
Guidance on camera placement can help teams think through visibility and blind spots, although a construction site has its own conditions and access requirements. Check views from the actual mounting position and make adjustments before relying on the image for routine reporting.
Arrange reliable internet and backup power
Check the connection and power arrangement at each device location, including any practical limits on cabling, signal strength or access. Agree what happens if power or internet is interrupted, and who is responsible for restoring service. A simple fallback process can prevent a temporary outage from becoming an unexplained gap in project records.
Where the work is staged, revisit these arrangements before equipment is moved or temporary supplies are removed. Record any change so users know whether an unavailable view reflects a technical fault or a planned site adjustment.
Test equipment before relying on live feeds
Run a commissioning check before making the system part of project reporting. Confirm the view, image quality, timestamp, access permissions and the way records are retrieved. Ask a user who was not involved in installation to test whether they can find and interpret the information they need.
Construction Time Lapse Specialists describes its camera systems as durable and provides secure remote portal access for viewing progress. Even with a suitable system, test the actual installation and access workflow on site; that is where practical problems tend to emerge.
Track progress and coordinate work remotely
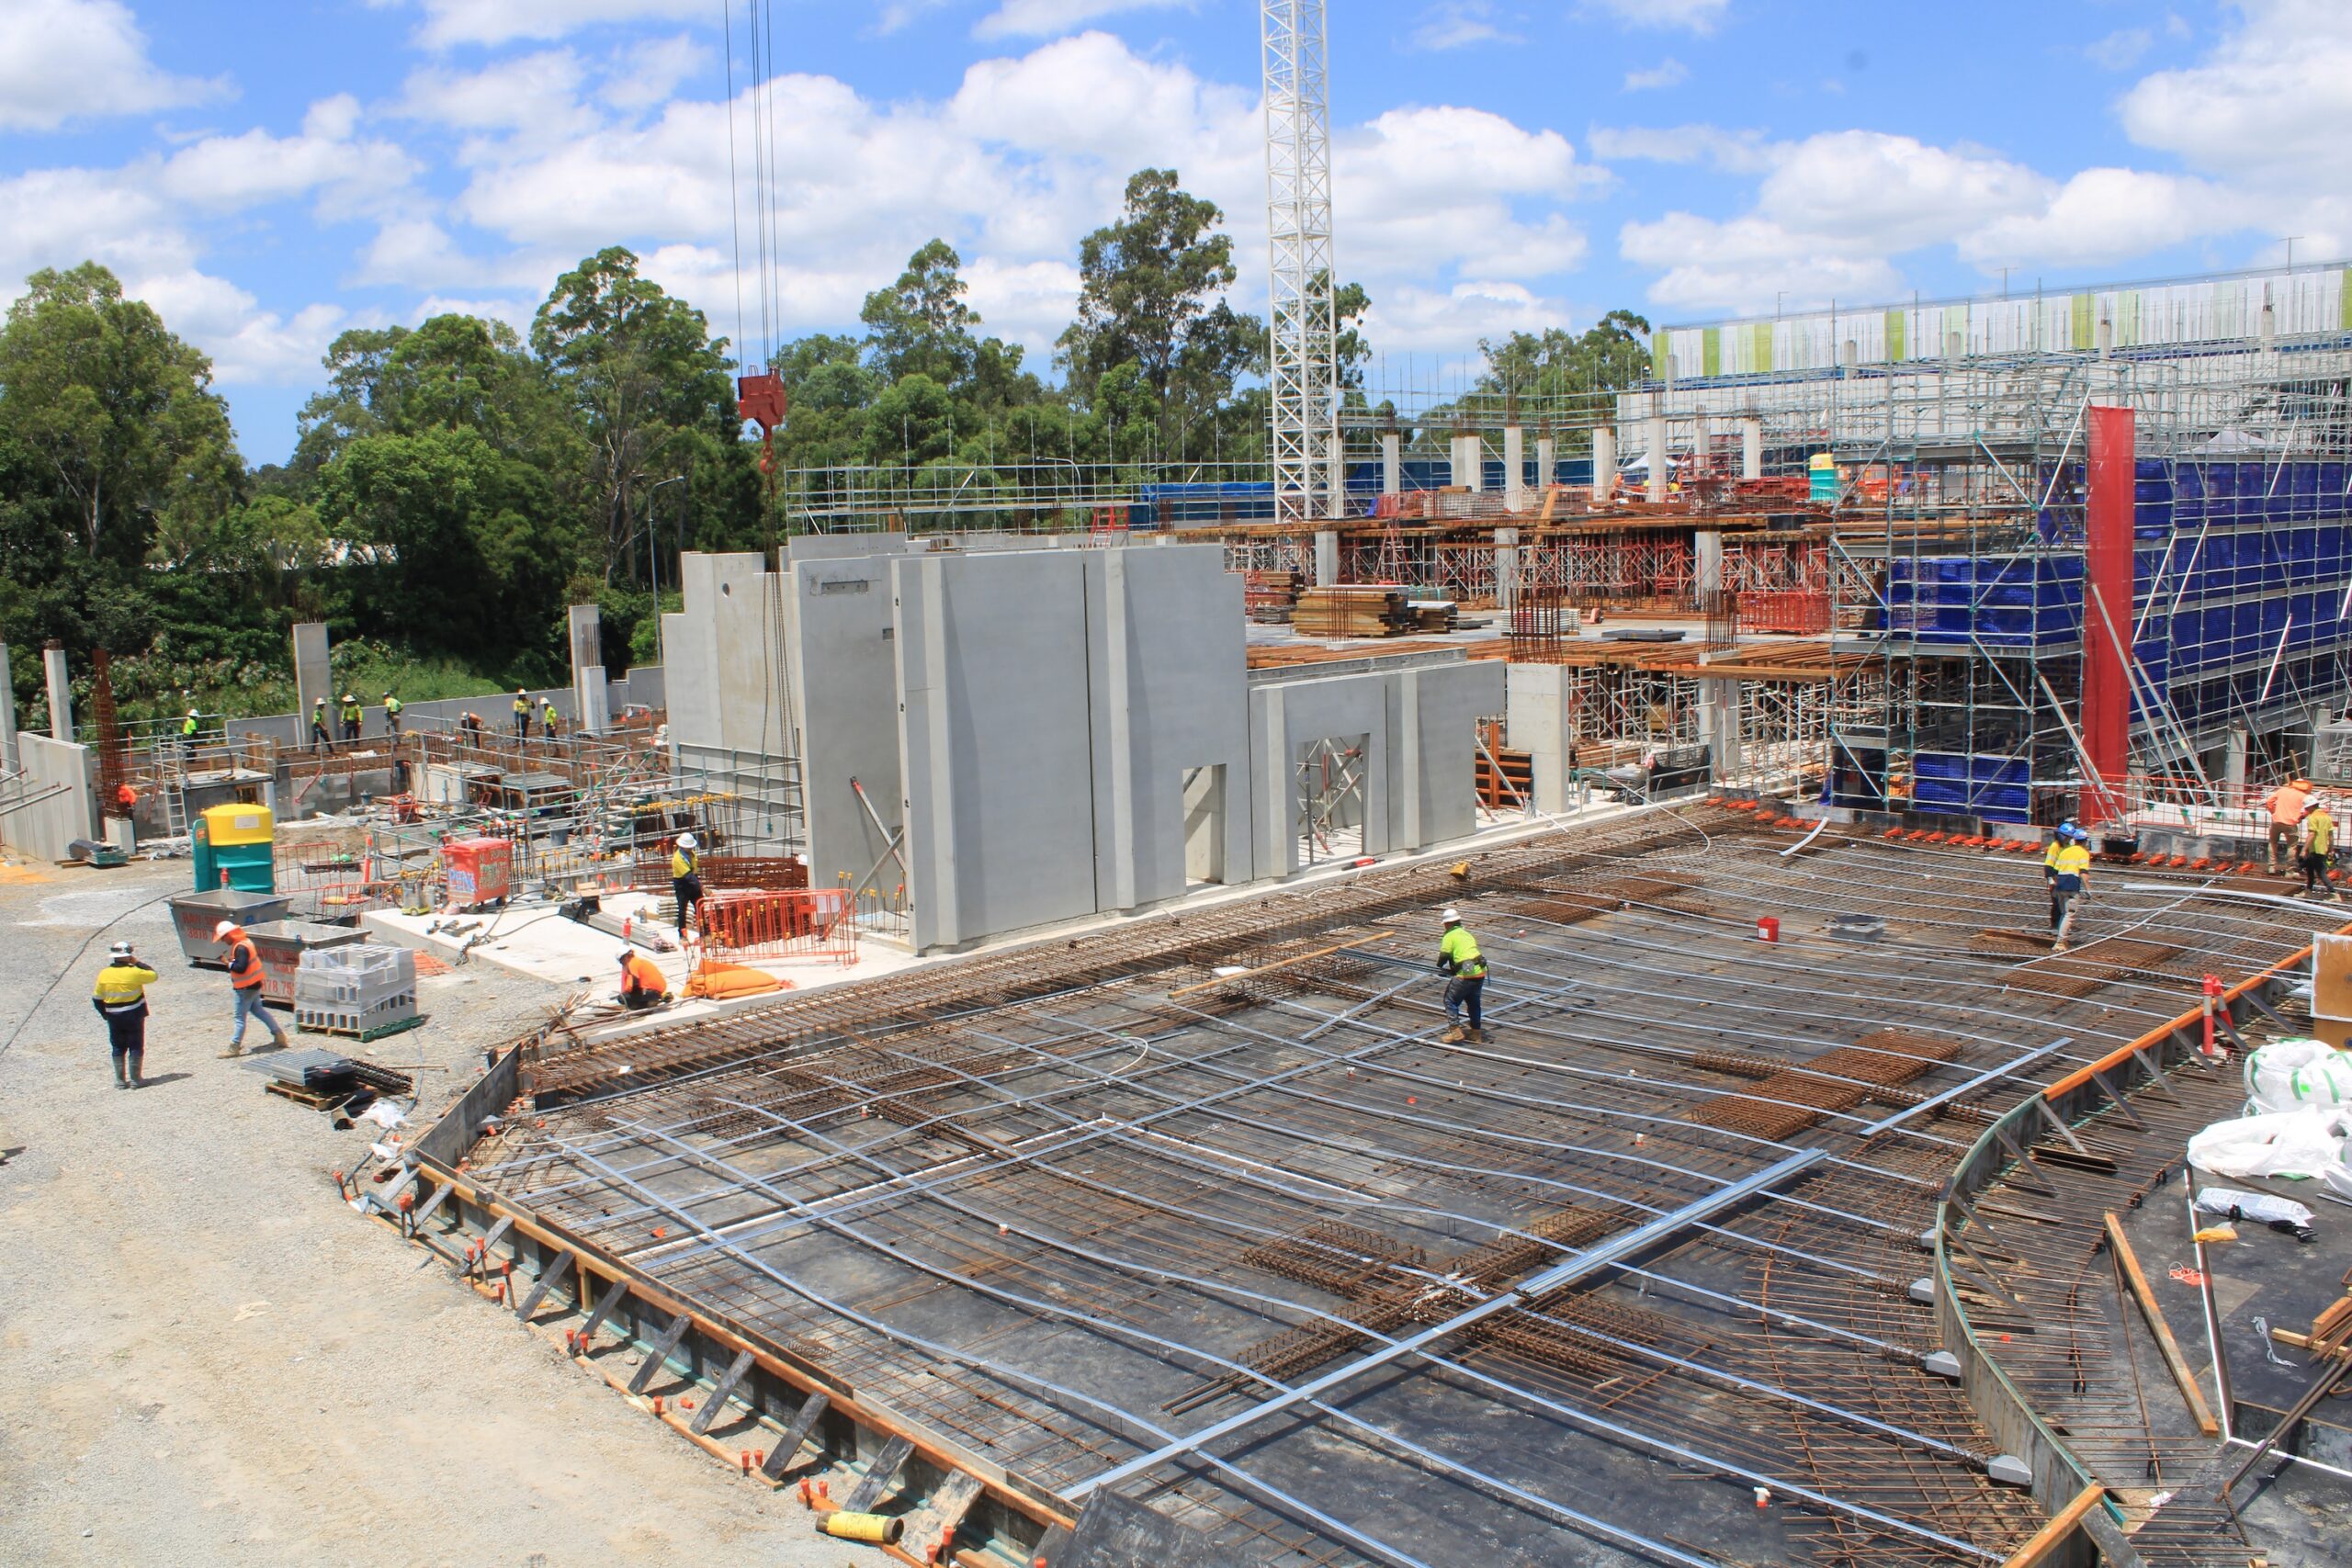
Remote views can make progress easier to discuss when the team uses consistent evidence and keeps it connected to the programme. An image is not a complete status report: it needs a date, location and explanation of what the viewer should notice. Establishing a simple review routine helps teams raise questions early without mistaking a visual snapshot for a full inspection. For a broader view of the method, see this guide to structured visual records.
Capture consistent images for progress comparisons
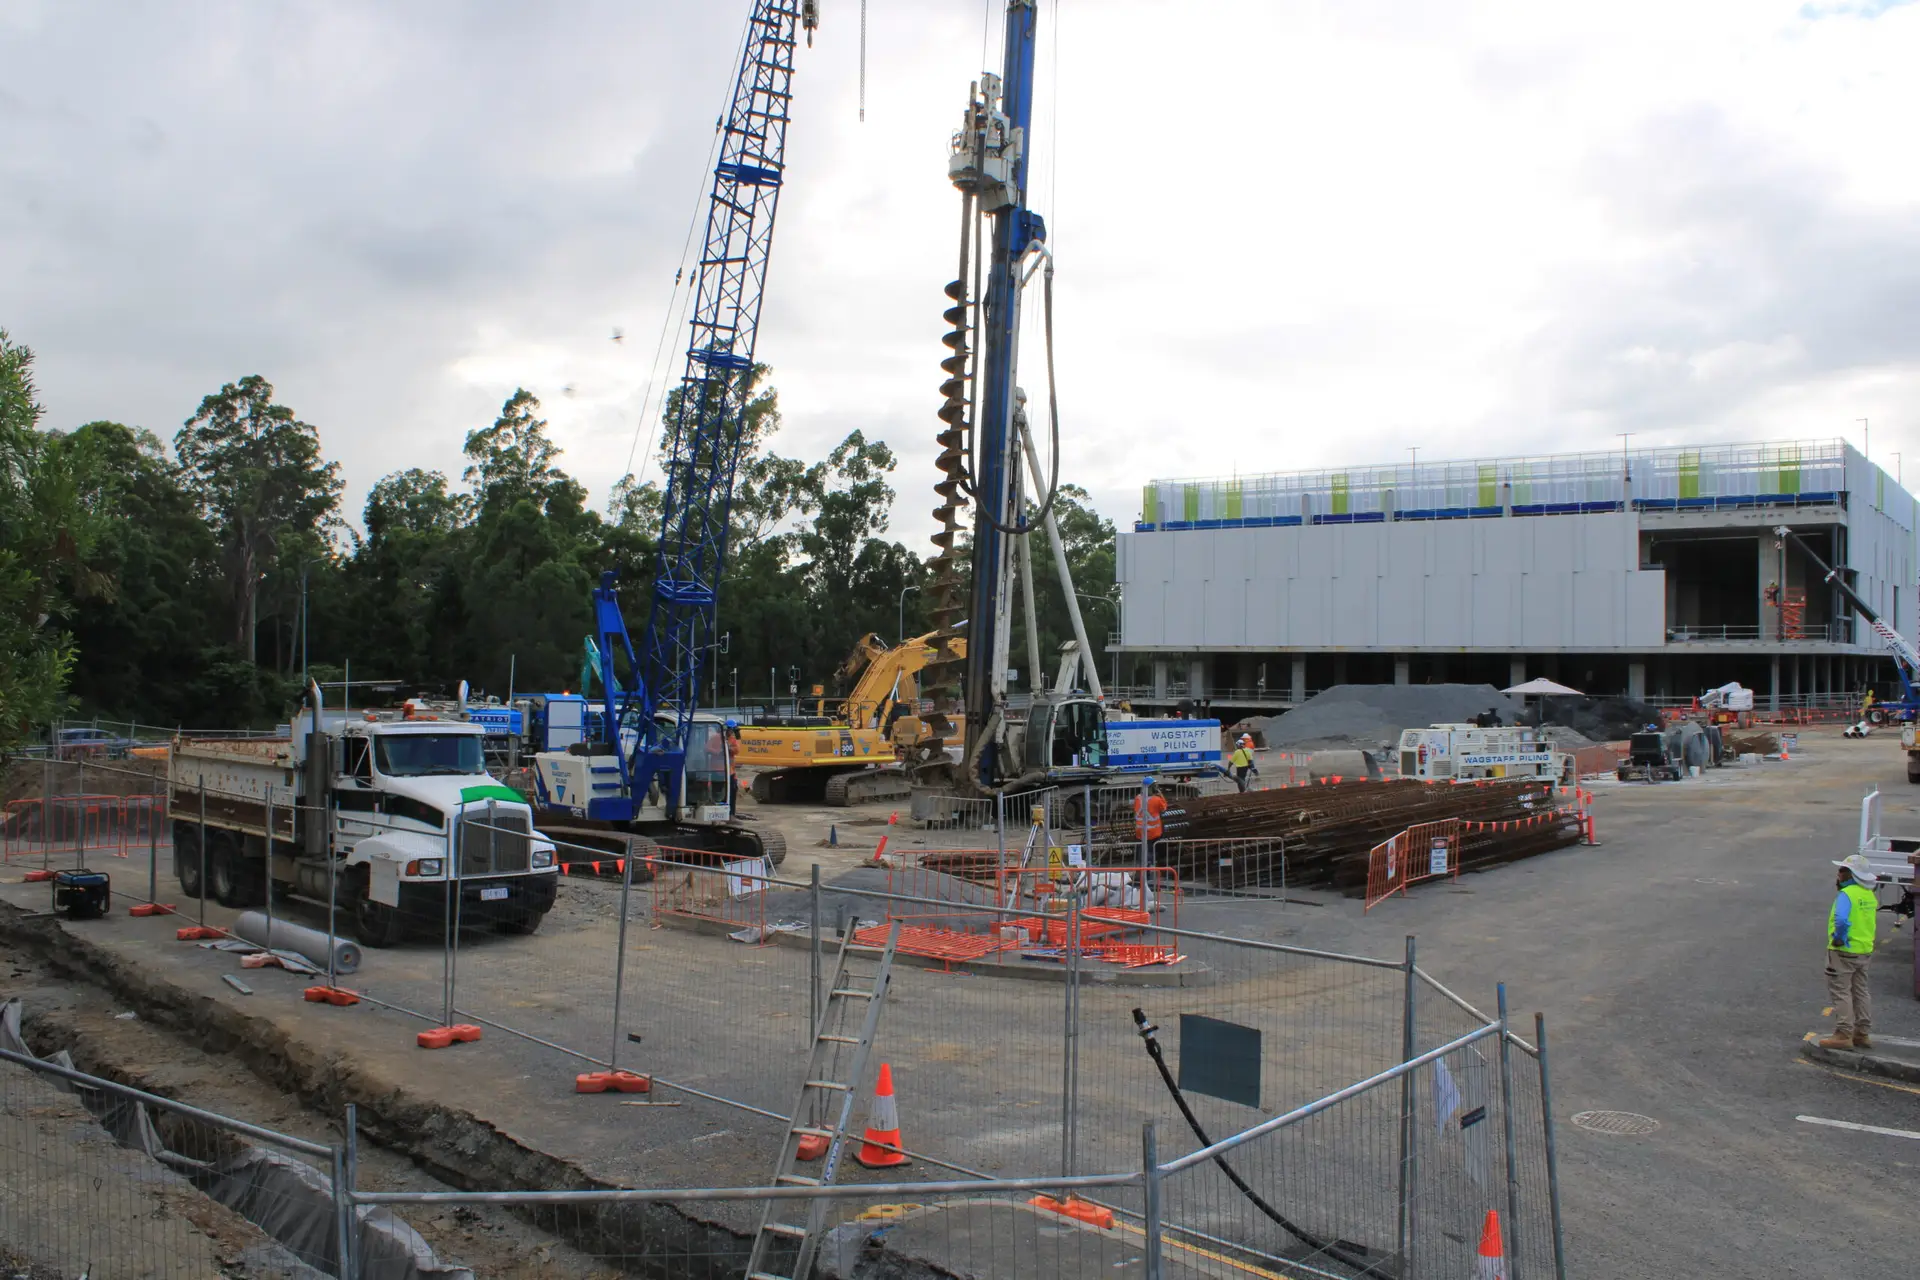
Use repeatable camera positions and capture intervals where possible. Consistency helps reviewers compare changes across time instead of trying to infer progress from images taken from different places or at different stages of the day. Keep dates and locations with the images so they remain understandable when shared later.
Construction Time Lapse Specialists provides construction time-lapse cameras and visual records for projects; capture planning should still reflect the project’s milestones and reporting needs. If camera positions must change, note the change and establish a new reference point rather than treating the views as directly equivalent.
Compare site activity with plans and schedules
Review images alongside the current programme, milestone definitions and relevant site notes. Ask whether the visible activity is consistent with the planned sequence, and flag any discrepancy for follow-up. Visual evidence can prompt a useful question, but it does not necessarily explain why work has changed or confirm that a task is complete.
Use the same review date and agreed criteria across updates. This makes it easier to separate a genuine schedule issue from a difference in capture timing or viewpoint.
Share updates with contractors and stakeholders
Keep updates focused on the information each recipient needs. A concise note can identify the location, date, observed change and any decision or response required. Where several contractors or stakeholders are involved, agree one place for the current record so that old images do not circulate as if they were new.
Remote access can support communication, but it works best when people know what they are looking at and what action is expected. Consider who should receive routine summaries and who needs to be contacted only when an issue arises.
Record issues with clear evidence and follow-up actions
When an image raises a concern, record the location, date, relevant view and the question that needs answering. Assign an owner and a follow-up date, then capture the outcome in the same record. This turns an observation into a traceable action rather than an open-ended message in a chat thread.
A useful issue record does not need to be elaborate. It should let someone who was not present understand what was noticed, what happened next and whether the matter was resolved.
Monitor safety, security and site conditions
Remote monitoring can add visibility to selected areas, but it has limits. Cameras do not replace inductions, inspections, competent supervision or a worker’s responsibility to report hazards. Decide which risks the system may help flag and how the team will verify what it shows. Clear expectations help prevent a remote view from being treated as a guarantee that the site is safe.
Spot hazards and changes in site conditions
Use planned reviews to look for visible changes such as altered access routes, new obstructions or changes in a monitored work area. Treat anything concerning as a prompt for verification by the appropriate person on site. Images may show what has changed, but they may not reveal the cause or the full conditions around it.
Keep safety records connected to the relevant inspection or reporting process. This allows visual observations to support, rather than replace, the checks and professional judgement required for the work.
Set alerts for unauthorised access or unusual activity
If the selected system supports alerts, define what event should trigger one and who will receive it. Avoid setting notifications so broadly that routine activity produces a stream of messages no one can manage. Test the alert process under realistic conditions and adjust it when site access patterns change.
An alert is a request to assess a situation, not proof that an incident has occurred. Confirm the information and follow the site’s established response procedures before deciding what action is needed.
Protect workers’ privacy and handle footage responsibly
Tell relevant people what is being recorded, why the system is in place and who can access the footage. Limit viewing and sharing to legitimate project purposes, and apply the organisation’s retention and privacy procedures. Consider camera angles carefully so the monitoring plan captures the intended work areas without unnecessary intrusion.
Access, storage and sharing rules should be established before capture begins. Review them when the purpose or audience changes, and make sure users understand how to handle records responsibly.
Define who responds to alerts and how quickly
Assign a primary contact and a backup for each type of alert or issue. Set expectations for acknowledgement and escalation that reflect the project’s operating hours and the nature of the risk. A notification without a named responder can create a false sense that someone else is dealing with it.
Record the response and any follow-up required. If the alert points to a possible immediate hazard, use the site’s established emergency and safety procedures rather than relying on a remote message alone.
Review performance and improve the system
A monitoring setup needs occasional review because site conditions, project questions and user needs change over time. Look at whether information is arriving in a form people can use, not just whether equipment appears to be online. Ask the people reviewing the records where they still lack visibility. Small adjustments can keep a system aligned with the work.
Check data quality and coverage regularly
Review a sample of images and readings at a regular interval. Check for missing dates, obstructed views, unclear images or gaps in records, and note whether the issue is isolated or recurring. Confirm that users can still access the material they need and that permissions remain appropriate.
Compare the current setup with the site plan and capture schedule. If a work area has moved or a structure now blocks the view, update the map and agree whether equipment needs to be repositioned.
Measure whether monitoring is improving decisions
Ask whether the information has helped answer the questions set at the start: could stakeholders review progress, clarify a reported issue or make a timely decision? Gather feedback from the people using the records and look for recurring delays or misunderstandings. If the data is rarely consulted, the capture frequency or reporting format may not suit the project.
Use practical measures, such as whether scheduled reviews happen and whether issues have an owner and recorded outcome. The purpose is to improve the monitoring process, not to claim that a camera alone caused a project result.
Resolve technical issues and update site procedures
Keep a simple record of outages, maintenance and changes to access. When an issue repeats, look for the underlying cause rather than treating each interruption as an isolated event. Update the relevant procedure so users know how to report faults and what to do when a view is unavailable.
If a technical change affects how records are captured or shared, tell users and confirm they can still access the information. A procedure that reflects actual site practice is more useful than one left unchanged after installation.
Adjust the setup as project stages change
Review monitoring needs at major transitions, such as a shift in work area, a new construction phase or removal of temporary infrastructure. Some views may no longer be useful, while new activities may call for different coverage or reporting intervals. Update responsibilities and access at the same time as equipment locations.
A short review at each stage change keeps the system purposeful. Carry forward useful records, document what has moved and make sure the next phase begins with a clear view of what the team intends to monitor.
Conclusion
To work out how to monitor a construction site remotely, start with the decisions the team needs to make, then plan suitable equipment, coverage, access and review routines around them. Treat remote images and readings as useful evidence that supports communication and site oversight, while retaining on-site checks and clear responsibility for action. Construction Time Lapse Specialists provides construction time-lapse camera solutions, drone imaging and high-resolution photography for projects across Brisbane and Queensland; to discuss a suitable setup, talk with our team.